RSS Feed
  1. Thame food festival – prize winning cakes

    October 1, 2017 by sarah

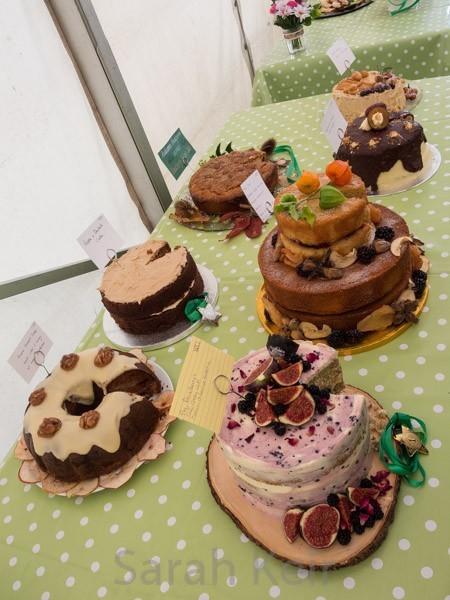
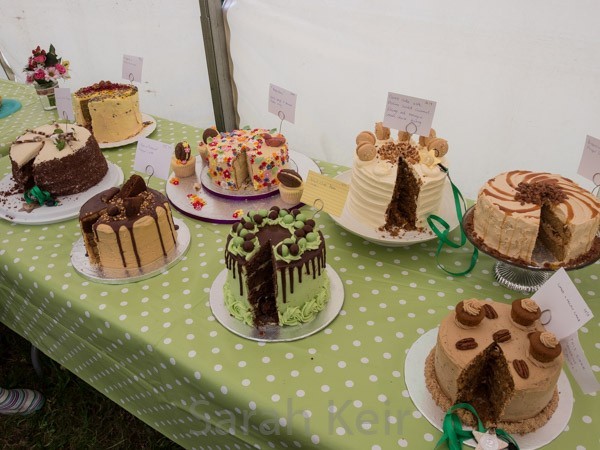
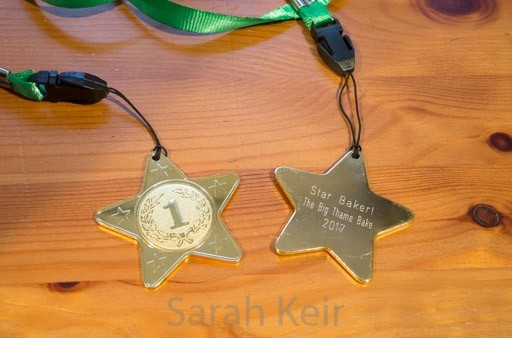
    After the village show this year, I decided to enter a bigger cake competition to acquire new skills and stretch my existing ones and so I entered the Thame Food Festival Bake Off. I chose to enter a fun category (Lotte’s kitsch cakes, judged by Lotte Duncan), a seasonal one to use up all those apples from the garden (harvest festival happiness, judged by Jane Beedle from the Great British Bake Off) and a challenging category (choux pastry, judged by Chris Wheeler). When I got the cakes to the show this morning (after a hideous 6am start), I was really chuffed with what I had achieved. And then I was even more proud to found that I had won two first prizes! I got these cute star baker medals too!


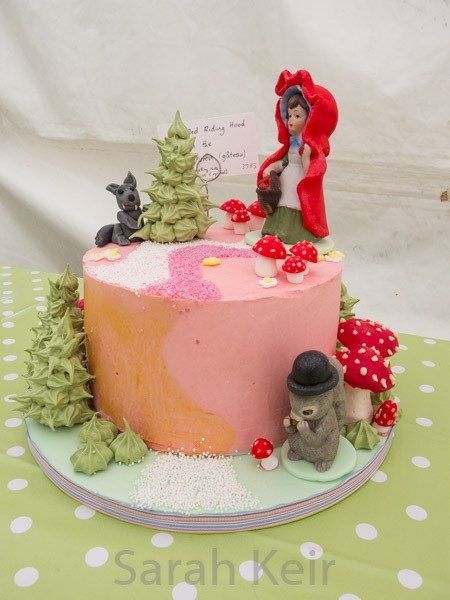
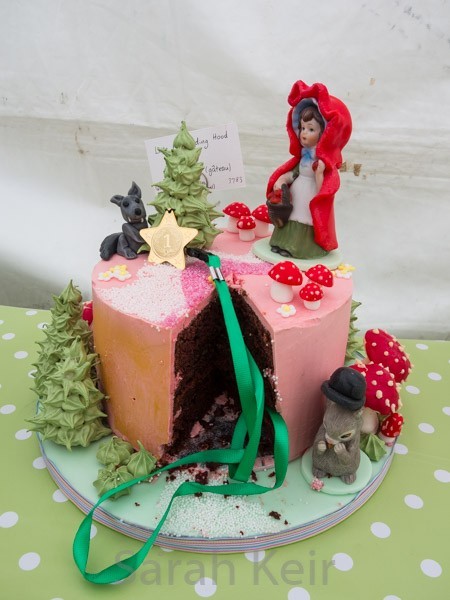
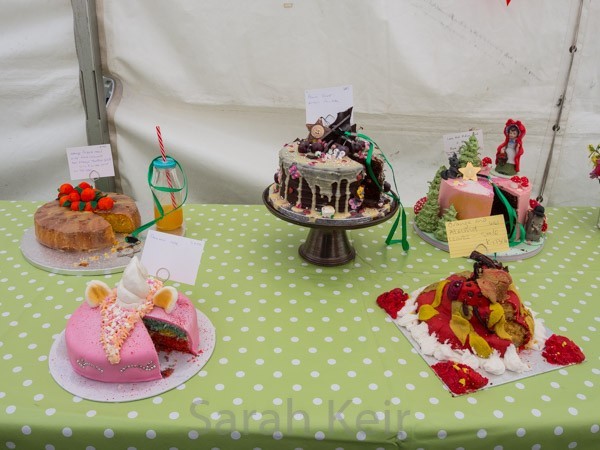
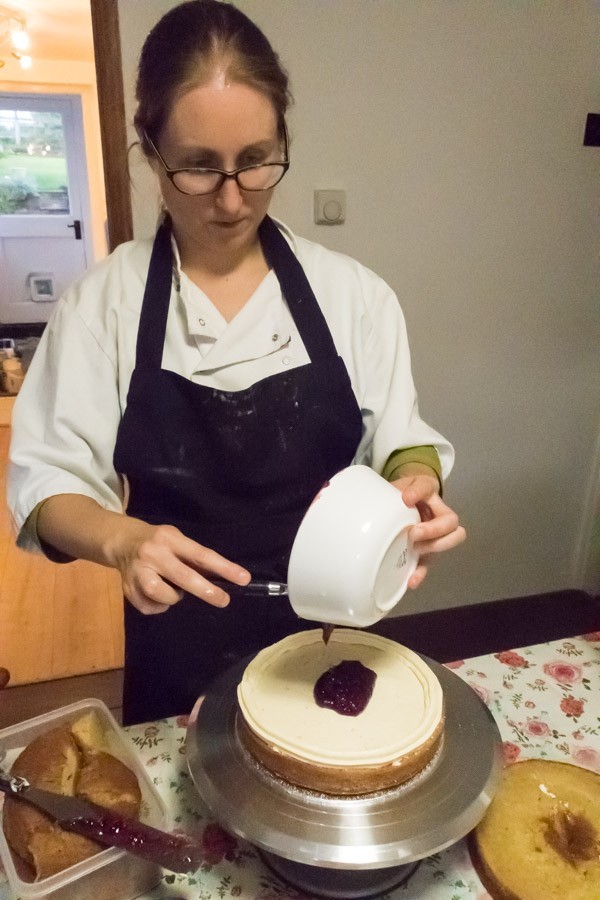
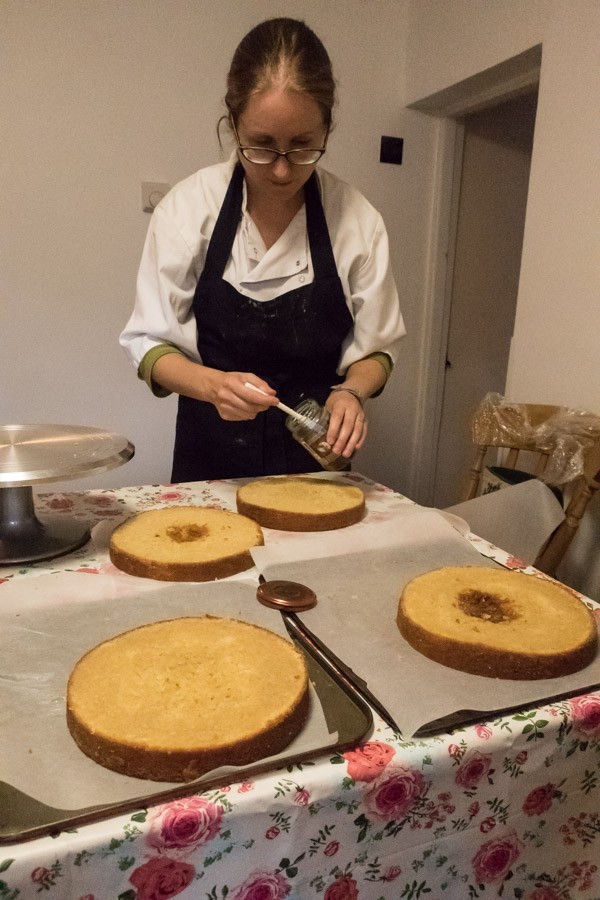
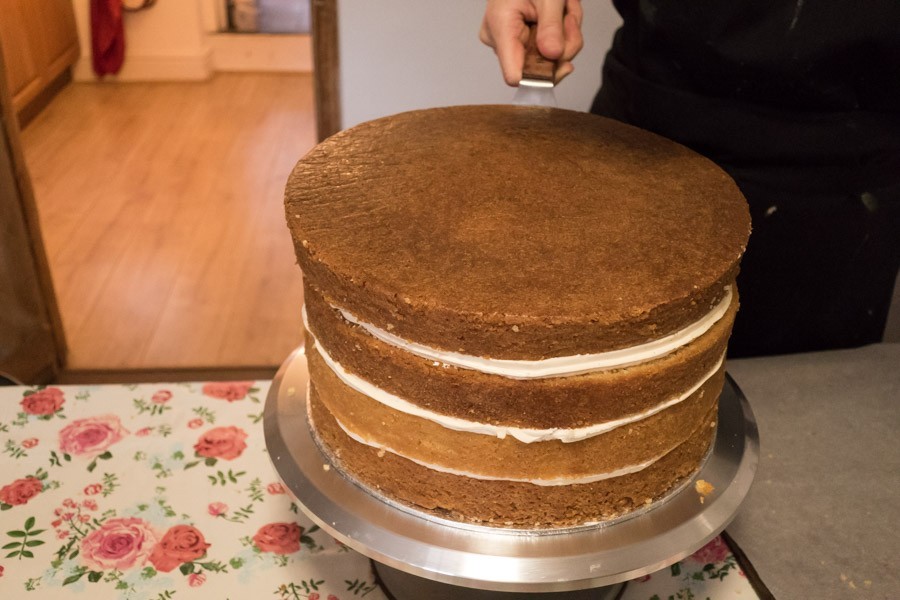
    I definitely had fun with the kitsch cake, thinking of what to do to make it as kitsch as possible but still tasty and then how to make the decorations to complete my vision. I made a cake I titled ‘Little Red Riding Hood in the Black Forest (gateau)’ with my delicious chocolate buttermilk layer cake (recipe here) and Swiss meringue buttercream flavoured with cherry cordial and coloured pink. I made all the decorations except the figurine for Little Red Riding Hood and the squirrel, both of which I found in charity shops. There were Italian meringue trees and bushes, meringue mushrooms decorated coloured white chocolate (recipe here, but I used food colouring powder to colour the white chocolate so it didn’t seize this time), a fondant wolf and a red cape for Little Red Riding Hood, a bowler hat for the squirrel and mini fondant mushrooms and flowers. A few sprinkles and a bit of glitter and it was done! I was really pleased that my cake beat five others in this category, one of the largest in the show.


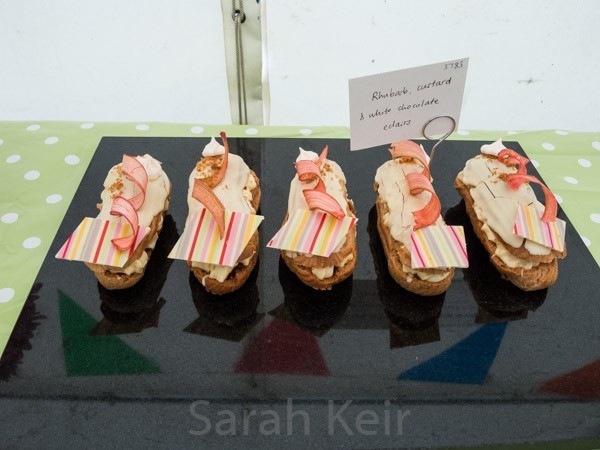
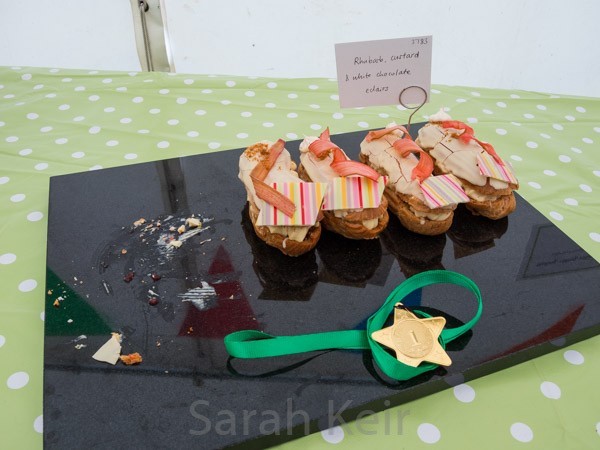
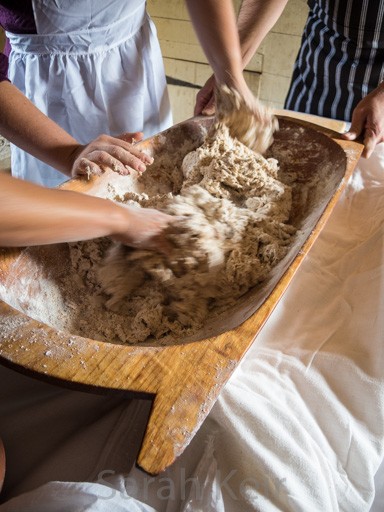
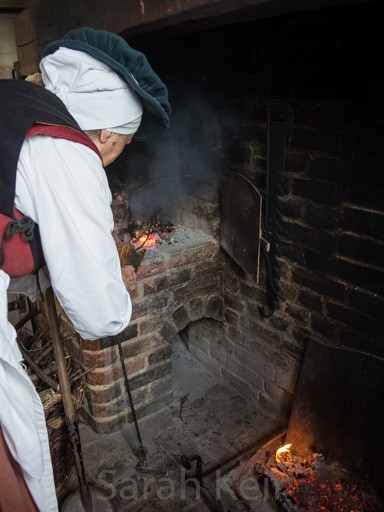
    I must of been mad when I chose something challenging and then chose to make choux! If I had known how difficult this pastry is and how challenging weather would be then I am not sure I would have chosen this category. I must be the only mad one as I was the only entrant in this category! These final eclairs are the culmination of about 10 hours of baking trials and 6 different lots. Different ingredients, different recipes, different piping nozzles, to streusel or not streusel top, different baking temperatures and timings… I will write a full post on what I learnt, even if it is only for prosperity and I never make them again! Today was so humid that within seconds the choux had softened. Anyway, here are my rhubarb, custard and white chocolate eclairs – choux eclairs filled with rhubarb, vanilla cremeux and rhubarb gel topped with white chocolate and a rhubarb twirl.

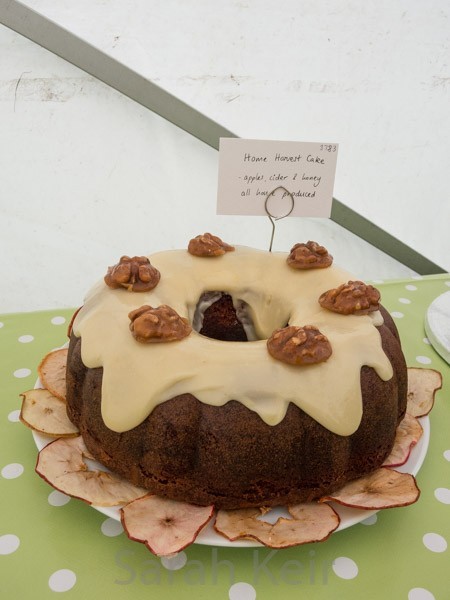
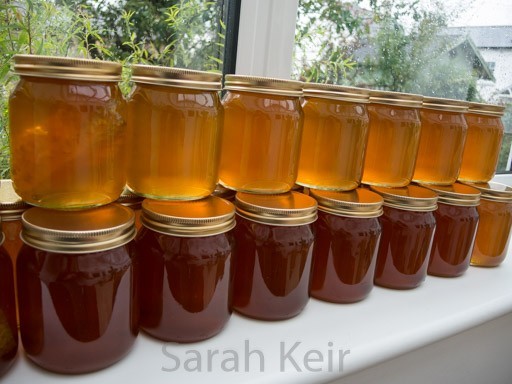
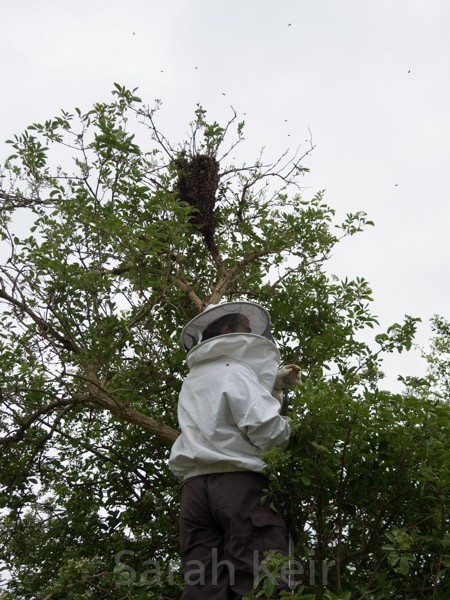
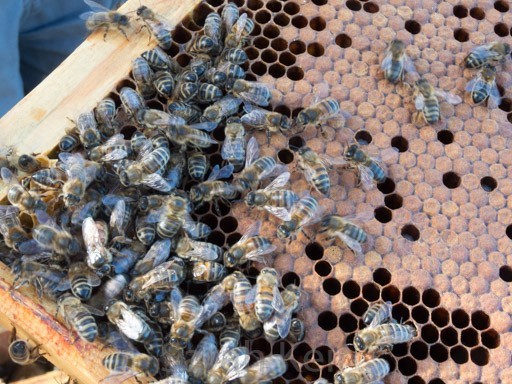
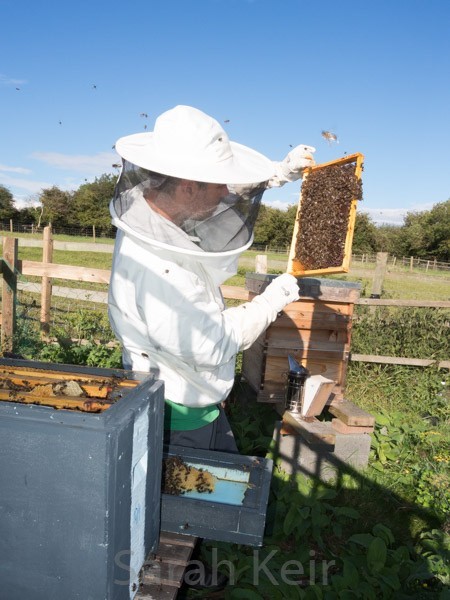
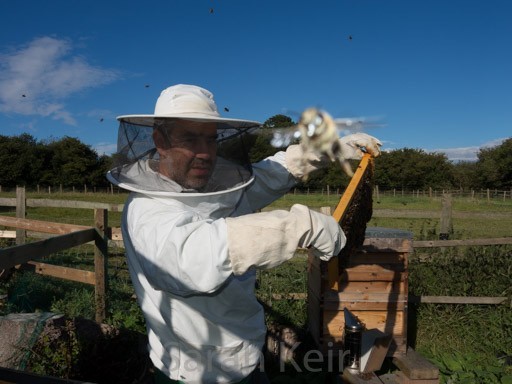
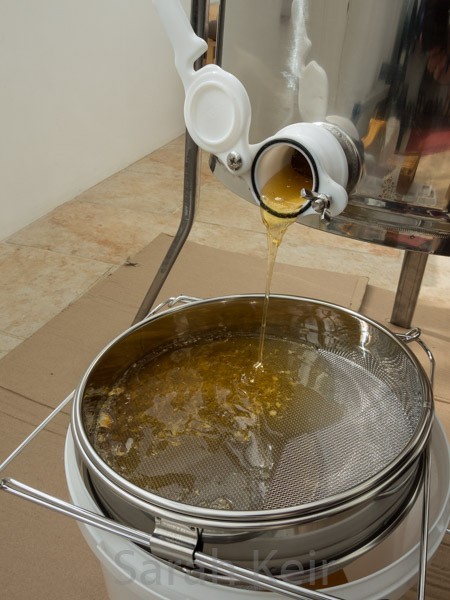
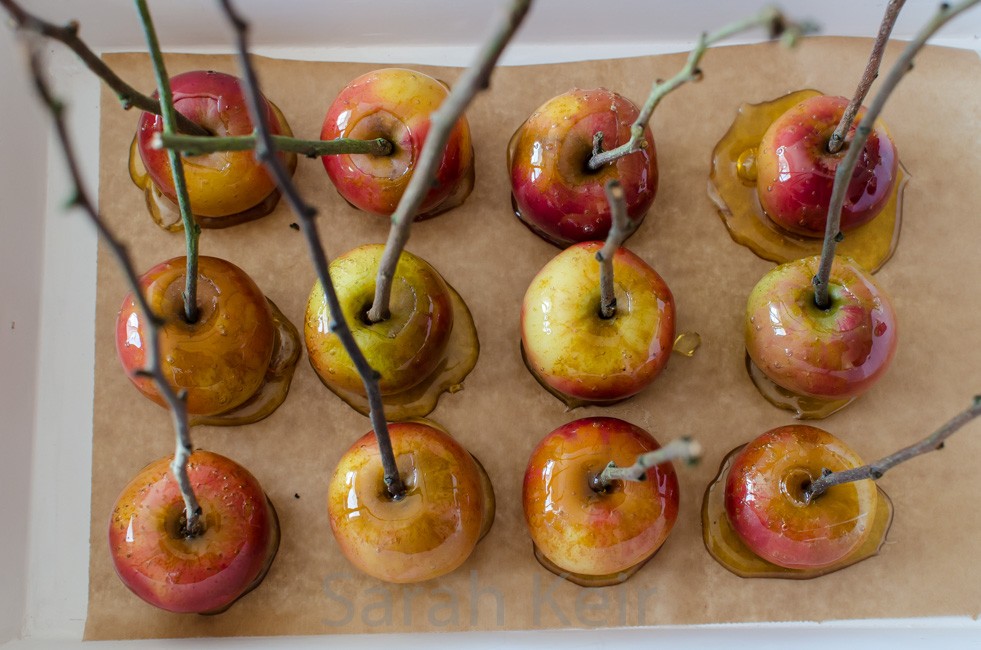
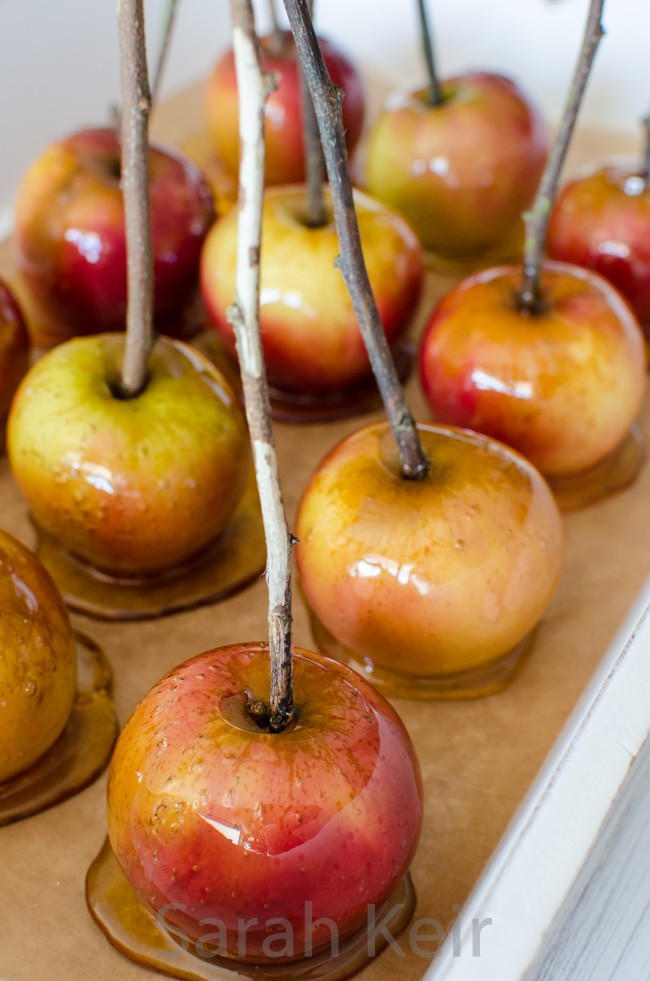
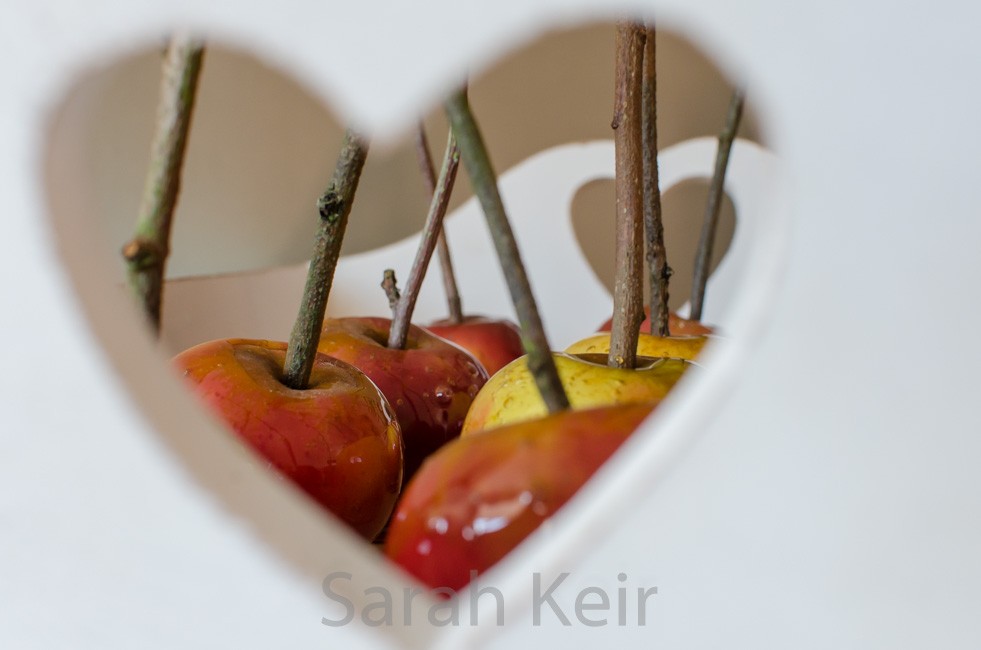
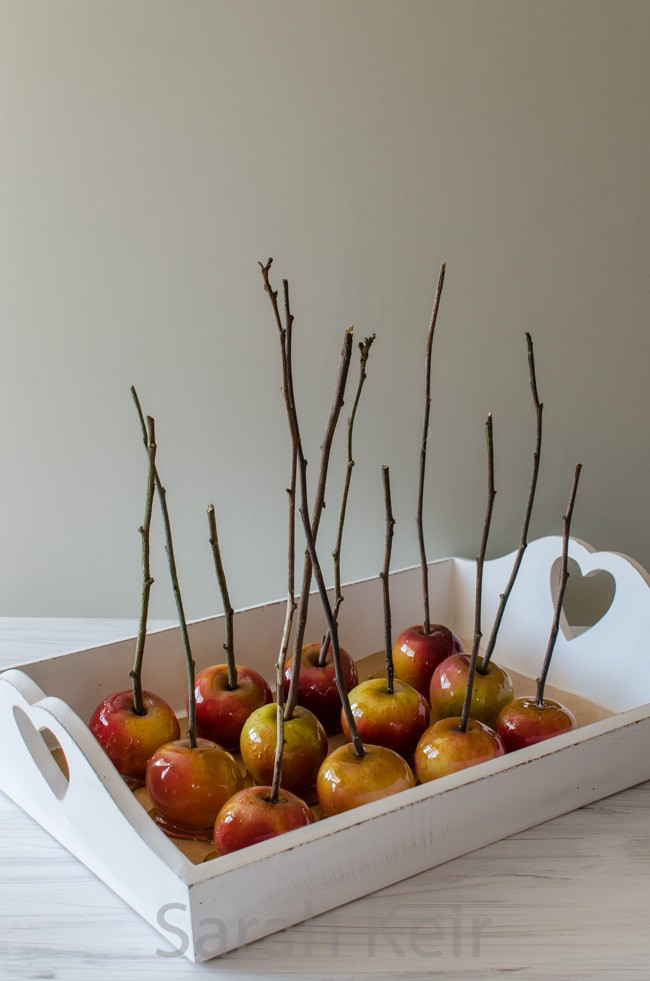
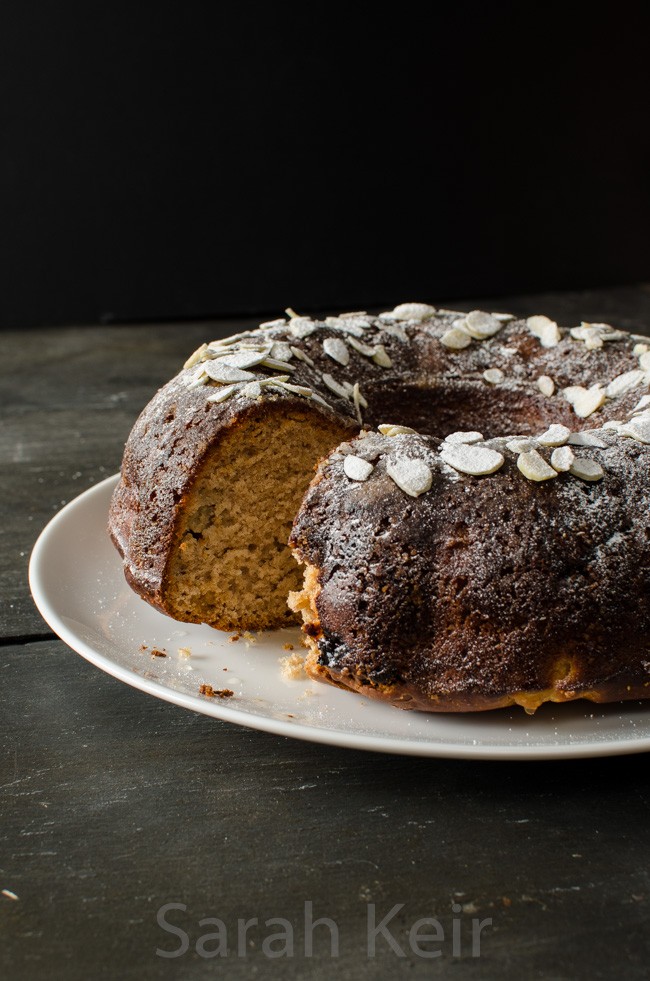
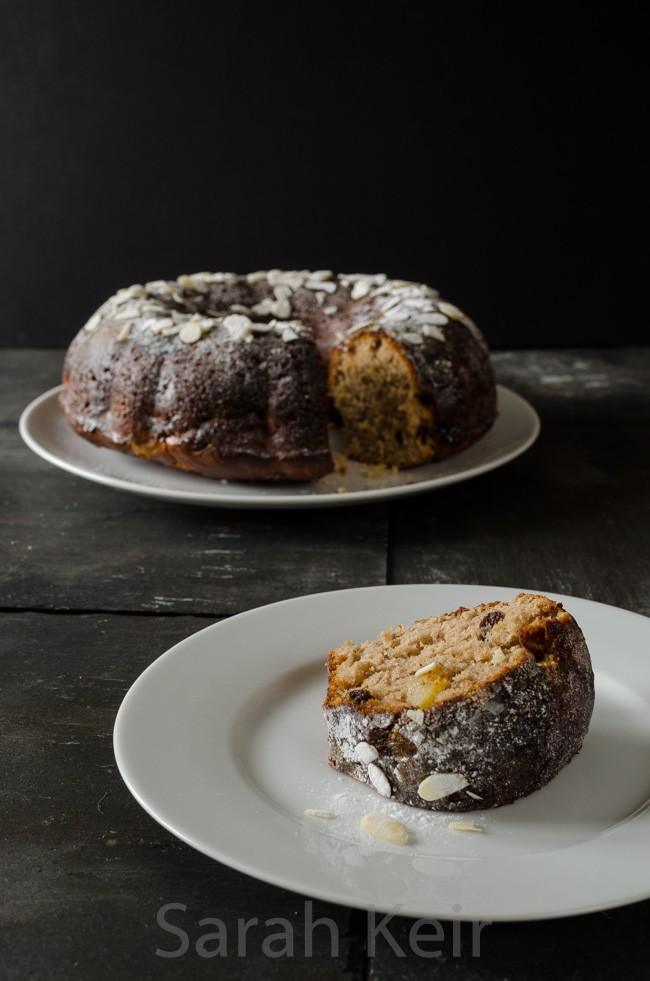
    My harvest cake wasn’t placed but I was still happy with it. I knew I wanted an apple cake but after the flop of an apple cake at the village show (a little too moist), I knew I needed to up my game. It actually took several recipes over several weeks to find one I liked and then tweak it so that it came out how I imagined it. It may not have been placed but I am pleased with it – cinnamon apple cake with honey from our garden and cider soaked walnuts, honey glaze and buttered walnuts and dried apple slices to decorate. Recipe coming up in a future post.

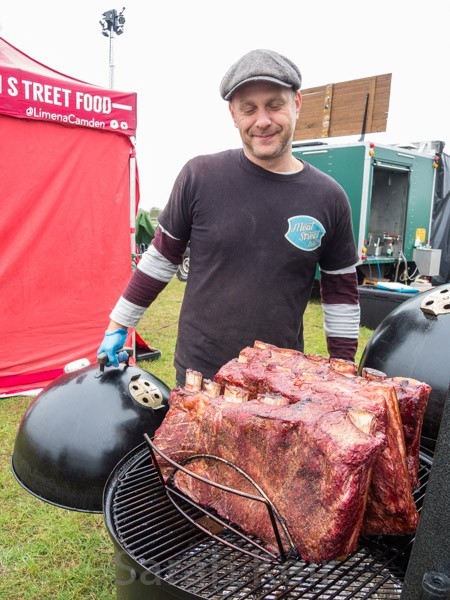
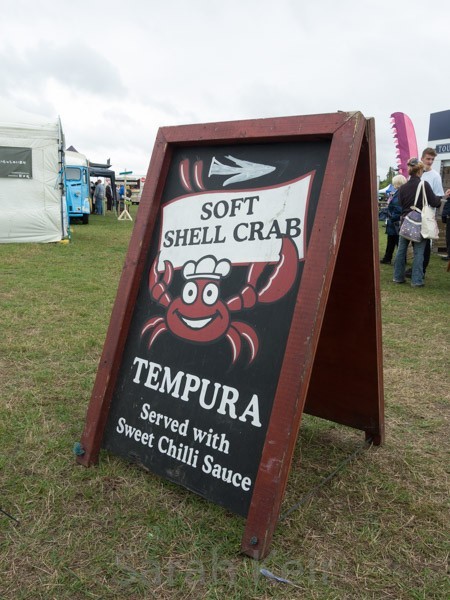
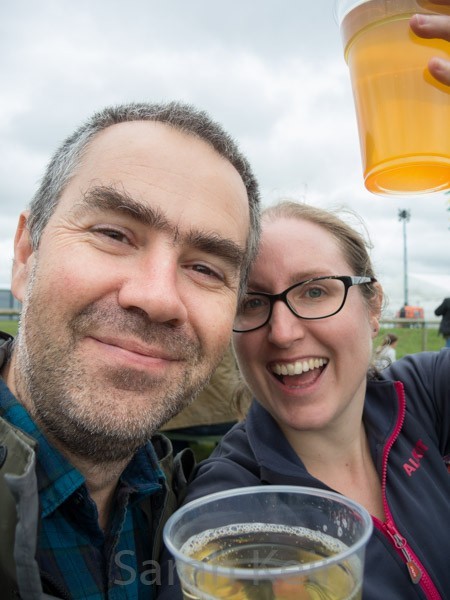
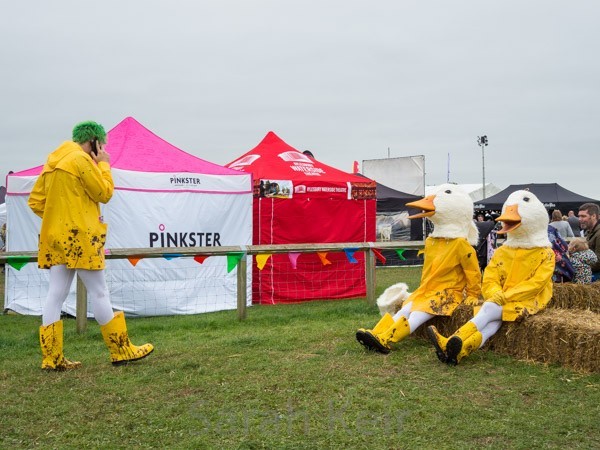
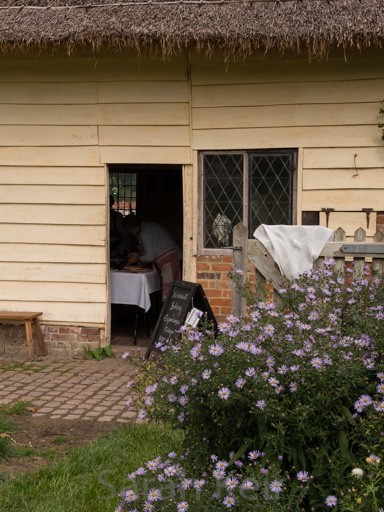
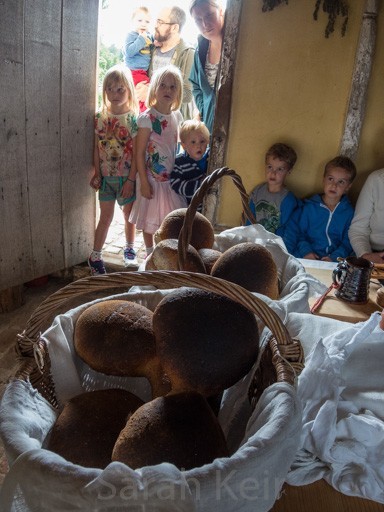
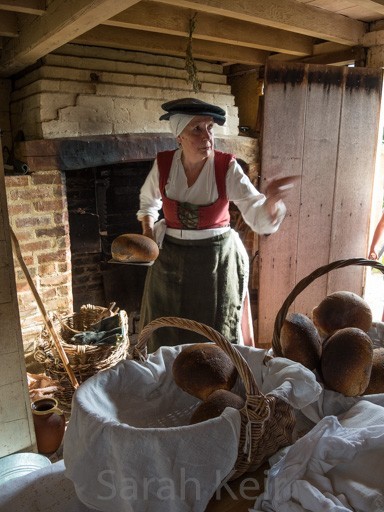
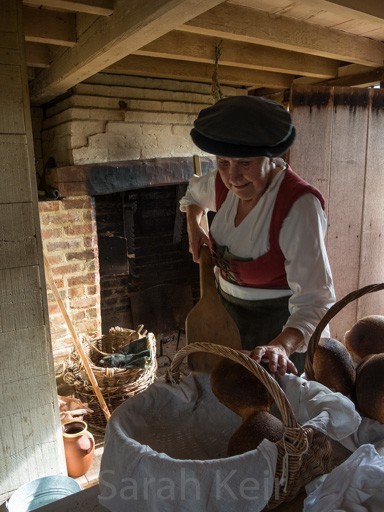
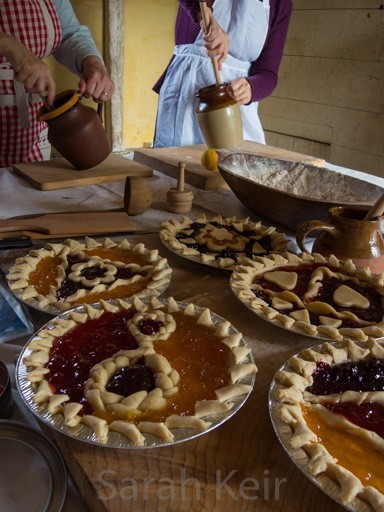
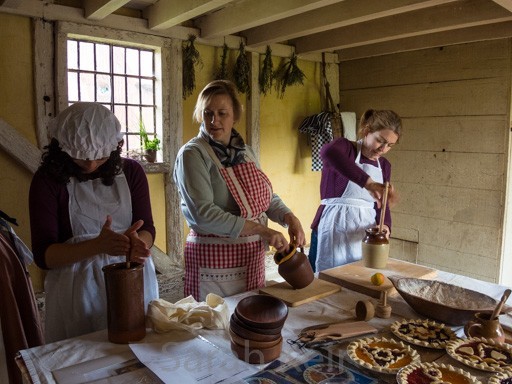
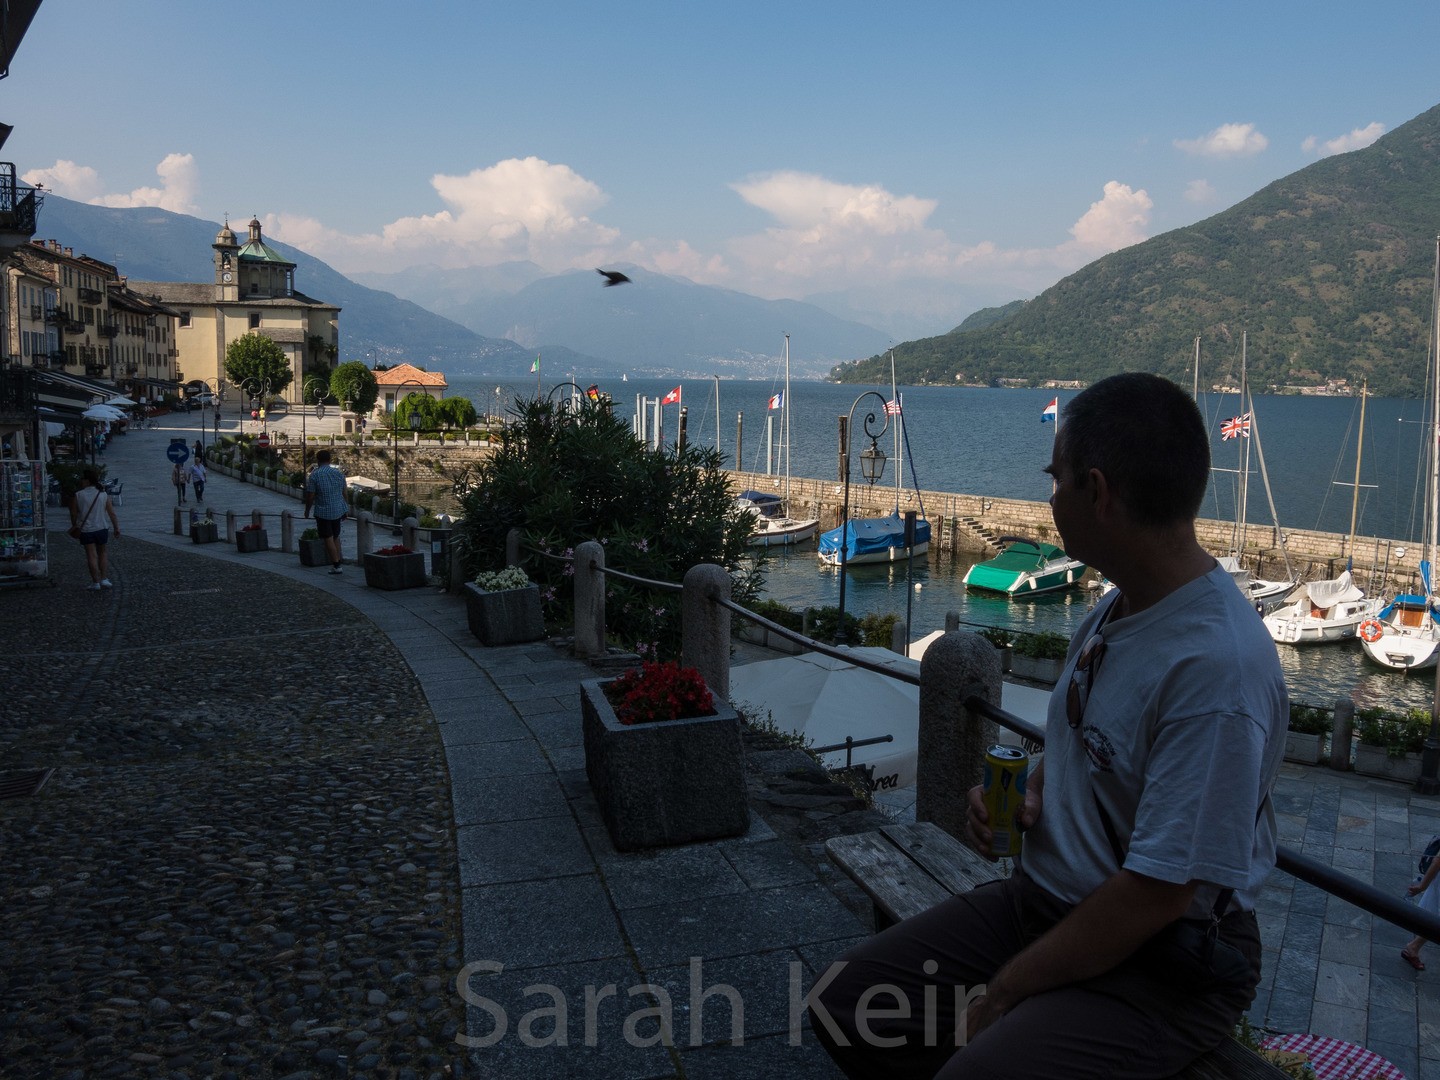
    I will need to enter next year and try to win the Magimix Patissier machine, especially as they didn’t even have any for sale at the show! It was definitely challenging weather today as it was so humid that when we collected the cakes, the sugar work was weeping! We had a lovely day going around the stalls, sampling delicious food and drink and spending all of our pocket money!


  2. Honey, honey, honey… and now everything is sticky!

    September 21, 2017 by sarah

    This past week we (other half and I) have been busy with the honey harvest! The bees are really my husbands hobby, but I help out when I can. We have two hives at the back of the garden, behind the chickens. They are fascinating creatures to watch and generally placid as they are too busy going about their business collecting nectar and pollen. I say ‘mainly’ placid as I got stung on the face a few weeks ago though I was strimming the weeds around the hive without any bee suit on and Jim got stung multiple times last week when he was merging two hives together and they didn’t appreciate the move (he was only wearing a half length bee suit and so he got stung on the ankles – ow!).

    The honey harvest! The jars on the bottom look darker as there are other jars behind them.


    But now it is time for us to get our first honey harvest. This is the third year we have had bees and only the first time we have got any honey from them. It takes a couple of years for the colony to be strong enough to harvest and the first colony died in its first winter. We had a fair amount of ‘fun’ with the bees this year, what with swarming several times. Part of the merging of hives was to get rid of a weak queen (in a humane way, she was euthanised) and then bring together to the two smaller hives so they stand a better chance of surviving the winter. Which meant we only got to harvest the other hive.

    We turned the conservatory over to honey extraction as we could keep the cat out and minimise stickiness (to a degree!).


    Keeping bees is not a cheap hobby and the cost of the honey nowhere near covers the real costs of producing it which is why real, locally produced honey is the price it is. But you can come and meet the bees if you like and at least see where they live. Very low food miles! This honey is very local, totally natural (no added sugar unlike some supermarket stuff) and is raw (supermarket stuff is pasteurised which kills off the good enzymes). I also have a couple of jars of capping for sale – these are full of natural wax, pollen and propolis so are really good for you, especially if you suffer from hayfever. I am very pleased with the harvest – 26 jars of 1lb (454g). Some of the jars also have chunks of comb in.

    The capped honey waiting to be extracted from the comb.


    Did you know that to produce one pound of honey, 2 million flowers need to be harvested? In its lifetime, one honey bee will only collect 1/12th of a teaspoon of honey! Wow, that is a lot of trips out and it is all very weather dependant; bees make great weather forecasters. In the middle of a summer, the hive will contain about 50,000 bees all under the care of one queen! And that 80% of our fruit, vegetable and seed production depends on the pollination of insects like bees!


    The swarm when it was in next door’s pear tree!

    Putting the swarm in a temporary box as the second hive hadn’t arrived yet.

    Jim up a ladder collecting the swarm the first time.

    Can you see the queen? She is marked with white.

    Jim inspecting sub-hive 2!

    Watch out for the camera!

    Removing the super full of honey!

    The honey ‘tap’ is called a honey gate and it makes a nice clean job of getting sticky honey into a jar with minimal stickiness!

    A frame of honey in the extractor – beautiful!

    This process is called uncapping – removing the wax caps from the cells of honey so it can be extracted.

    Frames waiting to be extracted – a nearly full super.


  3. A historic baking day

    September 16, 2017 by sarah

    Today I spent a lovely day at the Chiltern Open Air Museum near Chalfont St.Giles on a historic baking day. I discovered this delightful museum quite by chance when looking online for something to do when my parents were visiting. Together we had a lovely time wandering around the rescued building from the local area and talking to the volunteers there – I was very impressed with the allotment! My Mother booked me on this baking day as a Birthday treat (still 3 months off I might add) as it looked different.


    There were only 5 of us and we spent the day in an 18th Century cottage with volunteer Jenny Templeton, preparing bread and learning how to get the oven up to temperature (over 2 hours of feeding it wood). The bread was very slow to rise as it was a cold Autumnal day and we were glad for the work out kneading the dough. I had a delicious light lunch in the tea room, including this slice of green and jasmine tea cake (unfortunately couldn’t taste green tea or jasmine but nice light sponge) and some Fentiman’s rose lemonade. In the afternoon we shaped the dough and while it was having a final rise, we made pastry and decorated jam tarts; I took along some of my lovely ‘Autumn Glut’ jam (windfall apples and pears with damsons and brambles from the hedgerows) which went down well.  Then the bread went in the prepared oven, sealed with clay to keep the heat in. We made some butter while the bread was baking; double cream beaten with a variety of authentic implements. The butter took a lot of elbow grease to make; it so much easier with a machine! During the day and at the end I had time to wander around the museum a little and get a good look in some of the buildings. Finally our bread and tarts were baked and the butter patted and wrapped and then time to go home. I lovely day playing at a different way of baking.


  4. Wedding Cake – ‘naked’

    September 3, 2017 by sarah

    Last month, I made my first ever wedding cake! It was a monster of a cake with 4 tiers in the main cake (12″, 10″, 8″ and 6″) and an extra 10″ to feed 150 people! I am immensely proud of my cake and that I didn’t get into a strop about any set backs (there weren’t many as I’d planned it like a military operation). It did, however, take a lot longer than I had anticipated, over 28 hours in total: about 8 hours planning, researching recipes, typing out shopping lists and timetables, shopping online for ingredients and sundries then about 20 hours to make and half an hour to assemble at the venue. Wow, the Thursday before the wedding was a 10 hour sponge-a-thon, juggling batter in the oven and cooling cakes out of the oven! But I also learnt a lot as this was my first stacked cake attempt so there were countless hours spent reading about how to use dowels! I also needed to try out new recipes including trying to find a vegan cake that tasted as good as regular cake. The main problem turned out to be trying to make vegan buttercream that didn’t separate when I added Amaretto liqueur! I will post these recipes over the coming weeks.

    Bottom tier of moist chocolate cake filled with chocolate Swiss meringue buttercream, next tier of lemon sponge with lemon Swiss meringue buttercream and homemade lemon curd, next up a traditional Victoria vanilla sponge with vanilla bean buttercream and raspberry jam and a vegan top tier of almond sponge with Amaretto frosting.


    I hate eating fondant with a vengeance and only slight less like working with it so my stipulation to the bride was that it was not to have anything to do with fondant. Luckily, ‘naked’ cakes are all the vogue at the moment i.e. cakes whose bare sides are completely visible. This, however, brings its own set of issues; the outside of every cake must be perfectly evenly baked and come out of the tins without pulling any crust off and drying out as there is no icing to protect it. The later problem really worried me as no-one likes dry cake and I knew the naked cake would be sitting out for many hours during the wedding on a potentially very hot August day. I can confirm that my measures lead to a moist cake that stayed moist for many day! This was due to making the cakes with butter not margarine, adding a little vegetable glycerine to act as a humufactant (buy in the baking section of the supermarket, made from vegetable oils so not that artificial), making them as close to the day as possible (maximum 48 hours previously) and soaking the sponges with flavoured syrups while stacking the layers. I also used meringue based buttercreams (except for the vegan layer) as these are more stable when conditions are not perfect. I certainly perfected my Swiss meringue buttercream making!


    I found the following websites invaluable in this project:

    • chocolate cake recipe here and lemon cake recipe here from BBC Good Food
    • brilliant YouTube video on baking and assembling a naked cake. There are also recipes on the blog which have charts so you can scale for any cake tin size. The only problem is they are in American cups rather than weight measurements which is not ideal!
    • This post by Good Housekeeping also includes instructions on assembling as well as recipes.
    • This website for lovely pictures and a cake portion guide here.

    Would I make it again – yes, but I will be charging the going rate next time!


  5. Alps Trip

    June 10, 2017 by sarah

    Here are some photos from our latest holiday!


  6. I won a photography competition!

    November 27, 2016 by sarah

    I can’t believe it! This summer I won a competition for my food photography! I have never won anything before with my photography and in fact the only thing I remember winning is a bottle of blend whisky in a veterinary raffle! Here is my winning photo.

    competition


    And here is the photo I was emulating. And I had to make the recipe too, which you can find on an earlier blog entry here.

    competition-3


    I have to be realistic though that it is not a major competition, just a food magazine competition. Nether the less, I won a set of professional knives worth £700. They arrived this week and I couldn’t wait to unpack them. Until this point in time I have had only one knife capable of cutting anything firmer than a tomato and now I have a set of eight! I think I’ll look at entering some more food photography competitions!

    knives-4 knives-3 knives-2 knives


  7. Essaouira, Morocco – holiday

    November 21, 2016 by sarah

    A couple of weeks ago we spent a lovely week in a small town called Essaouira on the coast of Morocco. We spent a wonderfully relaxing week wandering the souks, tickling cats,  reading books that I have been meaning to read for years, taking morning ‘nos-nos’ coffee and pastry and afternoon mint tea and pastries, eating delicious tagines/pastilla/grilled sardines, going to a real local hammam for a scrub and a touristy but luxuriant spa for a massage, watching a film (Ex Machina) in the open-air cinema… And spending time together, talking and getting to know each other again. All this (flights for two and a nice riad hotel in the centre) cost less than renting a cottage in damp, cold England! The world is crazy!


  8. Toffee Apples – an Autumn treat

    October 27, 2016 by sarah

    Apples, Autumn, Halloween, Guy Fawkes and Bonfire night. Whatever you celebrate at this time of year, this recipe will make your get together complete. You can even kid yourself that they are vaguely good for you (they are based on apples after all!). The deliciously caramel tones of the toffee as it crunches in your mouth against the sharp-but-sweet juice of the apple underneath is a perfect combination. Just be careful if you have fillings!

    Once these are made, you need to eat them ideally within 24 hours otherwise the apples start to become soft. You can wrap then in parchment or cellophane but the apples still go soggy. I used twigs from my apple tree for the sticks (they are non-toxic) but feel free to use lollipop sticks or even spare forks to spear your apples. Sometimes these are coloured with food colouring but I prefer the natural touch though gothic black with rosie pink apples peaking out might well fit a Halloween party! To make them a little grown up, how about sprinkling them with sea salt flakes before the toffee hardens?

    toffee apples-4 toffee apples-5

    Toffee Apples


    12 small apples (kids lunch box size or Coxes but I prefer crunchier apples than Coxes)
    400g sugar – granulated or caster, entirely white or some soft brown/un
    1 teaspoon white wine vinegar
    4 tablespoons golden syrup

    Firstly you need to prepare the apples to get rid of the wax that coats them as otherwise the toffee will not stick. I did this by putting the apples in a colander in the sink and pouring over boiling water from the kettle then I dried the apples and gave them a good rub to remove all traces of wax.

    Stick firm sticks (I used apple sticks) into the stalk end of the apple – make sure these are firm as these are your handles. Set the apples on a baking tray covered in baking parchment.

    Place the sugar with 100ml water in a large heavy bottomed pan over medium heat. Stir to dissolve the sugar and use a dampened pastry brush to brush down any sugar clinging to the sides. Once all the sugar is dissolved, stir in the vinegar and syrup.

    Now turn up the heat and DO NOT stir. Use a sugar thermometer and check that 150°C (hard crack) is reached.

    Remove the toffee from the heat and carefully swirl the apples in it so they are completely covered, allowing extra to drip back into the pan before sitting the apples on the prepared tray. Repeat with all the apples; if the toffee is getting too thick then carefully heat again until it loosens in texture. Be very careful as the toffee is very hot and will give you a nasty burn if it touches you – if you are a little worried then fill the sink with cold water before doing this.

    toffee apples-2 toffee apples


  9. The Chocolate Show, London

    October 17, 2016 by sarah

    Yesterday, I answered that long-standing question – can you ever eat too much chocolate? I can now confirm the answer – yes! We went into London to The Chocolate Show, being held at Olympia. I originally found out about this show through the International Chocolate Awards, which were holding their ceremony at the show (but I missed it as it was on Friday when I could not attend). I could not believe there was so much high quality chocolate on one site! I spied lots of famous chocolatiers, including Paul A Young. We tried his chocolate afternoon tea at the show, which I have to say was the biggest disappointment (soggy bread, dense scones, dulche de leche instead of made caramel sauce, crystallised ganache). We signed up to a monthly chocolate subscription service so we can continue to eat good chocolate all year and I brought home a huge bag of chocolates and bars to try. It was also very inspirational in regards my amateur attempts at chocolate making – yuzu is the in thing, along with bean-to-bar producers.


  10. Apple & Cinnamon Kugelhopf

    October 13, 2016 by sarah

    Now the days are really turning Autumnal; it is chilly at night and dark when I get up in the morning. But it is time to stop reminiscing of picnics and barbecues and late evening walks in the sun, and embrace the change of the seasons. The cool days, the wet days, the sitting by the fire, the fire coloured leaves that suddenly drop in a storm, the comforting puddings, vin chaud and cake. And so this has to be the perfect season for this recipe. Using the last of the British apples fresh from the tree and combining them in a spiced dense yeasted cake. This is not a fluffy and light as air sponge, this cake has some heft and needs a walk to digest it but it is not rich or cream leaden. I particularly enjoyed it re-warmed with yogurt for breakfast.

    kugelhof-3


    This recipe calls for a bundt tin but you can use a large loaf tin instead. Because of the butter and eggs in this dough, it is slow to rise. If making an enriched dough like this on a chilly day I definitely use my ‘lizard mat’, an electric warming mat sold for use under reptile houses. You can pick them up cheaply online and they just give the dough an extra boost in rising. I don’t have a proving draw like the contestants on Great British Bake Off!

    kugelhof-2

    Apple & Cinnamon Kugelhopf

    60g unsalted butter, softened, for greasing
    60g ground almonds, for dusting

    200ml full-fat milk
    85g caster sugar
    85g unsalted butter, very soft
    200g plain flour
    200g white bread flour
    3 teaspoons ground cinnamon
    1 teaspoon fine sea salt
    lemon zest, 1-2
    12g fast-action yeast (1 and 1/2 sachets)
    3 medium free-range eggs
    2 eating apples, peeled, cored and diced (about 220g)
    75g sultanas soaked in booze for 24 hours

    Thoroughly grease the bundt tin with the soft butter and dust with the 60g ground almonds; tip out the excess.

    Warm the milk with 25ml water.

    Cream together (by hand, hand mixer or stand mixer) the sugar and butter until pale and fluffy. Add the flours, cinnamon, salt, lemon zest and instant yeast. Add the warm milk/water and the eggs. Slowly beat together until comes together then beat on medium for 5-10 minutes until the dough is sticky and stretchy. Fold in the diced apples and sultanas.

    Transfer the dough to the prepared tin, cover with greased clingfilm or shower cap and leave somewhere warm (like on the lizard mat) for 1-2 hours until it is doubled and nearly reaching the top of the tin.

    Preheat the oven to 190°C/170°C fan with a rack in the middle of the oven.

    When the oven is up to temperature, bake the kugelhopf for 35-40 minutes, starting to check after 30 minutes. It is done when a skewer comes out clean and the cake starts to pull away from the sides of the tin. Cool in the tin for 5 minutes before turning out to cool fully. Decorate with sliced almonds.

    kugelhof