RSS Feed

June, 2015

  1. Lavender shortbread biscuits

    June 30, 2015 by sarah

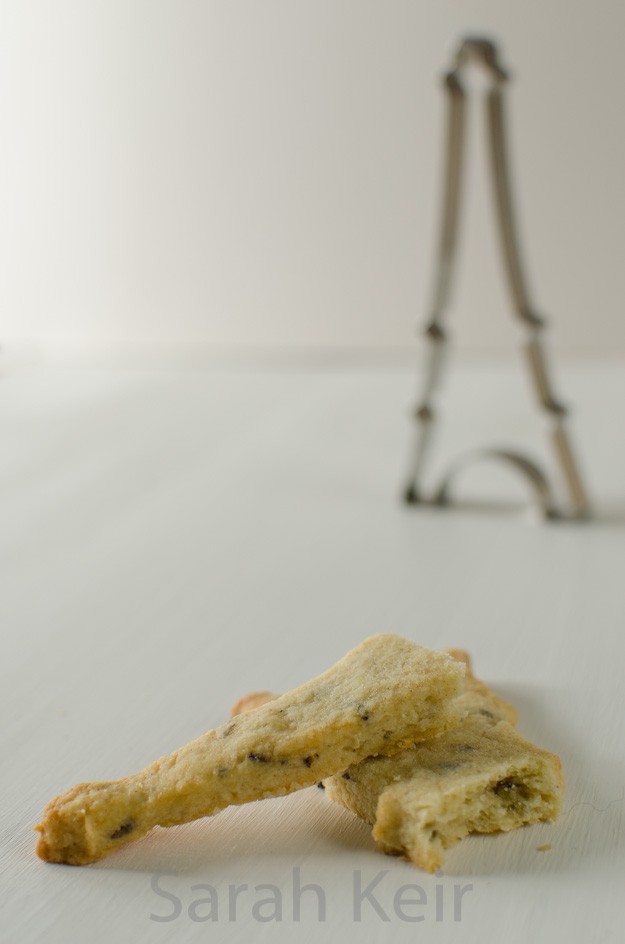
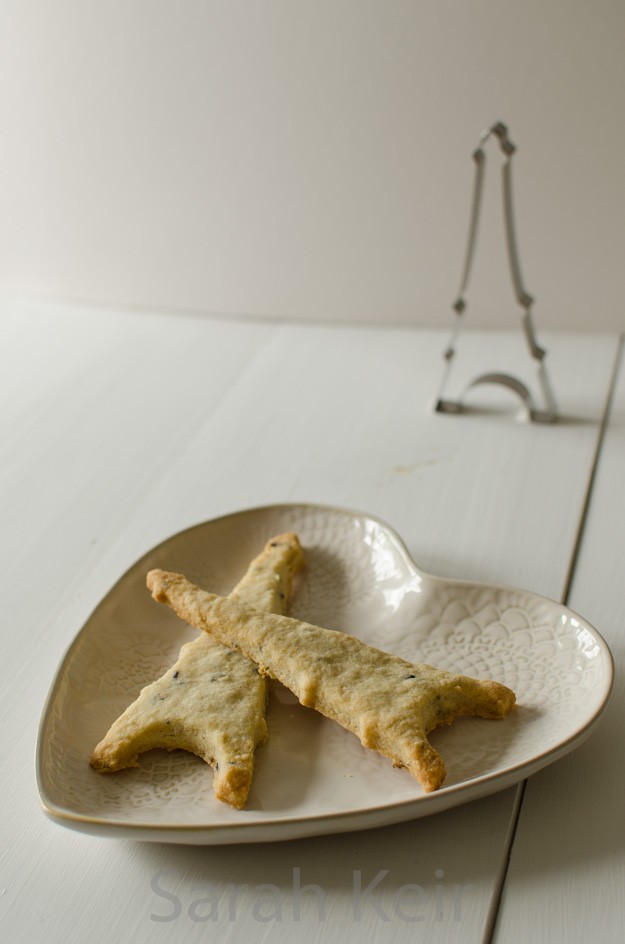
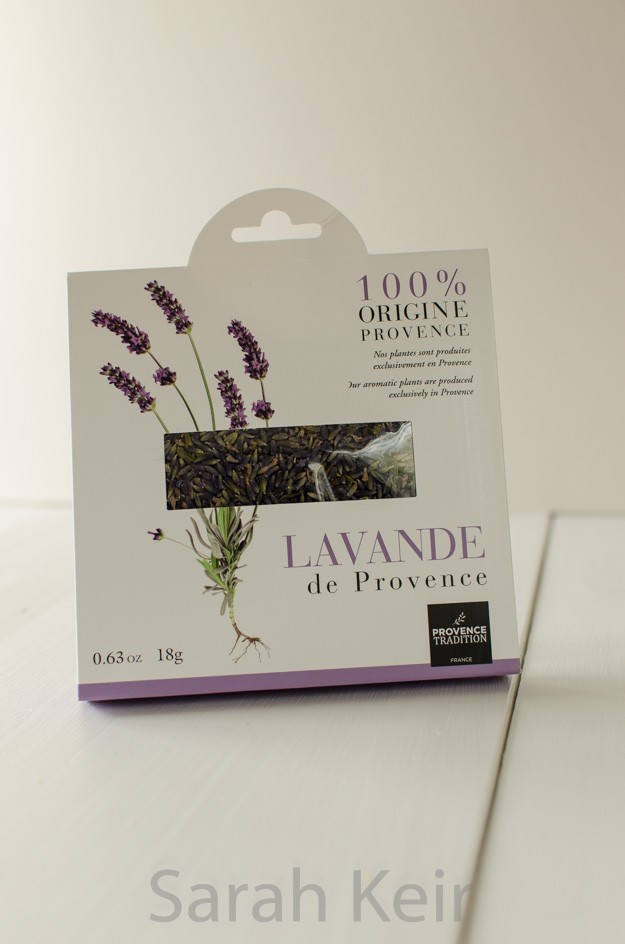
    When in Paris, we walked by a massive department store and I could not help myself from going in. The food hall was like at Harrods. We spent 3 hours in there, or more accurately I dragged my husband around for 3 hours! It had an amazing array of food stuffs from all over France, naturally, but also from all round the world. I wish I could of taken more back but we managed to bring back a bag of different cheeses, saucissons and dried ham, plus some chestnut flavoured yogurts (yum!). I also found some unusual spices that I did not have in my cupboard (including wild pepper from Madagascar) and I bought some culinary lavender and a cute Eiffel tower cookie cutter. And so this recipe was inevitable. The lavender adds a slight floral hint without it tasting of your favourite Aunt’s eau de toilette!

    Lavender-001


    Use the best quality butter your can get i.e. the top shelf butter in the supermarket, probably French stuff if they have it. You will REALLY taste the butter in this recipe so it must be good and not fridgey either. Handle it very gently using implements not a food processor. Refridgerate the dough well before cooking as with any pastry and do not over cook. It must be crisp but pale – the butter and sugar will make it colour easily so watch it like a hawk and I would recommend checking every 5 minutes maximum towards the end of cooking.

    Bon appétit!

    Lavender-004

    Lavender Shortbread Biscuits


    150g unsalted butter, cut onto small pieces and soft

    75g caster sugar

    150g plain flour, ‘OO’ if you can get it

    75 rice flour

    good pinch of salt

    1 tablespoon of culinary lavender flowers, finely chopped (with a mezzaluna chopper is easiest)

    Use a wooden spoon to cream the butter and sugar together. Then use a fork to mix in the flours, lavender and salt. Bring the crumbs together into a ball and knead until it just comes together and no more, otherwise the shortbreads will be tough. Pat into a flat round and wrap well in cling film. Refridgerate for 30 minutes or more if you have the time to do so.

    Lightly flour a smooth work surface and a rolling pin. Gently roll out the dough, working from the middle out to reduce stretch on the dough. Cut out into shapes and place on baking parchment on a baking sheet. Place in the fridge for at least 30 minutes.

    Cook at 170º C or 150º C if fan oven, for 25-30 minutes, watching carefully towards the end so it stays pale. Cool on a wire wrack and dredge with caster sugar if desired. The shortbread will last for several days in an airtight container – if you can resist eating it all in one go!

    Lavender-003


  2. Lovely garden flowers in June

    June 16, 2015 by sarah

    A lovely afternoon off work; lunch in the garden then playing with flowers! Then painting the house.

    flowers-001 flowers-002 flowers-003 flowers-004 flowers-005


  3. Scones plus jam plus cream

    June 9, 2015 by sarah

    Scones are perhaps too plain for today’s tastes but no afternoon tea is complete without them. Some (my husband) consider them a vehicle for cream and jam but a properly made scone should be a delight on its own, perhaps with some fresh butter. A slightly crisp crust outside and fluffy but not cakey or spongy interior. They need to rise well and have some colour on the top. Not as easy as it sounds; just look at my rather flat offerings. My excuse is I knocked them together in a few minutes between gardening and painting the back of the house at the weekend. Not much of an excuse but I’m sorry.

    scones-002


    There are a few trick and tips to help your scones turn out better. My main problem was that I patted the dough too thin before I realised and didn’t have the time to rework it. Do not use recipes that add egg; the scones turn out too cakey. Work the mixture as little as possible, leave large flakes of butter in the dough, pat into correct thickness (2cm) rather than using a rolling pin and do not twist the cutter when stamping out. Finally, clotted cream and homemade jam are essential.

    Ultimate Scones


    225g self-raising flour
    1/4 teaspoon salt
    1 teaspoon baking powder
    50g chilled butter, cut into cubes
    25g caster sugar
    150ml buttermilk or whole milk to which couple teaspoons of lemon juice is added

    Preheat the oven to 220 ºC/200 ºC fan. Lightly grease a baking sheet with spare butter.

    Sift the flour, salt and baking powder into a large bowl and rub in the butter but stop when there are still some large flakes. With a knife, stir in the sugar and then three quarters of the buttermilk, mixing until it comes together and using more buttermilk if necessary. It makes a fairly sticky dough.

    Flour your work surface well, tip out the dough and give a couple of brief kneads then pat to a thickness of 2 to 2.5cm (one inch). Stamp out rounds with a 5cm pastry cutter, trying not to twist the cutter (it makes the towering scones topple) and place on the baking sheet. Brush the tops with milk.

    Bake in the preheated oven for 10-12 minutes, until the tops are golden. Serve immediately but they also freeze well and can be pepped up by a few minutes in the oven.

    scones-001


  4. Spice 11 – Caraway – Sauerkraut

    June 2, 2015 by sarah

    I’m experiencing a bit of writer’s block. I have a folder full of recipes and photos to share . . . but I can’t think of anything to say other than: they are all delicious. And of course they are delicious or I wouldn’t share them with you. The problem is that the more recipes and photos I pile up here and the more I tell myself I need to get writing, the harder it seems to get down to it. Surely there is an end in sight though? The past week of writer’s block will surely translate to a very prolific week of words now? Well, we’ll see. I also keep being distracted by the thought of the patisserie in Paris. I think I need to find a ‘how to’ patisserie course.


    caraway-002


    Perhaps it is because my next spice is not really doing anything for me. Caraway has a pungent anise-like flavour and aroma, which is one group of tastes and smell I don’t get on with. Probably how it gets its alternaltive name of meridian fennel or Persian cumin. The seeds are actually fruits and are a member of the carrot family (thank you wikipedia). It is used extensively in Indian rice dishes and European rye breads, plus British seedy cake. The dish I came across in which I actually mildly liked its flavour was sauerkraut that I had a couple of years ago in Berlin. The recipes for making sauerkraut did not look hard, and indeed it was not difficult to make. The sharp-sour taste works well with pork and fish dishes.

    This recipe is from The Kitchn, altered by adding a  tablespoon of caraway seeds mixed with the cabbage. You can also try adding juniper berried too; lightly crush them first.

    Sauerkraut

    You need a large, or couple of, jars with wide necks. Probably the type you buy sauerkraut in from the supermarket. I used a couple of these jars from Ikea (they are like kilner jars) and they worked great too. The trick is making sure there is enough liquid to submerge the cabbage and to keep the cabbage submerged while it is fermenting.

    1 medium head of white cabbage
    1 and 1/2 tablespoons of table salt
    1 tablespoon caraway seeds

    1. Clean everything. You want good bacteria to ferment your cabbage so sterilise everything with boiling water.

    2. Prepare the cabbage. Remove the outer leaves, cut into quarters and remove the woody core. Then finely shred the cabbage and place in a bowl. I found my mandoline slicer invaluable for this step.

    3. Salt the cabbage. Sprinkle the salt over the cabbage in the bowl. Clean your hands and then massage the salt into the cabbage. You need to do this for 5-10 minutes until juice starts to flow from the cabbage. Mix in the caraway seeds.

    4. Pack the cabbage into the jars/s. Tamp down the cabbage to remove as much air as possible. Add any juice that collected in the massaging stage. You need to weight the cabbage down. The easiest way I found was to use one of the discarded outer cabbage leaves on top of the salted cabbage and place a full jam jar on top of this.

    5. Cover the jar but do not seal – a clean tea towel does fine. Leave out on the work top for several days, pushing down on the cabbage whenever you can. If the cabbage is not submerged in liquid by 24 hours then add some salt water (1 teaspoon in 250ml of water) to cover.

    6. Ferment the cabbage for 3-10 days at cool room temperature. The work top in my kitchen worked fine and meant I could keep an eye on the kraut. Start tasting it after 3 days and when it reaches your ideal of sourness then transfer to the fridge and seal the top to stop further fermentation. It will keep for a couple of months in the fridge.

    caraway-001