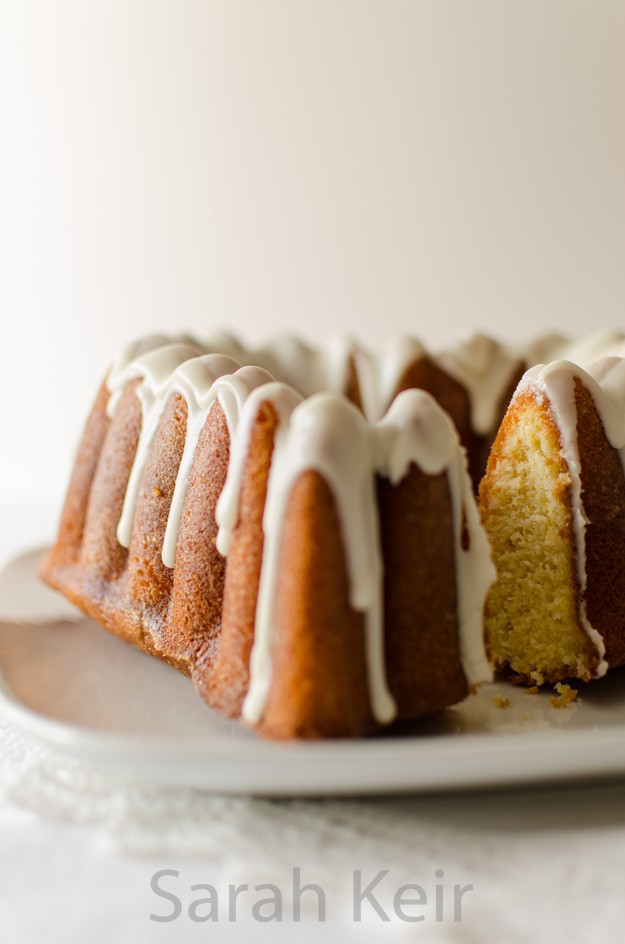
My bundt tin was calling me from the cupboard and desired to be used. Ideally, I also had a glut of eggs last week and so this cake came about. The moist lemoniness was a great little January pick-me-up especially in the run up to the exams in a few weeks time. I also used cup measures for the first time as I had a folding cup measuring gadget as present from my Mum last year. Makes it easier with all these American recipes, though I have included usual metric measurements for the rest of the world.

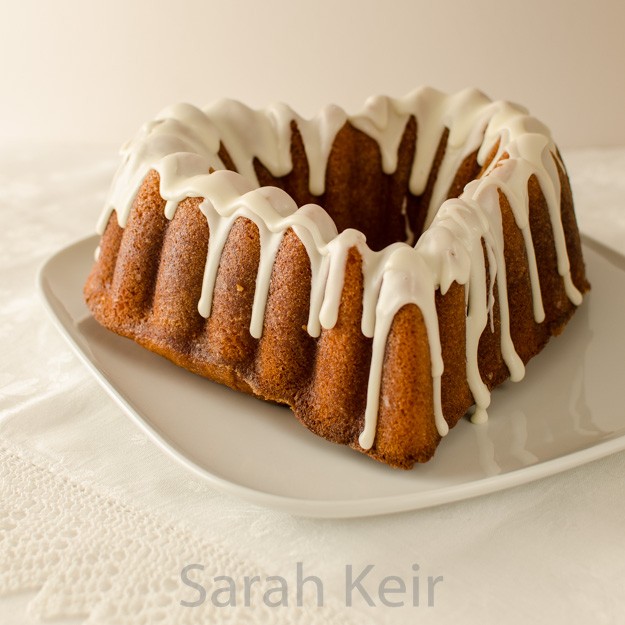
Moist Lemon Bundt Cake
2 lemons, grated and juiced, zest sitting in the juice until ready to use
340g (2 and 1/2 cups) plain flour
1 teaspoon baking powder
1/2 teaspoon baking soda
1 teaspoon fine salt
200ml (3/4 cup) buttermilk
5 medium eggs
1 teaspoon vanilla extract
200g soft margarine or butter
200g (1 and 1/2 cups)caster sugar

For the glaze - 3 tablespoons fresh lemon juice
              - 100g (1/2 cup) caster sugar

For vanilla icing - 120g (1 cup) icing sugar
                  - 1 teaspoon vanilla extract
                  - 2 tablespoons double cream or milk
Preheat the oven to 160 ºC fan. Spray the bundt tin (10 cup size) with cake release and the dust the inside with flour, knocking out the excess.
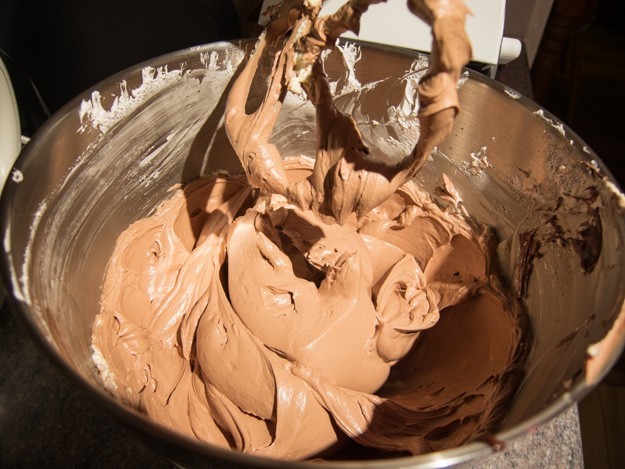
In a stand mixer with the flat beater, beat the margarine and sugar until light and fluffy.
In a jug, beat the eggs with the buttermilk and vanilla extract. In a large bowl sift the flour, baking powder, baking soda and salt. Dump the egg mix, dry mix and lemon zest with juice into the stand mixer and start off slow speed to mix and then speed up to incorportate all, stopping and scraping down the sides a couple of times. Add some milk if it looks excessively stiff.
Scrape into the prepared bundt tin so it is evenly distributed. Bake until the top is golden brown and a squewer comes out clean – about 45 minutes.
While the cake is baking, combine the glaze ingredients, warming in the microwave to get the sugar dissolved if necessary. When the cake is done, allow to cool in the tin for 10 minutes so the sides shrink away and then turn out the right way up onto a cooling wrack. Sit the cooling wrack over a tray (carrying tray or cookie tray) and pour the glaze over the cake slowly so it sinks in. Scrape up excess glaze from the tray and pour over the cake; repeating until bored or the glaze sets.
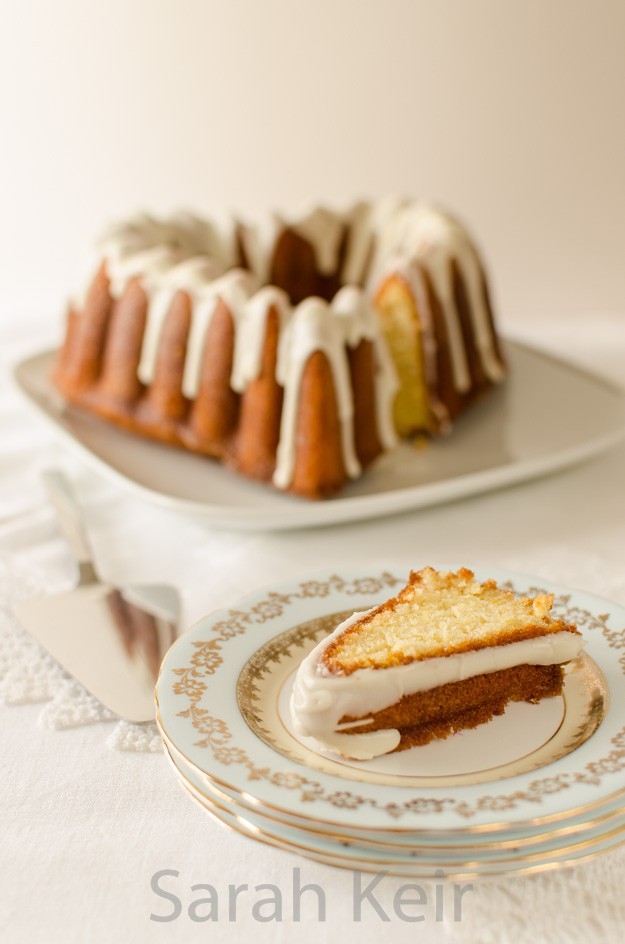
When the cake is entirely cool, mix the icing ingredients together (warm very briefly to achieve correct pouring consistency) then artfully drizzle over the cake. Serve!