RSS Feed

February, 2015

  1. Why I Cook and Blog – and Chocolate Truffles

    February 24, 2015 by sarah

    I am often asked why I put so much effort in to cooking and how I find time to write, photograph and publish this blog. I have been wondering the same thing myself lately. I have just finished 2 weeks of study time, cramming in an amazing amount of information into a sluggish and aging brain. But yet, instead of being sensible and filling the fridge with Marks and Spencer ready meals, I continued to cook our everyday suppers most nights and some treats too. I make the time because it is important to me. Yes, I could eat ready prepared food and it would be nutritious (mostly) and quick but it would not satisfy my soul. This blog may look like a collection of recipes but that is wrong way to look at it. This blog is about my cooking and cooking is about my life, not a list of recipes… I made this dish because I needed cheering up, I made this dish because it was January cupboard clear out, I made this cake for a special event. And so in my way, I am writing about life, my life.

    truffles-004


    Cooking makes me happy and happiness is an art and therefore requires practice and concentration; a different type of concentration to my studies and day-to-day work but no less demanding.  There are few true masters of happiness but we can all dabble, practice and improve. Like art, happiness is ‘in the eye of the beholder’ so whether something makes you happy or not is your choice. Food and cooking makes me happy so I continue to play with it. And the photography too. Also I am not hugging person and being an introvert it is difficult for me to express my care for other people except through my cooking for others and so this has become a tangible way of loving them. I hope they appreciate that. Cakes taste better if made with love.

    I thrive on being busy, when everything (especially emotionally) is in balance. Give me a challenge and I can think of nothing better than running with as far as I can, or until something better comes along. At school I was told I couldn’t do three sciences, so I did; I was told it was too hard to get into vet school, aim your sights lower, so I aimed higher; I was told I was just average and was bullied so strived to prove I wasn’t; I was getting too comfortable in my job so I aimed for a postgraduate certificate. And this blog is part of this journey of my life. I laugh at the photos I took just 18 months ago but look how I play with light now! But it is not easy and I constantly have to push myself to improve and currently this means getting up for work an hour early so I get the photography done in the short daylight hours of a British winter. No 12 hours of sunshine here, unlike the blogs I follow that are written in sunny California.

    Go find the happiness and importance in all you do.

    truffles-003


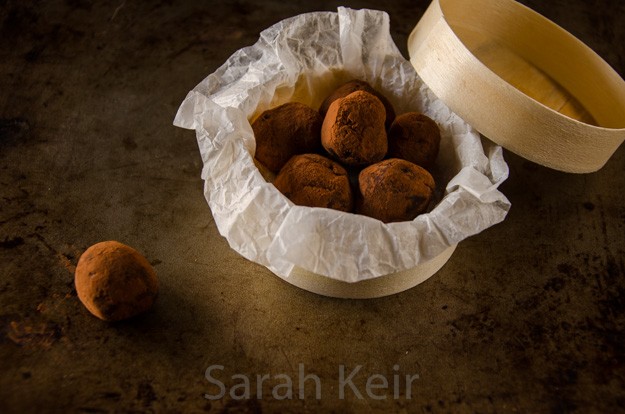
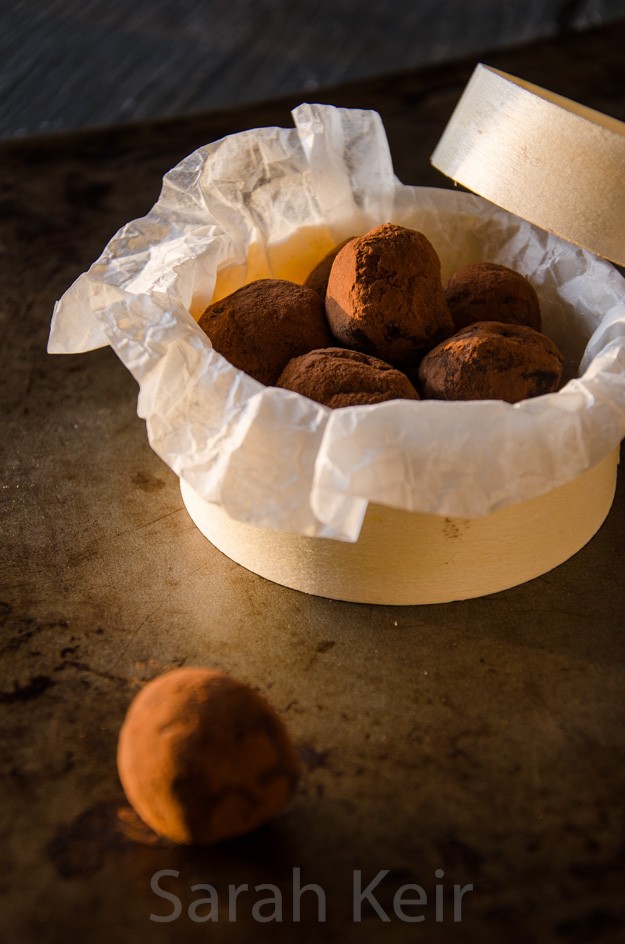
    I had meant to make these in time for Valentines Day. But it didn’t happen. I suppose part of me despises the crass commercialisation that comes with Valentines Day; the shops fill with pink and heart shaped things and ugly teddies and over priced flowers and cards with sickly sweet sentiments and overpriced heart-shaped food in a restaurant packed out with courting couples. So rather than have one overblown day of the year, my husband and I reaffirm our love on a regular basis with a simple ‘I love you’ when getting in from work, a spontaneous gift, a box of home made truffles…

    Chocolate truffles

    120ml double cream
    120g good quality plain chocolate
    1 tablespoon butter
    1 tablespoon golden syrup
    cocoa powder
    flavouring (optional) - orange liqueur, coffee liqueur

    Place all the ingredients (except the cocoa powder and flavouring) in a double boiler pan or a pyrex bowl over a pan of barely simmering water. The key is to make sure that the mixture is heated very gently. Stir occassionally until almost fully melted, take off the heat and stir until fully melted and smooth and glossy. Stir in your chosen flavouring if wished.

    Place in the fridge for a few hours or overnight until set.

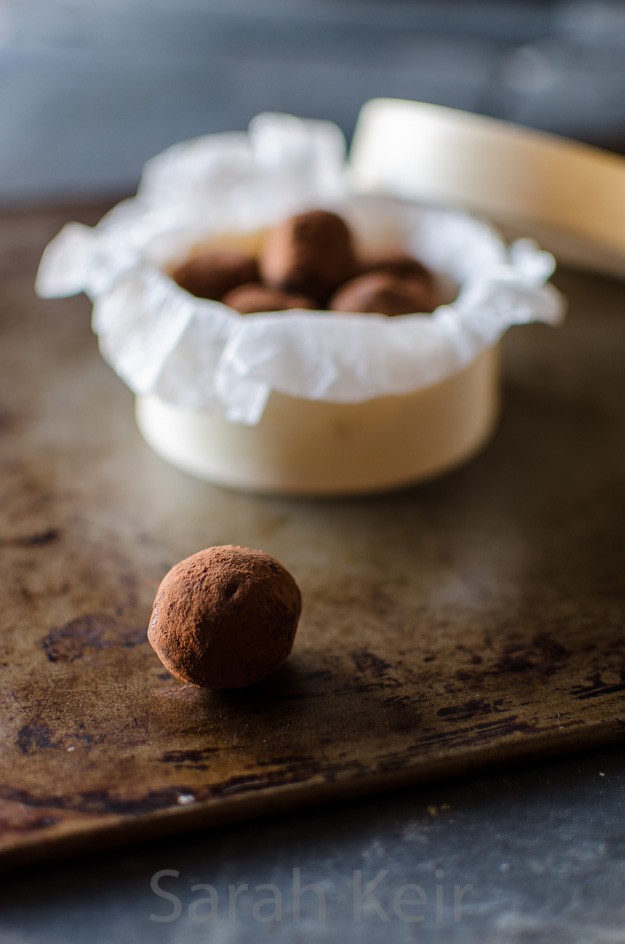
    On a small plate, sift a good dredging of the cocoa powder. Have a second plate nearby. With a teaspoon (or melon baller of you have one), scoop out small scoops of ganache, roll quickly in your hands until roughly spherical, drop on to the cocoa powder and roll around until covered. Store on the second plate. If the chocolate ganache is turning into a sticky mess, cool it down by sitting it in the freezer for 15 minutes or so and cool your hands down (under a cool running tap if you can stand it).

    Once made, store the truffles in the fridge and eat within a week. You can customise these to your favourite flavour by adding a dash of spirits or flavourings to the mix before it sets. Or alter the outside by rolling in desiccated coconut or cocoa nibs.

    truffles-001


  2. Tahini biscuits

    February 18, 2015 by sarah

    I apologise for my absence over the past couple of weeks. I have been very busy studying for my certificate exams that were last week. But now they are out the way I should have more time for baking and blogging! It feels like such a relief to get them out the way. At the weekend I had the complete freedom of choice of what to do so I cleaned the house thoroughly on Saturday and relaxed on Sunday. Bliss!

    tahini-002


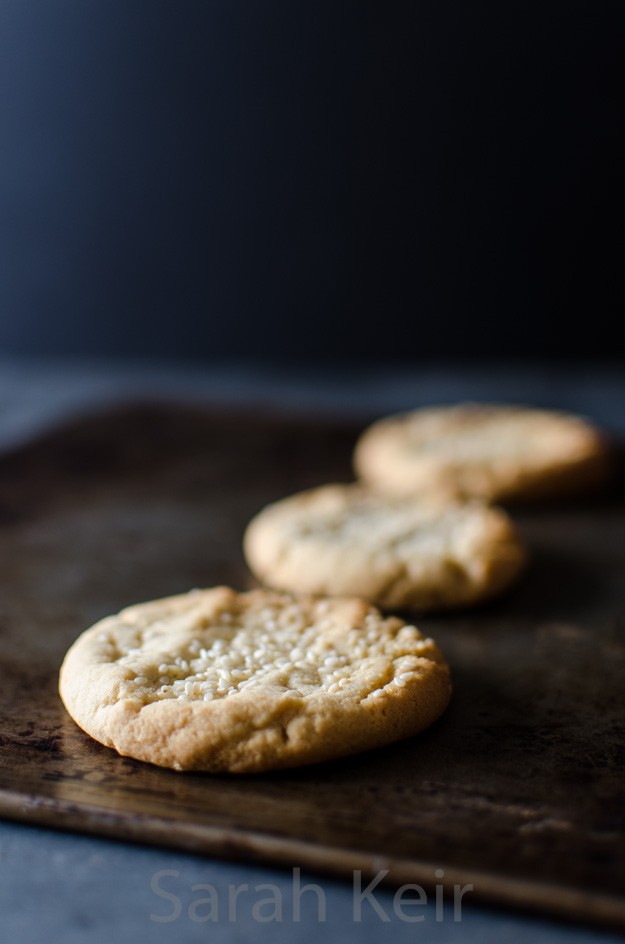
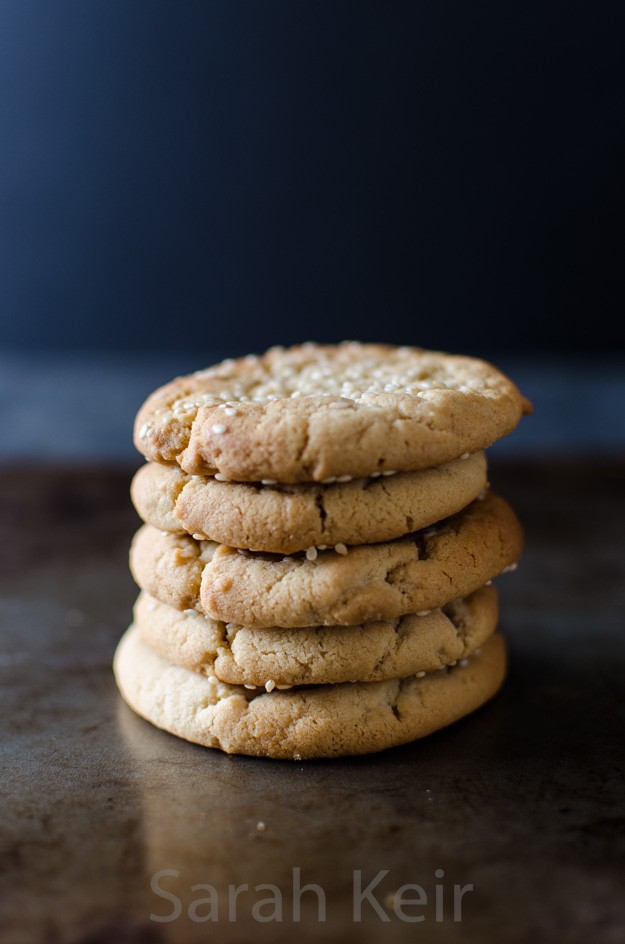
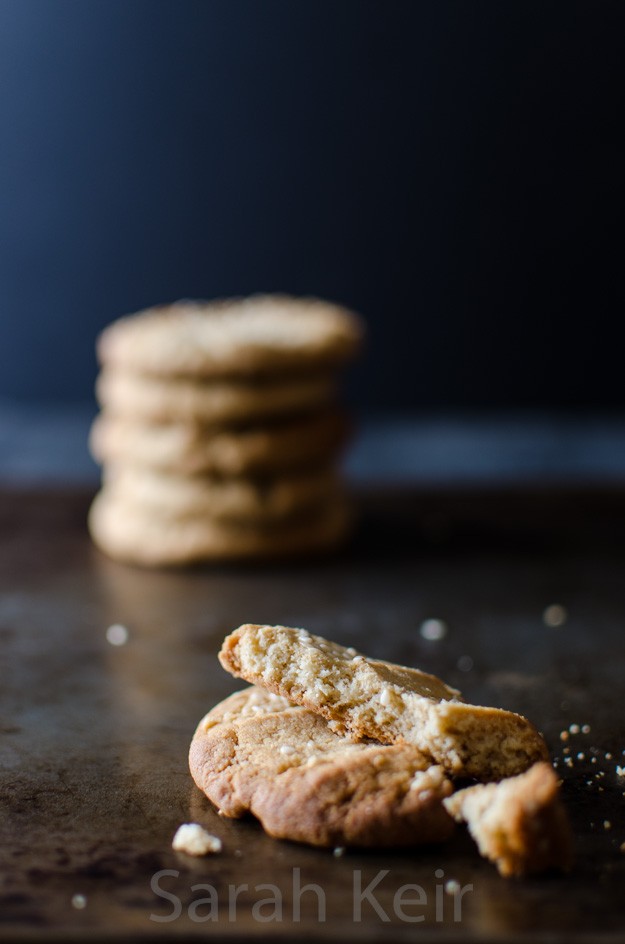
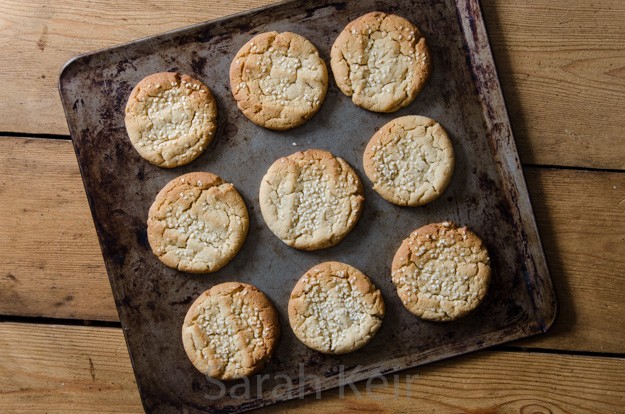
    This recipe is another beginning of the year attempt at using up cupboard bits and bobs, a side effect of my food hoarding. I can’t remember why I even had tahini in the cupboard, perhaps from a hummus recipe. But though I love hummus, I cannot currently imagine making it as the weather is so cold and the supermarket stuff is pretty good. So these biscuits came about as a way of using up the last bit of tahini in a jar. As usual, this is a combination of several recipes cobbled together but I have to admit they turned out perfectly. They are very short and crumbling with a buttery sesame seed flavour in the background that is not at all over powering but is mystical and mouthwatering. These biscuits did not last long, I can tell you; they didn’t even make it as far as my work colleagues. Darn, now I will have to buy some more tahini just to make these biscuits…


    tahini-003

     tahini-005

    Tahini Biscuits


    100g white caster sugar
    120g unsalted butter, soft
    175g plain flour
    1/2 teaspoon baking powder
    1/2 teaspoon fine salt
    120ml/110g tahini, well stirred
    1/2 tablespoon runny honey
    1 teaspoon vanilla extract

    sesame seeds, for sprinkling

    In a bowl, beat the butter and sugar with a wooden spoon. Add the tahini, honey and vanilla and beat in. Add the dry ingredients and bring together to a soft ball. Wrap this dough in cling film and put in the refridgerator for an hour until firm.

    Preheat the oven to 170 ºC/150 ºC fan.

    Using clean hand, break off small lumps of dough and roll in your hands until roughly spherical. Place on a baking parchment lined baking tray, allowing 2cm/1″ between the balls, and press down gently with your fingers to flatten slightly. Once all the dough has been used up this way, sprinkle the biscuits with sesame seeds and place in the preheated oven for 12-15 minutes. Watch carefully as they brown easily. Allow to cool on the tray for 5-10 minutes before transferring to a cooling wrack to complete the cooling. Store in an airtight container and eat within a week.

     tahini-006

  3. Medlar Pie

    February 8, 2015 by sarah

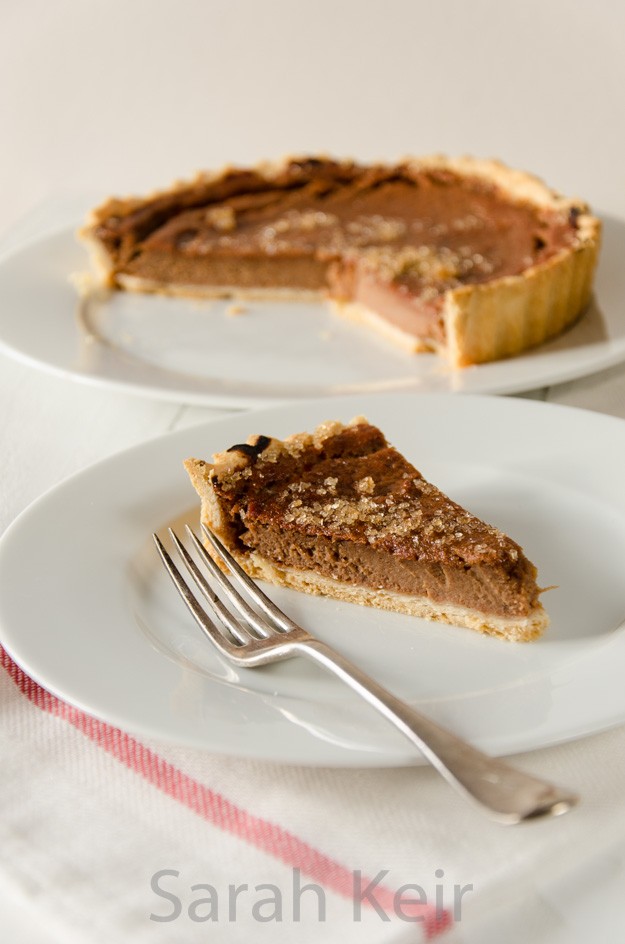
    Following on from my post about medlars before Christmas, I had a bowlful of medlars left at the beginning of December. It was sort of deliberate as I wanted to experiment a little further using this fruit but was unsure of what to make plus a lack of time. And then I came across a recipe using medlars in a tart and it sounded intriguing. A recipe from 1660 – would it work? Would it translate to modern tastes? So I put some course work lectures on in the background and made this tart.

    medalr tart-003


    The original recipe is a little lacking in details:

    Take medlars that are rotten, strain them, and set them on a chaffing dish of coals, season them with sugar, cinamon and ginger, put some yolks of eggs to them, let it boil a little, and lay it in a cut tart; being baked scrape on sugar.

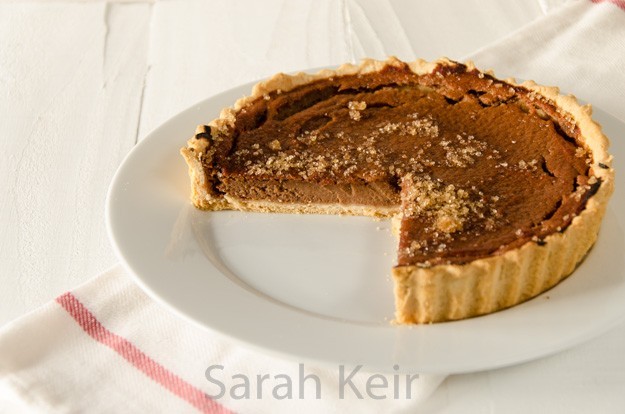
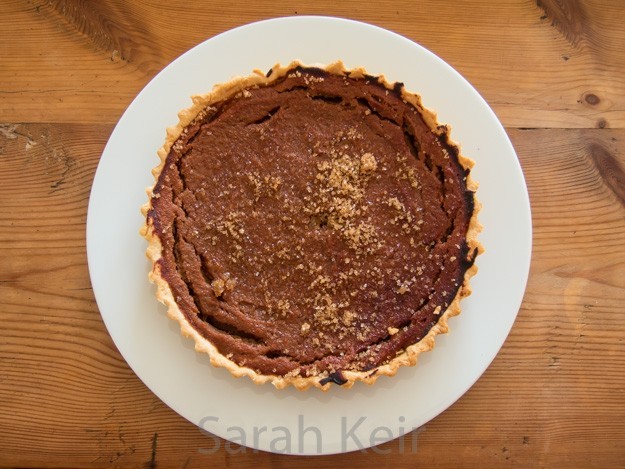
    But luckily Tracey at her Norfolk Kitchen blog had already done some research and testing and came up with this interpretation. And she is right, it is very similar to an American pumpkin pie recipe but so much nicer. Whereas pumpkin is just plain bland, the medlars lend this pie a creamy fruity intenseness which is heightened by the spices rather than being the main event as in pumpkin pie. This pie was delicious to eat at any time of day, warm or cold. Next time I may try adding some orange zest for an extra dimension, though I am not sure this sublime pie needs it.

    My ever thoughtful husband bought me a cookery book for my birthday. But not just any cookery book, ‘The Compleat City and Country Cook: or Accomplifh’d Housewife’, published in 1736. There are some interesting recipes in there that I am going to experiment with when I have time. Finally a recipe for the brace of teal I have in the freezer!

    medalr tart-002

    Medlar Pie

    8″/20cm loose bottomed tart tin, lined with shortcrust party and blind baked
    bowl full of medlars (was about 500g or more)
    70g caster sugar
    3 egg yolks
    1 teaspoon mixed spice
     
    Prepare the medlars – stew with a little water until soft and bash up with a potato masher. Push the fruit through a sieve, discarding the skins and seeds, and put the fruit puree in a medium bowl.
    Beat in the sugar, egg yolks and spice. Taste to see if it requires more sugar or spice.
    Pour this mixture into the cold blind baked pastry case. Place in the oven preheated to 180 ºC/160 ºC fan and bake for 30-40 minutes until set. Allow to mostly cool before serving with a crunchy topping of demerara sugar.
     
    medalr tart-004

  4. Raspberry and Marzipan Scones

    February 1, 2015 by sarah

    scones-001


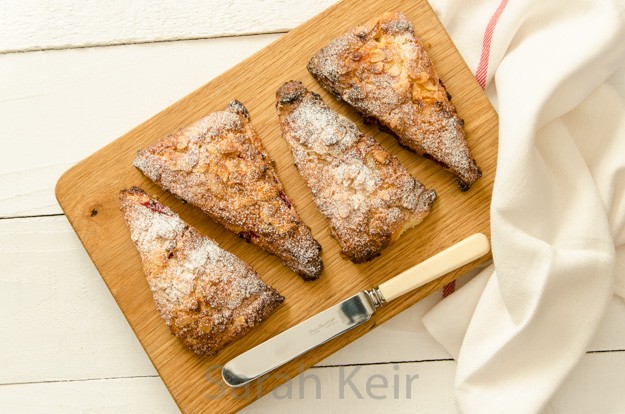
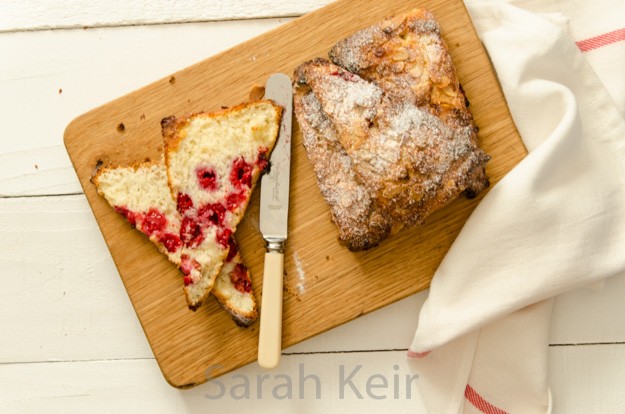
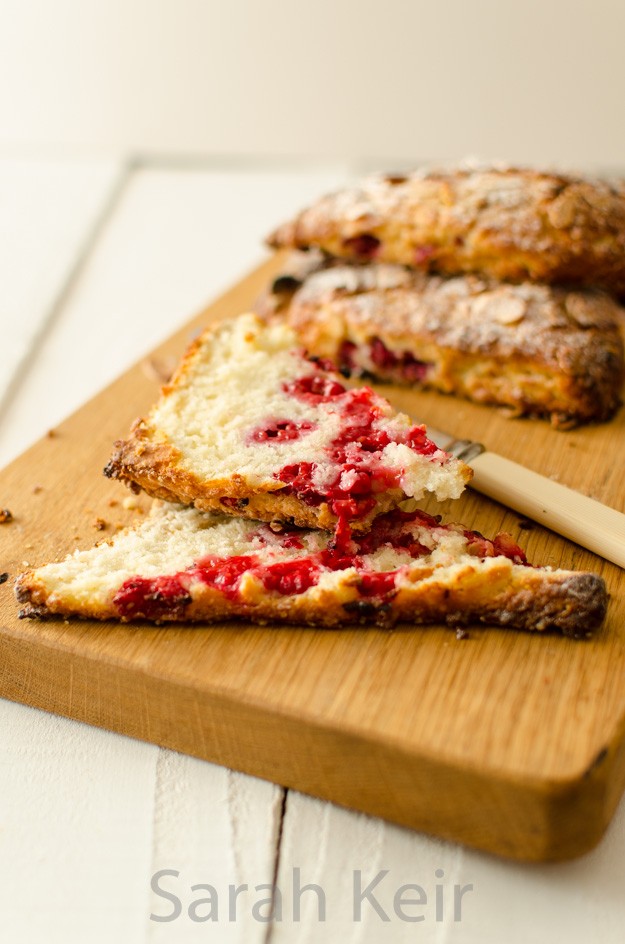
    January is the month in the year when I go through my cupboards. Clothes I haven’t worn for several years go to the charity shop or eBay and the same for food; any food that is getting near its use by date or just been sitting there or been in the freezer for more than 6 months gets used up. It leads to some odd collections of recipes. What can you do with Christmas puddings except eat them as Christmas pudding? I also had a lump of marzipan left over after the Christmas cake had been iced and the stollen was made. Now, I just love marzipan and would be quite happy just to eat it in chunks or dip it in chocolate or, if I had time, make some marzipan fruits but then that wouldn’t be a baking recipe to put on this site. So I found a recipe in which marzipan was mixed into a scone dough but to cut through the cloggying sweetness of the marzipan, I added a layer of frozen raspberries to my recipe (also in need of using up). The finished scone is more like an American shortcake, in that it is rich enough to not need any other adornments though clotted cream would not go amiss with any scone type recipe. Enjoy!

    scones-002

    Raspberry Marzipan Scones


    120g marzipan
    70g unsalted butter
    25g caster sugar
    250g plain flour
    1 teaspoon baking powder
    1/2 teaspoon salt
    180-200ml of buttermilk or milk mixed with yoghurt
    1/2 teaspoon almond essence
    120g frozen raspberries (or fresh if in season)

    optional – flaked almonds, demarara sugar

    Weigh out the butter and marzipan, wrap in cling film and freeze for at least an hour. Once frozen, grate over the top of the dry ingredients. Using a fork, mix in the buttermilk mixed with the almond essence. Add enough so it comes together but do not work too much otherwise your scones will be tough.

    Dump the dough out onto a floured work surface and pat or roll to a thickness of about half an inch/one centimeter. It is easier if this is a rectangle that is two-thirds deep to long. Pat the raspberries over one half of the width but for the full length and then fold over the over half that hasn’t got the rasberries over the top. Gently pat/squidge together so you have a long narrow sandwich of dough with the raspberries in a layer in the middle.

    Cut the dough sandwich into squares then the squares into triangles and place them on a baking tray lined with baking parchment. Brush the tops of the scones with milk and then sprinkle over flaked almonds and demarara sugar. Put in the fridge while the oven heats to 200 ºC or 180 ºC fan. Place the scones into the middle of the preheated oven – they need about 15 -20 minutes but watch them like a hawk because the marzipan will burn easily and will then taste bitter (mine were almost too brown). Cool on a baking wrack. They are best served warm from the oven but can be reheated for a few minutes in a medium oven to revive them over the next couple of days.

    scones-003