RSS Feed

Posts Tagged ‘others’

  1. Plaited Loaf

    December 8, 2013 by sarah

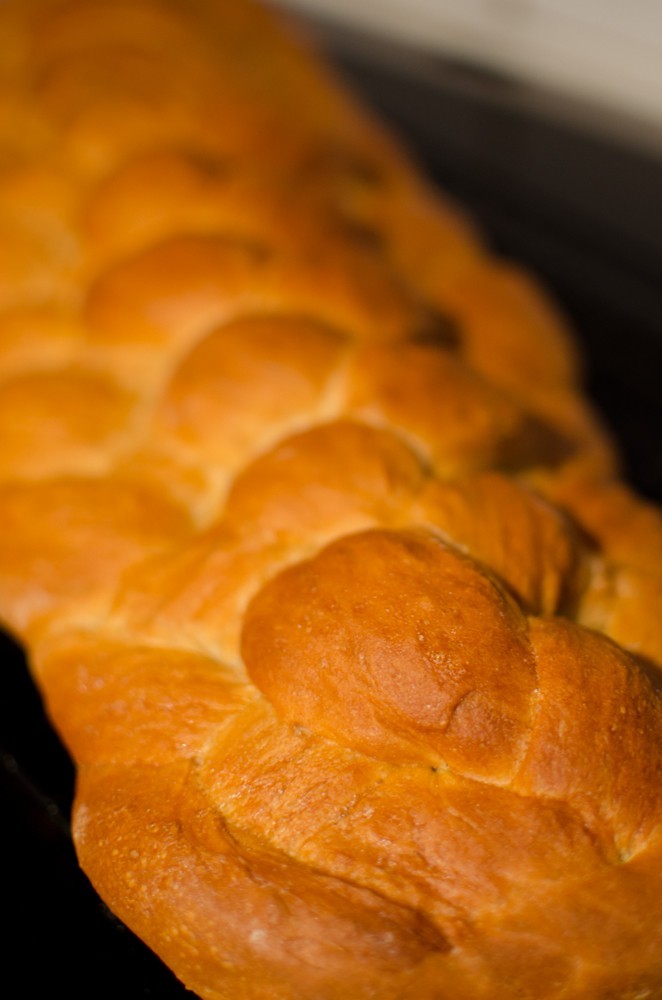
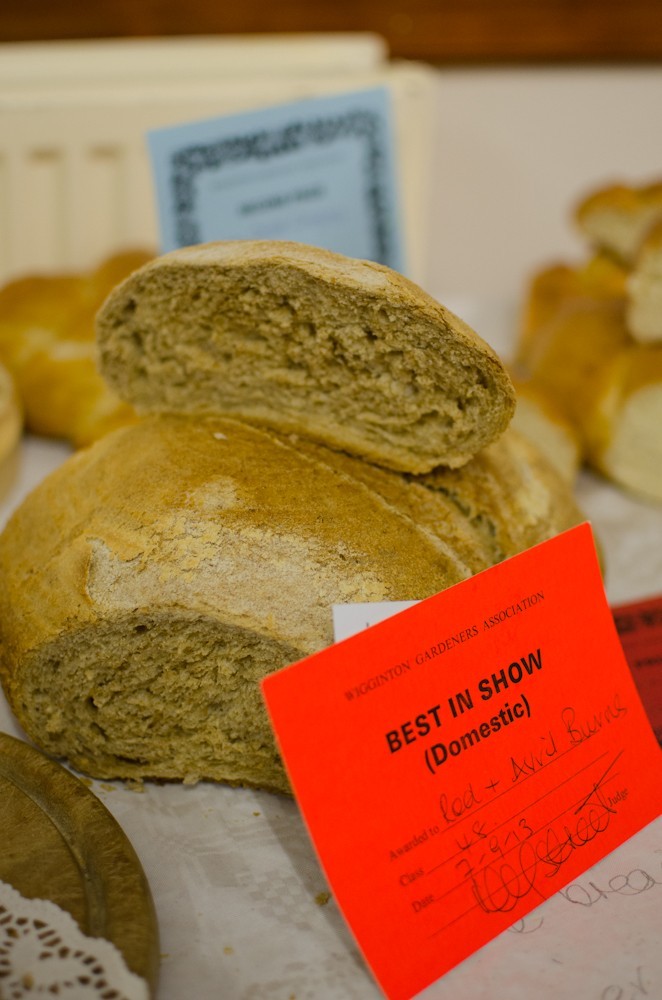
    This is the plaited loaf I made for the Wigginton show this year. My basic bread recipes come out fine but I thought for a show I should push the boat out and enter a more elaborate loaf in the ‘one loaf baked in a fancy shape’ category. In the end a bog standard cob won; it looked tasty but wasn’t ‘fancy’ by any means and I even think the bottom looked stodgey.

    show (13 of 16)
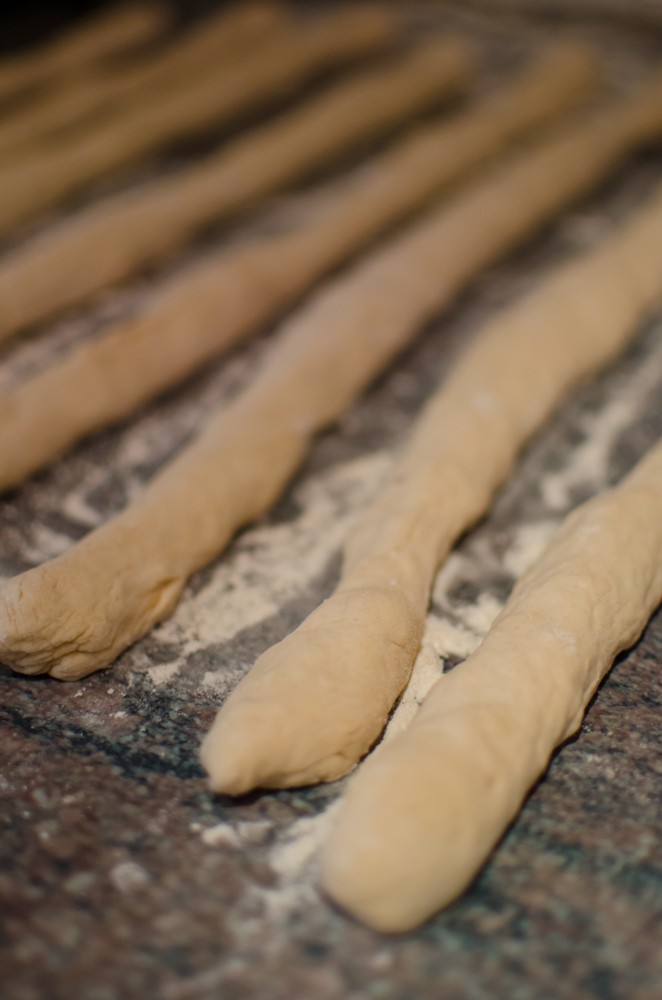
I am very pleased with my first plaited loaf. Following the instructions and some clips on You Tube it was actually not that difficult. I tried to roll out the individual strands on an oiled work surface, how Paul Hollywood recommends, but the strands were slipping and sliding everywhere and not actually getting any thinner! It didn’t help that my work top really was not deep enough to do this properly so I had to work at an angle! My house is not the warmest, even on a late summers day, so I sit the bowl of dough on a heat pad that is meant for reptile aquariums. This provides the dough with a touch of background warmth which means I can get the rising and proving done without waiting all day and cooking them at midnight (and I have done that before).


    Recipe from ‘How To Bake’ by Paul Hollywood
    600g strong white bread flour
    12g instant yeast
    12g salt
    2 tablespoons of oil
    400ml tepid water
     
    Place the dry ingredients into a bowl, with salt on the opposite side to the yeast. Add the oil and three-quarters of the water and mix together by hand, adding the rest of the water if needed. Turn the dough out onto a work surface and knead by hand until silky and stretchy (at least 10 minutes of hard work!). Oil a medium sized bowl and place in the dough, cover with an oiled shower cap and leave somewhere vaguely warm until doubled in size.
     
    Turn the dough out onto a lightly floured surface and knock back the dough by folding inwards repeatedly until the dough is smooth. Divide into 8 equal pieces and roll out each piece into a strand about 40cm long.
     
    Lay the strands out on the work top like octopus arms coming out from a central point at the top and squidge the top joined part to the work top to stick it down. You now need to follow the following braiding sequence , with the strands numbered 1 to 8 from left to right and renumbered each time you complete a sequence. This step is only done once at the start; place 8 under 7 and over 1. Now repeat the following steps until all the strands are plaited:
    – place 8 over 5
    – place 2 under 3 and over 8
    – place 1 over 4
    – place 7 under 6 and over 1
    show (3 of 16)
    show (4 of 16)
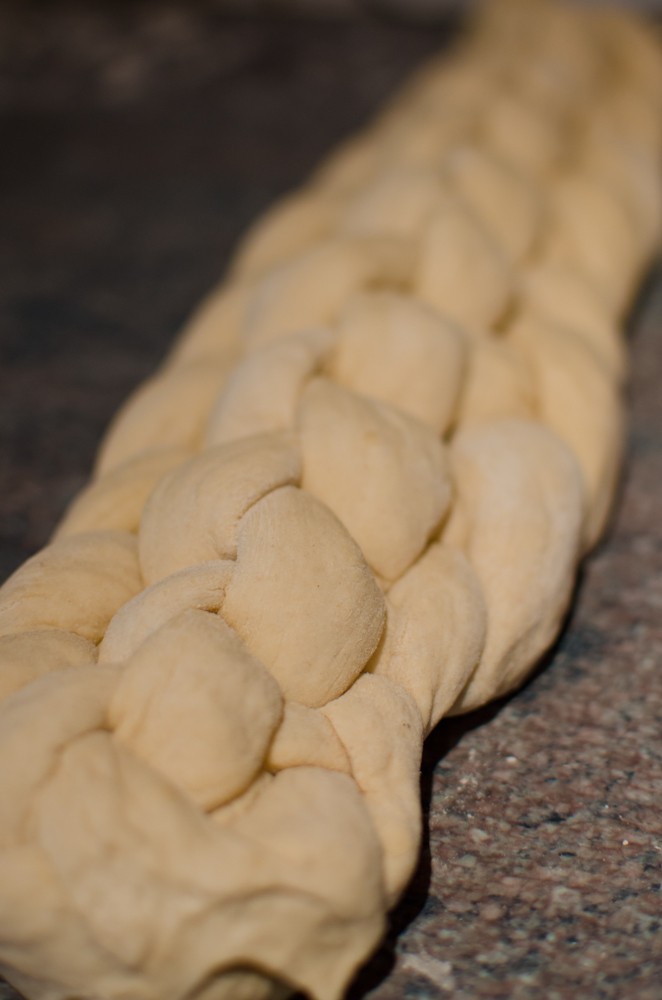
Squidge the ends together to seal and tuck top and bottom squidges under the loaf so it looks neat. Place the plaited loaf on a floured baking tray, place in a large plastic bag and leave somewhere warm to prove for an hour or so until the doubled in size and the dough springs back quickly if prodded.
     
    Heat the oven to 230°C and put a roasting tray in the bottom of the oven. Brush the loaf with a beaten egg mixed with a pinch of salt but take care not to flood it otherwise the egg wash will glue together the strands so they can’t do the final rise in the oven. Put the loaf in the oven and immediately pour a half litre of water in the roasting tray. Bake for 20-30 minutes until cooked through (sounds hollow when tapped on bottom then another 5 minutes for luck).
    Happy breading!
    show (5 of 16)
     

  2. Cool as a cucumber! Cucumber Pickles

    August 18, 2013 by sarah

    The cucumber plants in the front garden have been enjoying the sunshine. A few too many came at one time so I made some cucumber pickles. I have never made this before but we need to wait a month before we can try it 🙁

    550g cucumbers, sliced in 4mm slices

    1 tbsp salt

    300ml white wine vinegar

    100g granulated sugar

    1 tsp yellow mustard seeds

    3 garlic cloves thinly sliced

    In a large bowl layer the cucumber and salt, cover and leave overnight. The next day, rinse well under cold water and dry on kitchen paper.

    In a saucepan combine the rest of the ingredients and heat gently until sugar dissolved. Bring to the boil and add the cucumber, bring back to the boil and pot up immediately in hot sterilised jars. It made 2 of these kilner type jars from Ikea.

    cucumber (1 of 1) cucumber (2 of 1)


  3. Jam, jam, jam, lovely jam!

    July 25, 2013 by sarah

    Last weekend I managed to squeeze in some jam making before the strawberries disappear. I was considering going to PYO until I saw it was way more expensive than paying an Eastern European immigrant to pick them and stack them on the selves of the local supermarket! But the raspberries are expensive so I might pick them.

    This recipe seemed bomb proof until this weekend when, once I’d potted it, I realised it was too soft set and so had to reboil it for a bit longer, resterilise the jars etc… so the nice break from study turned into a hot, frustrating session! But nothing beats the lovely taste of summer on some fresh scones …

    And a picture of Jim when we went to RIAT (http://www.airtattoo.com/airshow) on Sunday to see the Vulcan (http://www.vulcantothesky.org/).

    jam (1 of 3) jam (2 of 3)jam (3 of 3) jam (4 of 1) Strawberry Jam

    2kg small ripe but not over ripe strawberries

    1.7kg jam sugar (warm in the oven)

    juice of 2 lemons

    Hull the strawberries and set aside 10-20 of the smallest berries. Put in a jam pan, add the warmed sugar and lemon juice and bring to the boil; stir, stir, stir. Before it comes to a full rolling boil decide how chunky you want the jam – at this stage I usually use a potato masher and mash until rough mush. Add the retained berries and bring to a rolling boil (i.e. a boil that is not stopped by stirring).

    Boil on a rolling boil for 5 minutes then check the set (make sure you have taken it off the set while you check). Recipes vary as to how long this will take but I usually find 5-10minutes is all that is needed. Strawberry jam doesn’t set very solid.

    Take off the heat and skim off the scum – this is cooks perks! Leave to cool for 15 minutes or so then give a good stir to redistribute the chunks and pot up.

    I’ve just found out that for WI standards (i.e. the local show) the jam must be within 3mm of the top of the jar. No mention of a waxed disc so I didn’t bother this time.


  4. Lemon curd and some non-bake baking!

    March 17, 2013 by sarah

    Though the weather today is the opposite of spring-like, I felt like making some lemon curd. The silky smooth texture with a fresh zingy flavour and eye-popping yellow colour sort of sums up Spring. I hope the sun comes soon! This was my first attempt, by the way, and I am very pleased with the result.

    _1SK1708 _1SK1714 _1SK1715 _1SK1720


    Makes about 700g or 3 small jars and a little left over.


    Grated rind and juice of 4 ripe unwaxed lemons

    4 eggs, beaten

    125g butter cut into small pieces

    350g caster sugar


    Place all the ingredients in a pyrex bowl over gently simmering pan of water (picture 2). Stir until the sugar is dissolved and the butter melted.

    Continue to heat gently for about 20mins until thickend and coats back of a spoon (image 3).

    Strain and pour into sterilised jars. Done!

    Keeps for a few weeks in the fridge.


    _1SK1718

    While the curd was thickening, I threw together a batch of rocky road (melt 125g butter and 300g dark chocolate and 3 tbsp of gold syrup, add 200g crushed biscuits, 100g mini marshmallows and any dried fruit or nuts that need using, press into tin, refridgerate).


    Update 15/9/13 – made the lemon curd for the show using this recipe but reduced the sugar to 300g and added half a teaspoon of real lemon extract. This made it super zingy and so super nice.