RSS Feed

‘Uncategorized’ Category

  1. 40 things to do at 40 (ish)

    December 1, 2019 by sarah

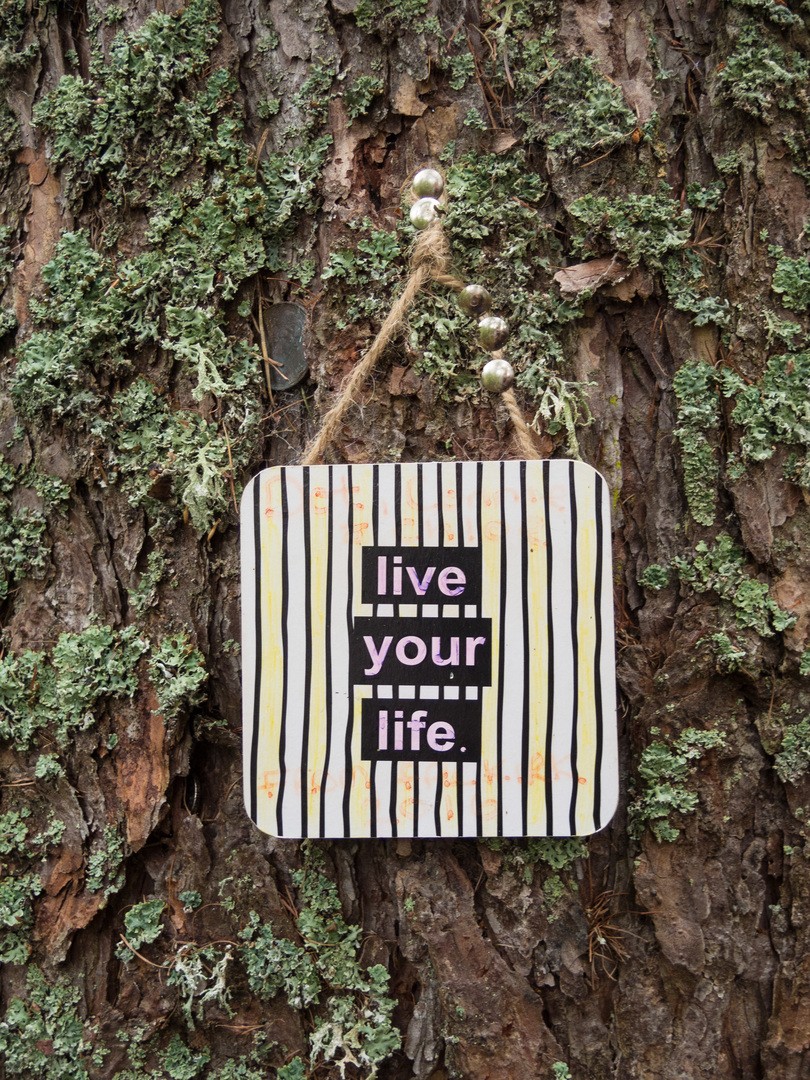
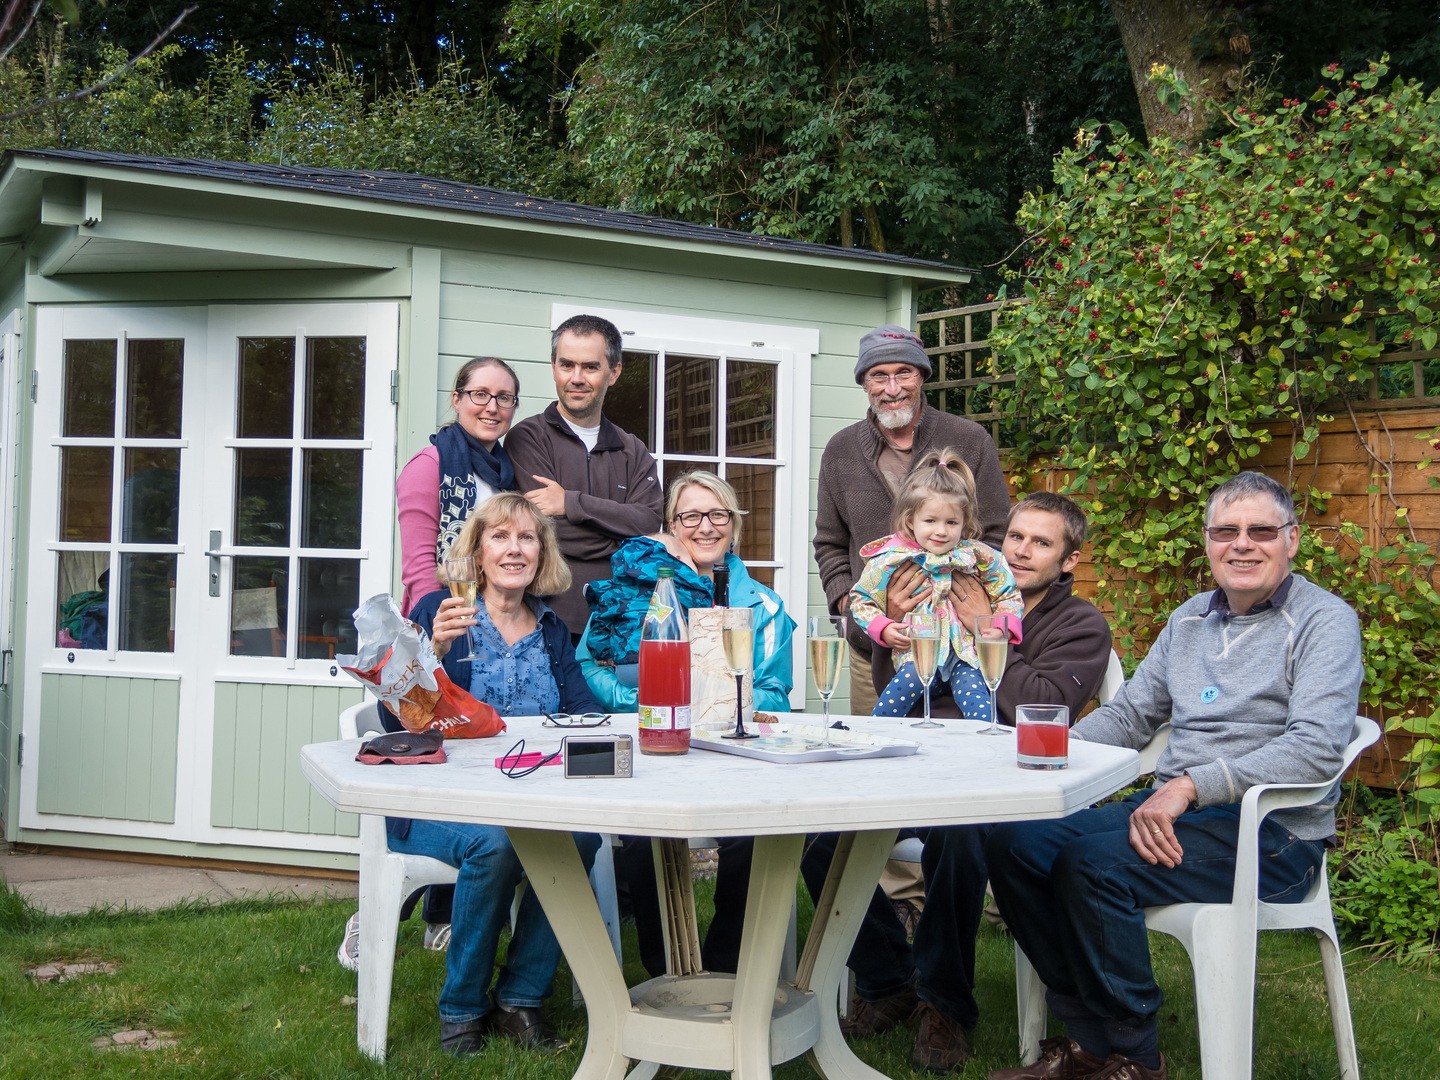
    You might of guessed by the title; I have a Big Birthday coming up in a couple of weeks. I thought it would be nice to have some personal goals to achieve this coming year. I am not concerned if it takes me longer than a year to achieve them all. I deliberately haven’t put any work related goals on this list as I know these will take time and I don’t want to rush them.

    In all truth, I am not that bothered about turning 40. When I was 20 it seems a life time away, too far away to contemplate. Now that I have lived that life between 20 and 40 I can say I would not of changed a thing. Perhaps some of my husband’s philosophy has rubbed off on me. When I turn 40 I am actually only 39 and a day.

    1. See glow worms in the UK.
    2. Hear nightingales in the UK.
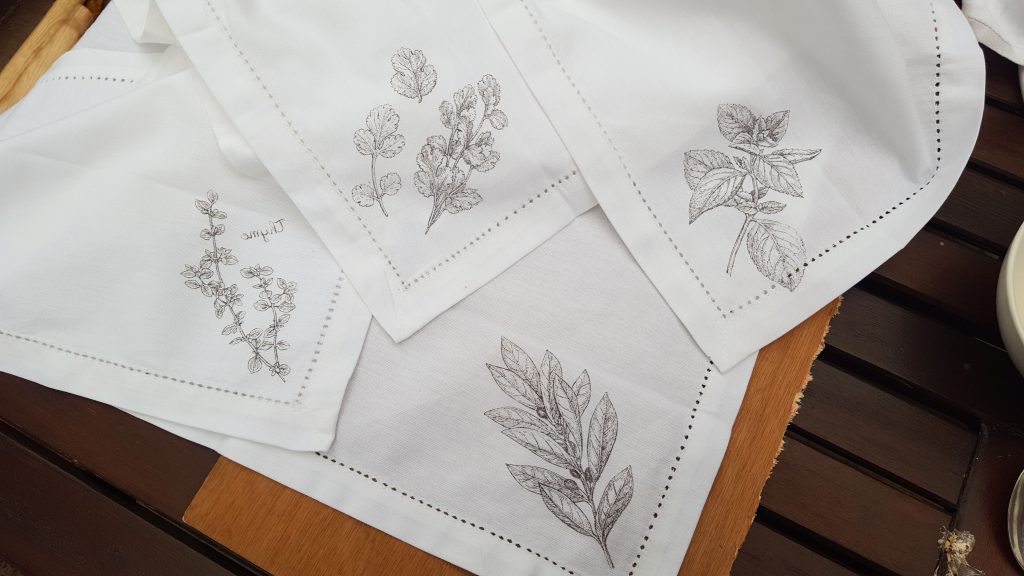
    3. Learn the names of 40 native plants and how to identify them
    4. And sketch them. Need a nice new sketch book then!
    5. Re-read all the James Herriot books. Probably buy on Kindle.
    6. Challenge myself to improve my fitness. Actually stick to it, though running in the mud and dark is not fun especially when Champneys Range Rovers try to push me off the road!
    7. Run a half marathon. Too optimistic – what do you think?
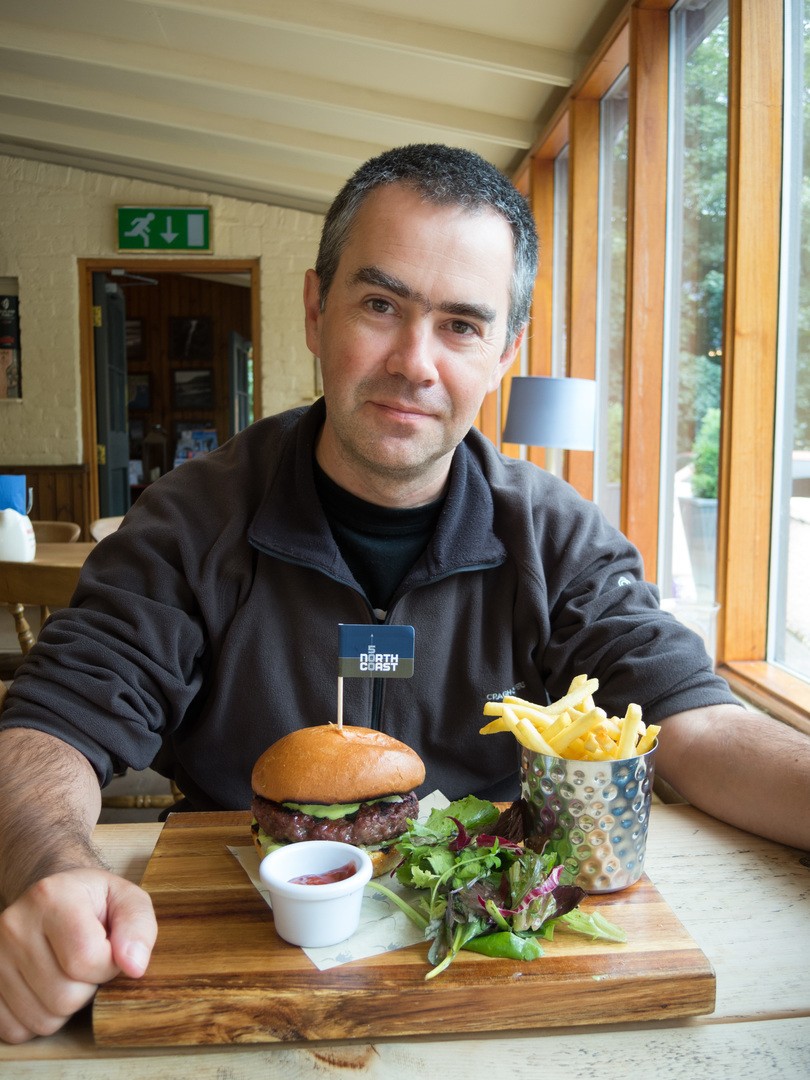
    8. Eat in a Michelin starred restaurant, for a lazy lunch. Dinner by Heston Blumenthal? Le Gravroche, Roux Jn?
    9. Afternoon tea in a grand London hotel. The Ritz? The Wolseley? Claridges? Lanesborough?
    10. Eat somewhere quirky. St John’s? Mr Fogg? Fine dining vegan?
    11. Drink a seriously expensive bottle of wine – £30 plus. That is expensive for me!
    12. Go out for cocktails somewhere quirky and smart.
    13. Teach a craft class.
    14. Present or speak on a veterinary theme to a room full of strangers.
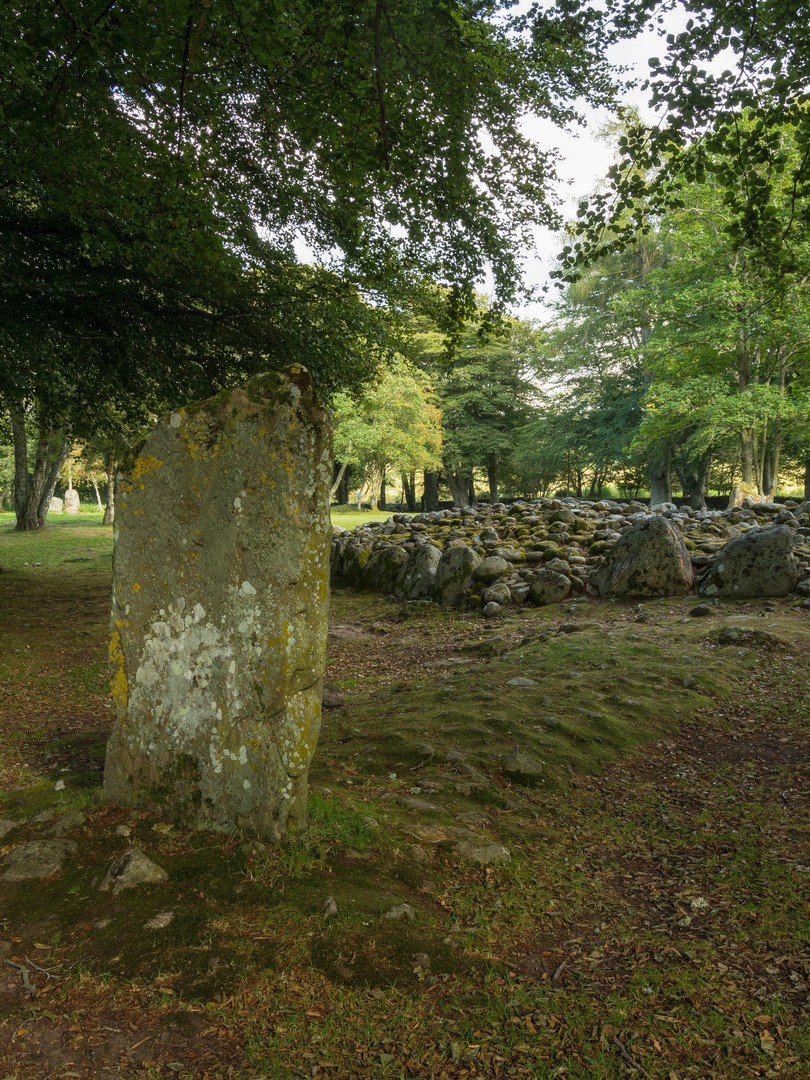
    15. Stonehenge at dawn.
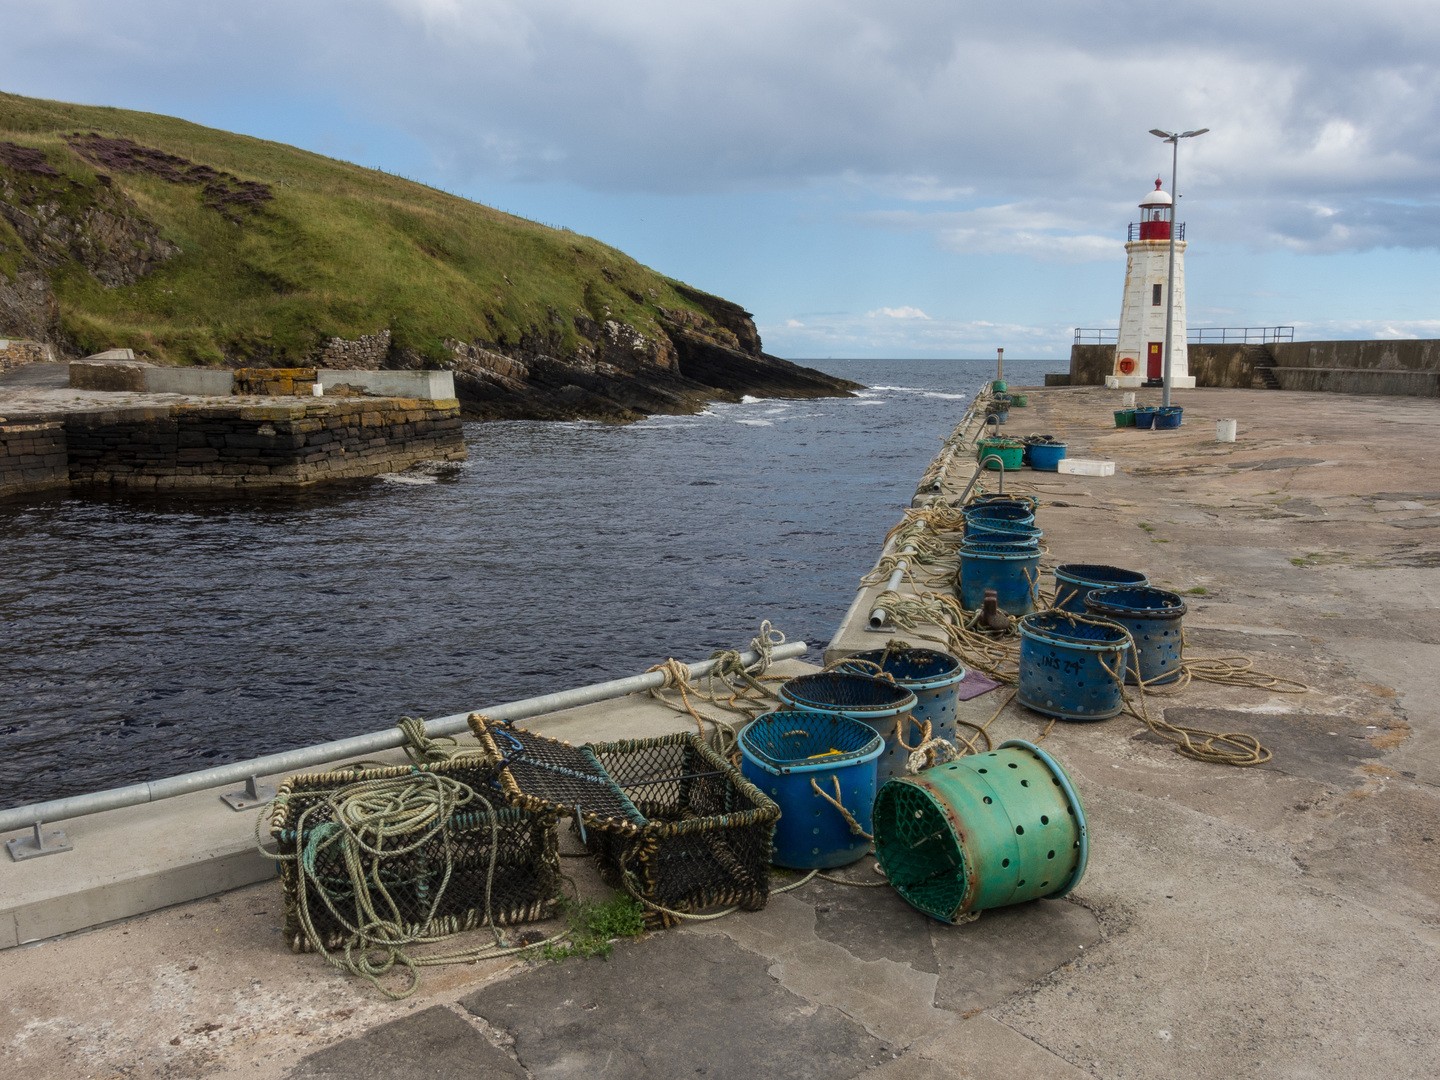
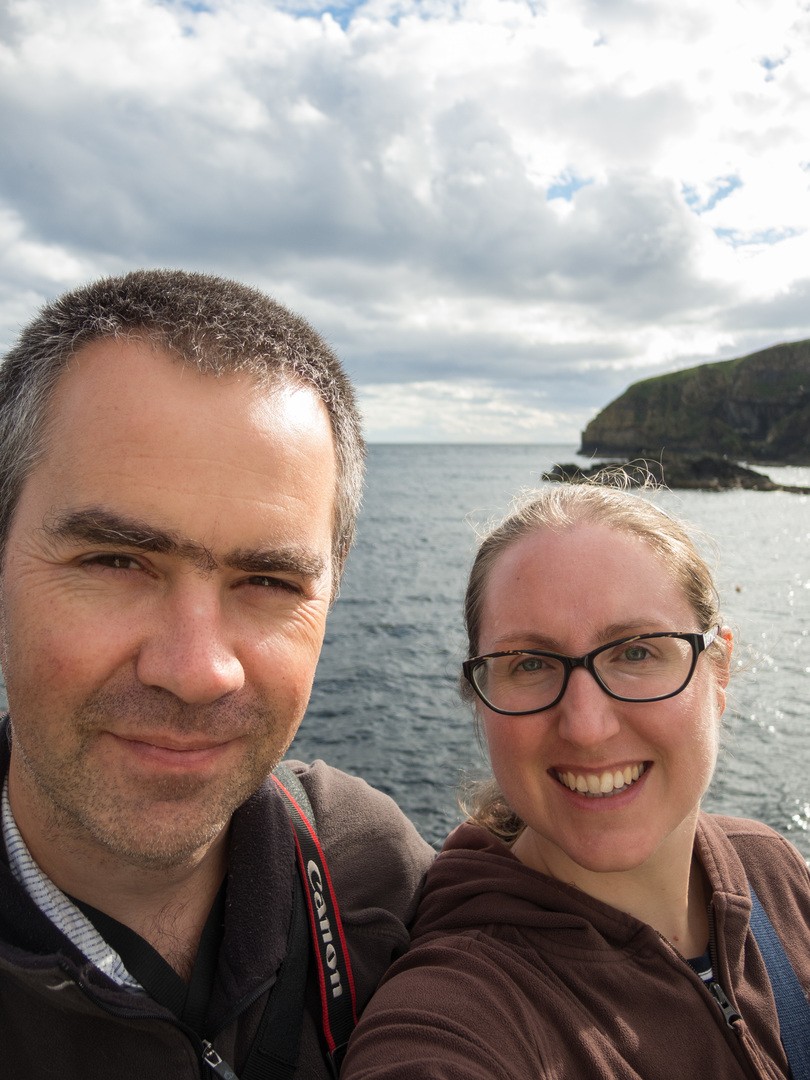
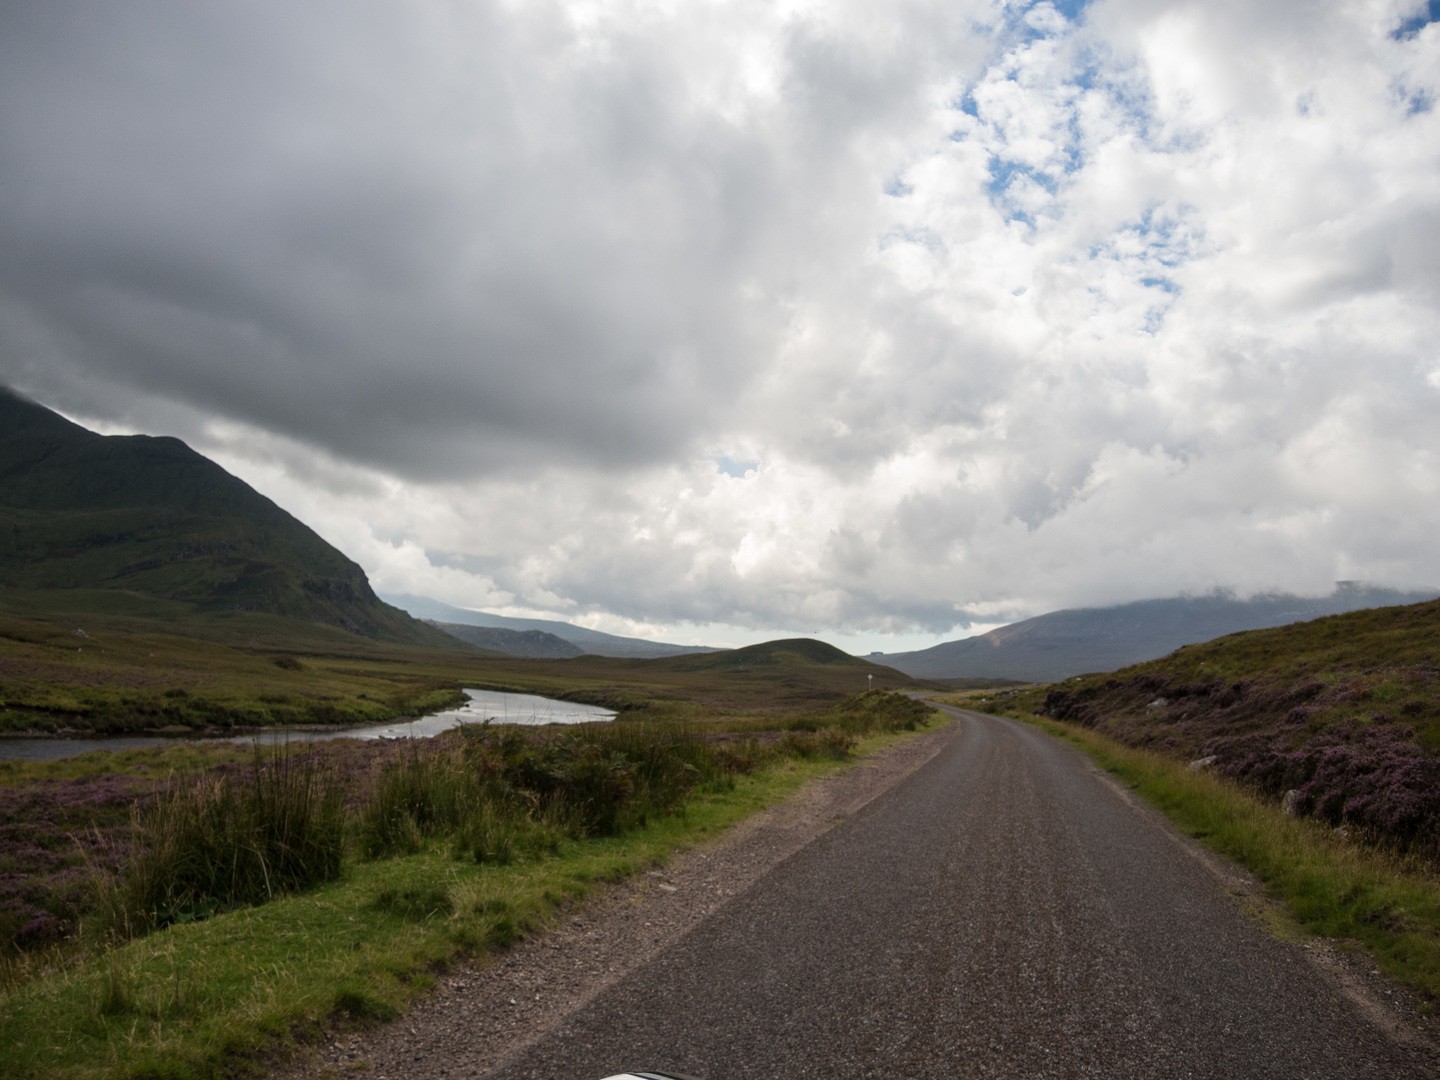
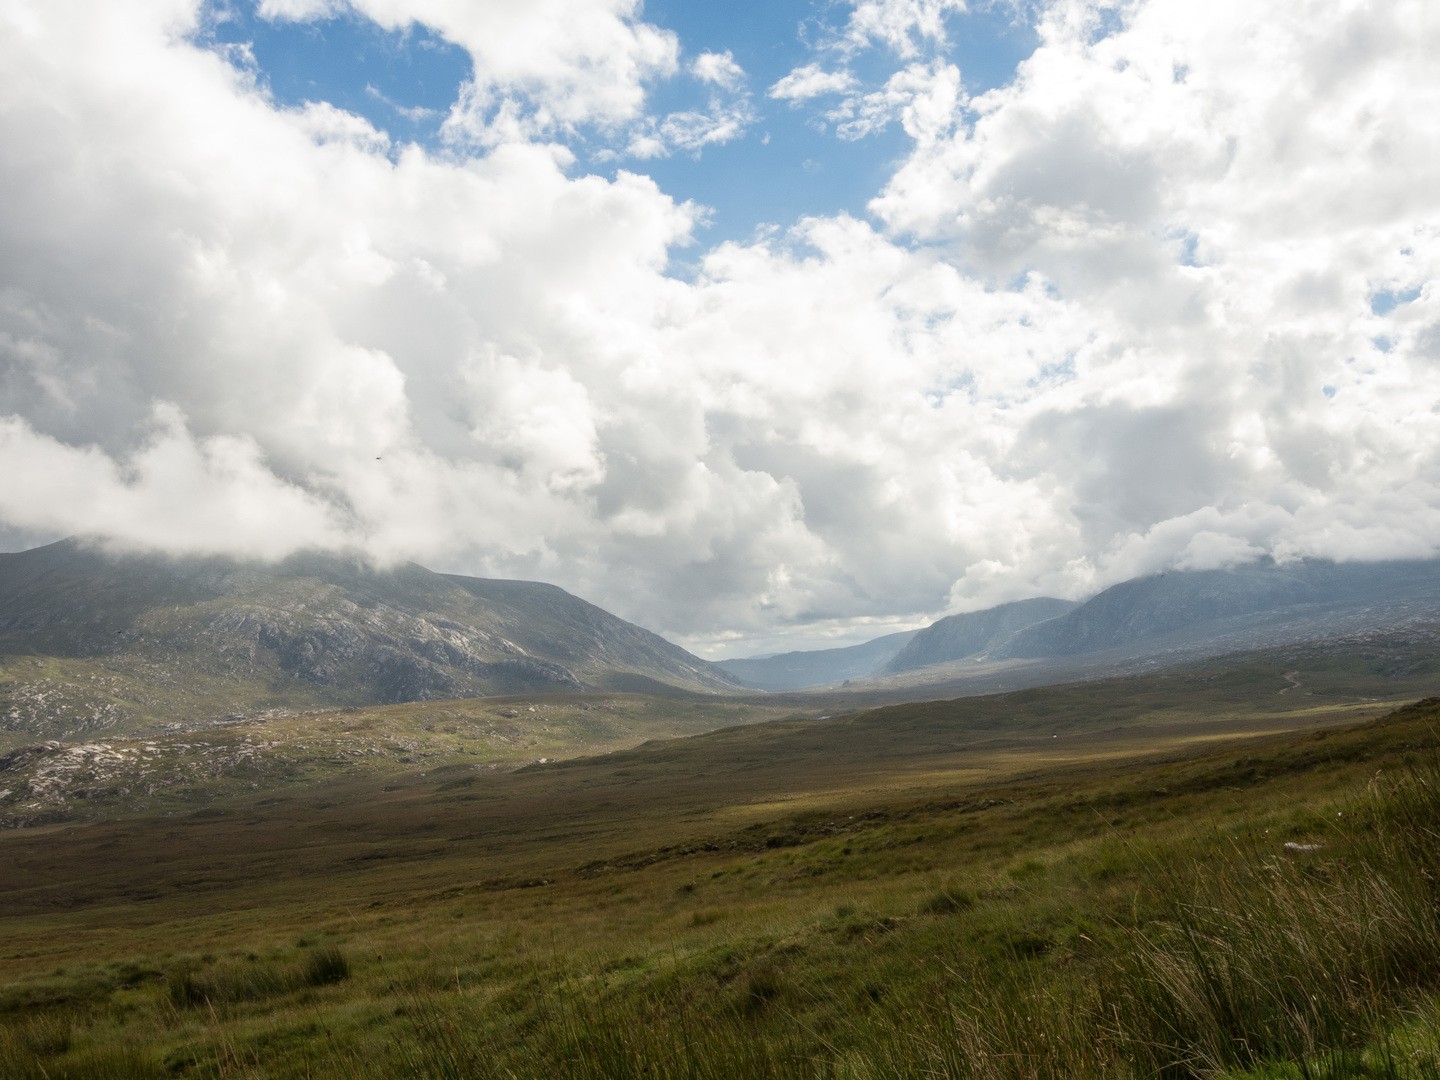
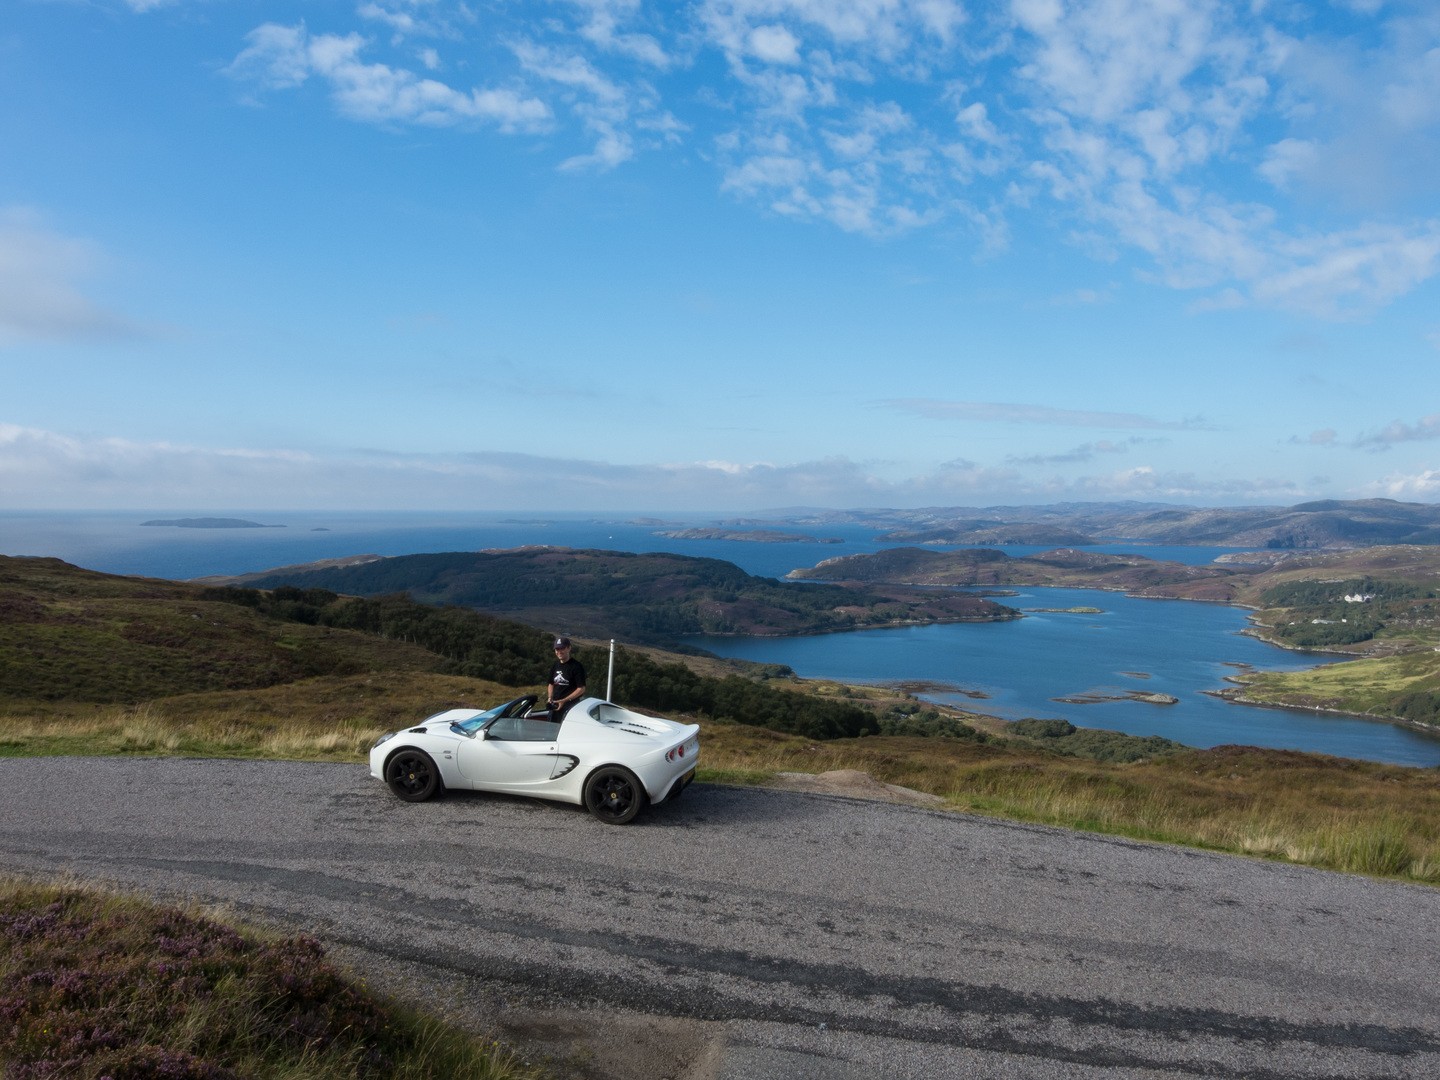
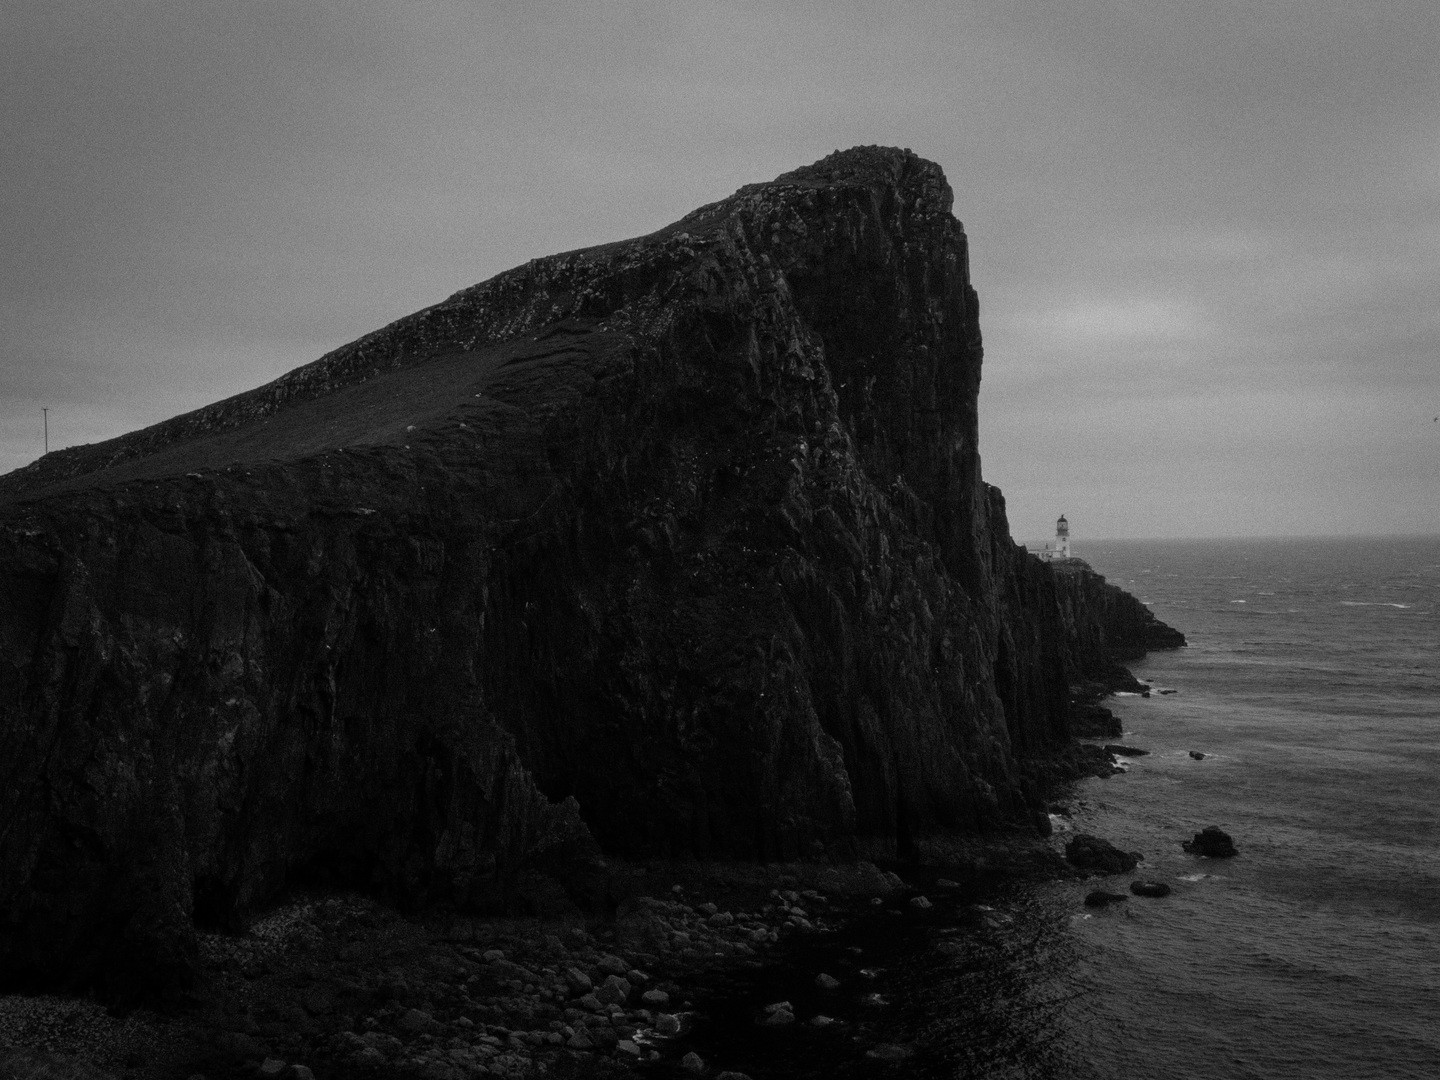
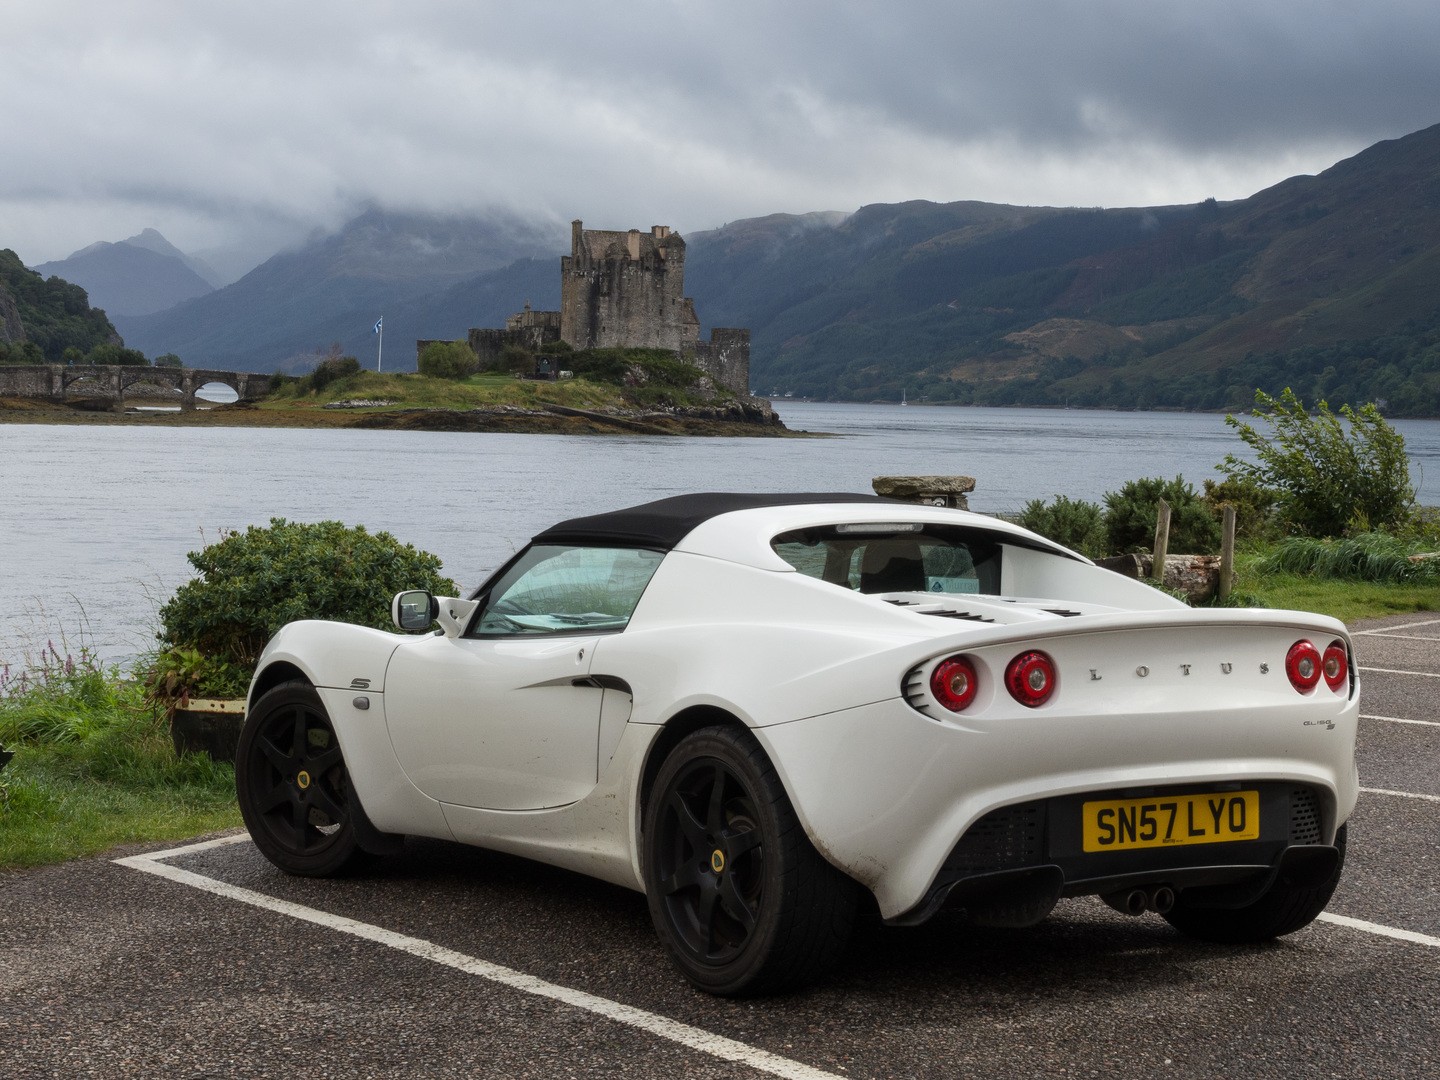
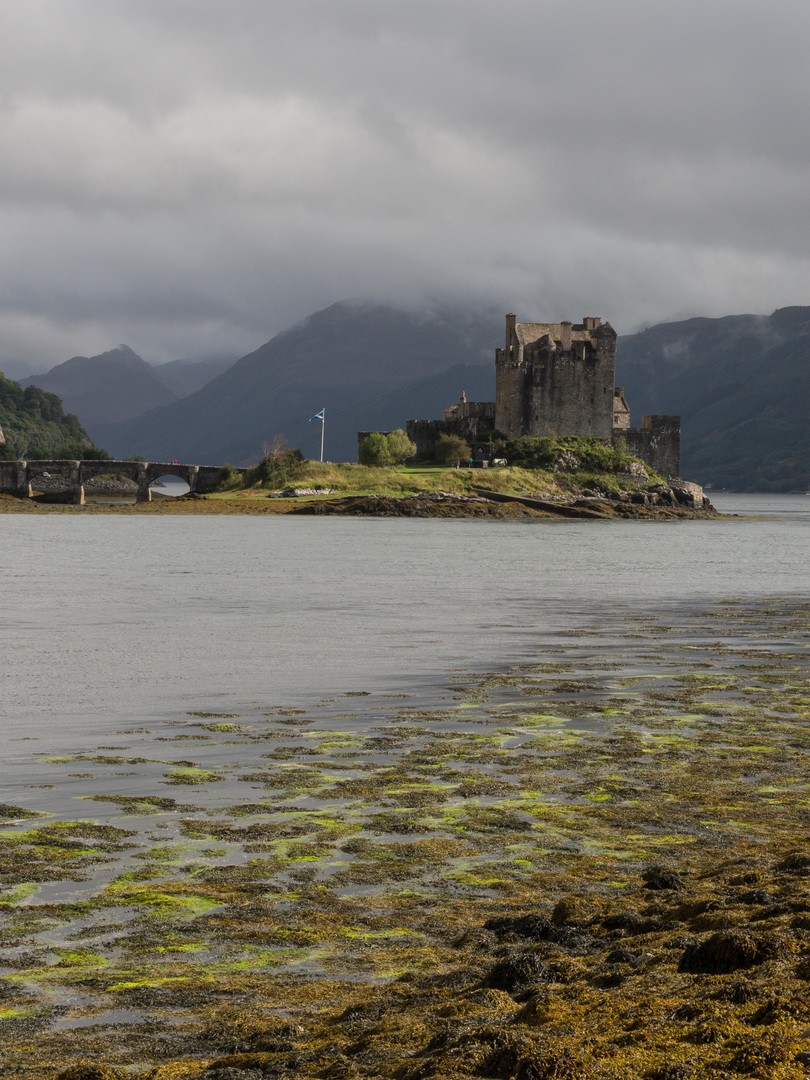
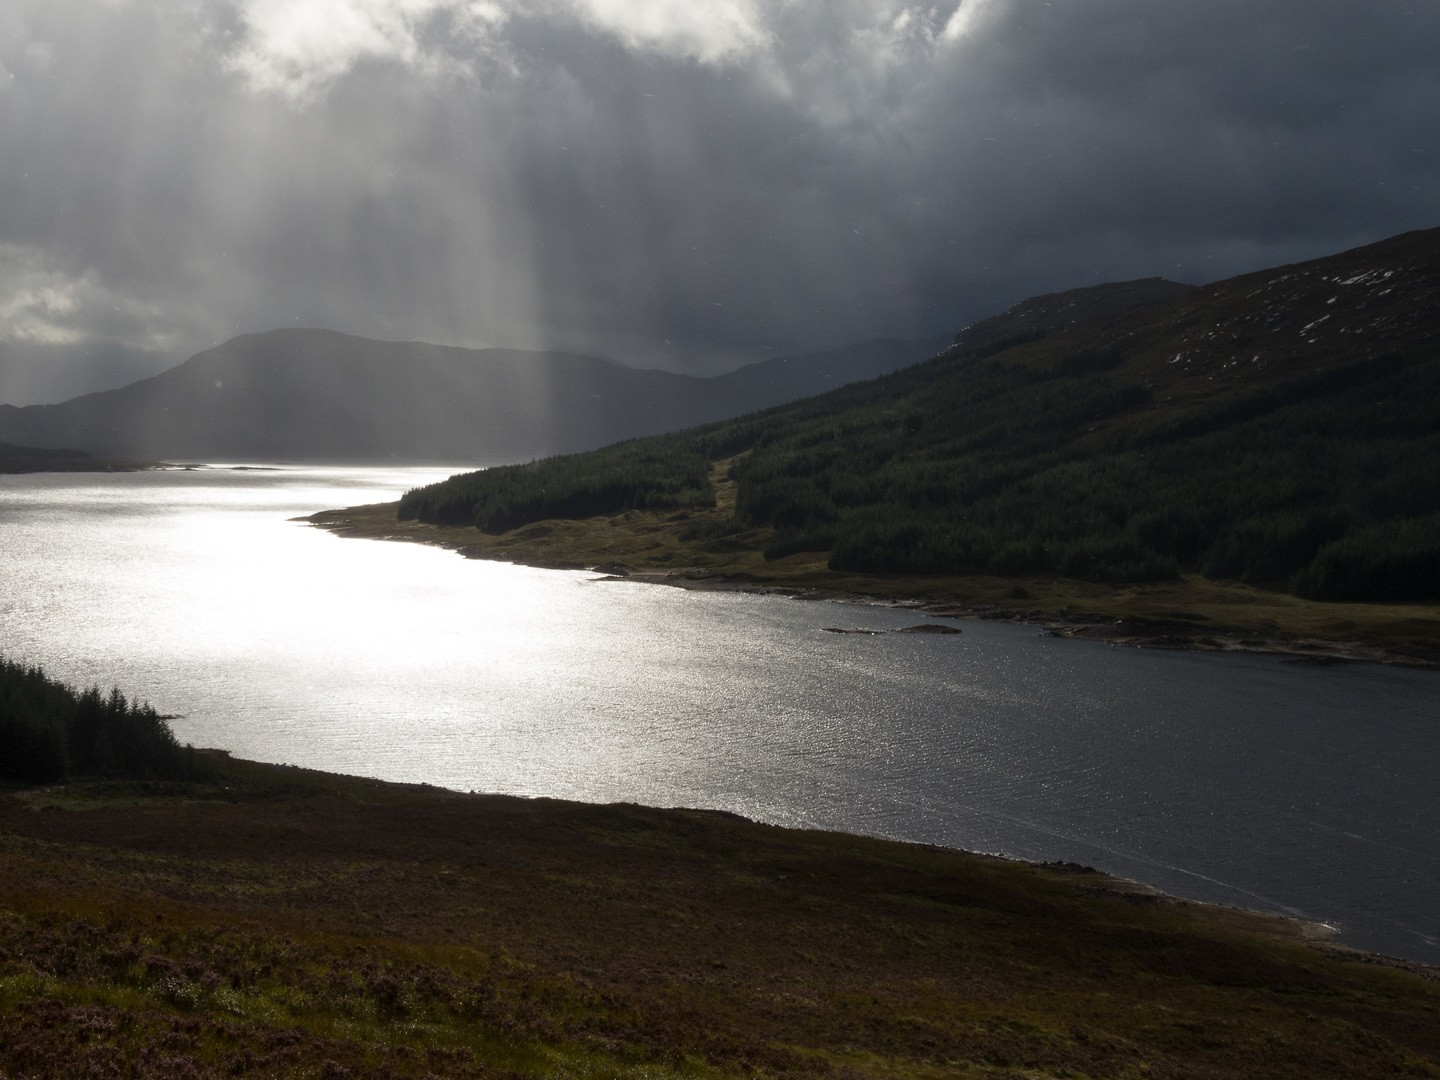
    16. Walk a long-distance foot path. Hadrian’s wall? West Highland Way?
    17. Go to a live music festival.
    18. Go to a spa and actually enjoy it and not feel out of place!
    19. Get dressed up all posh – dress, hair, make-up – for a night out.
    20. Perfect making homemade pizzas.
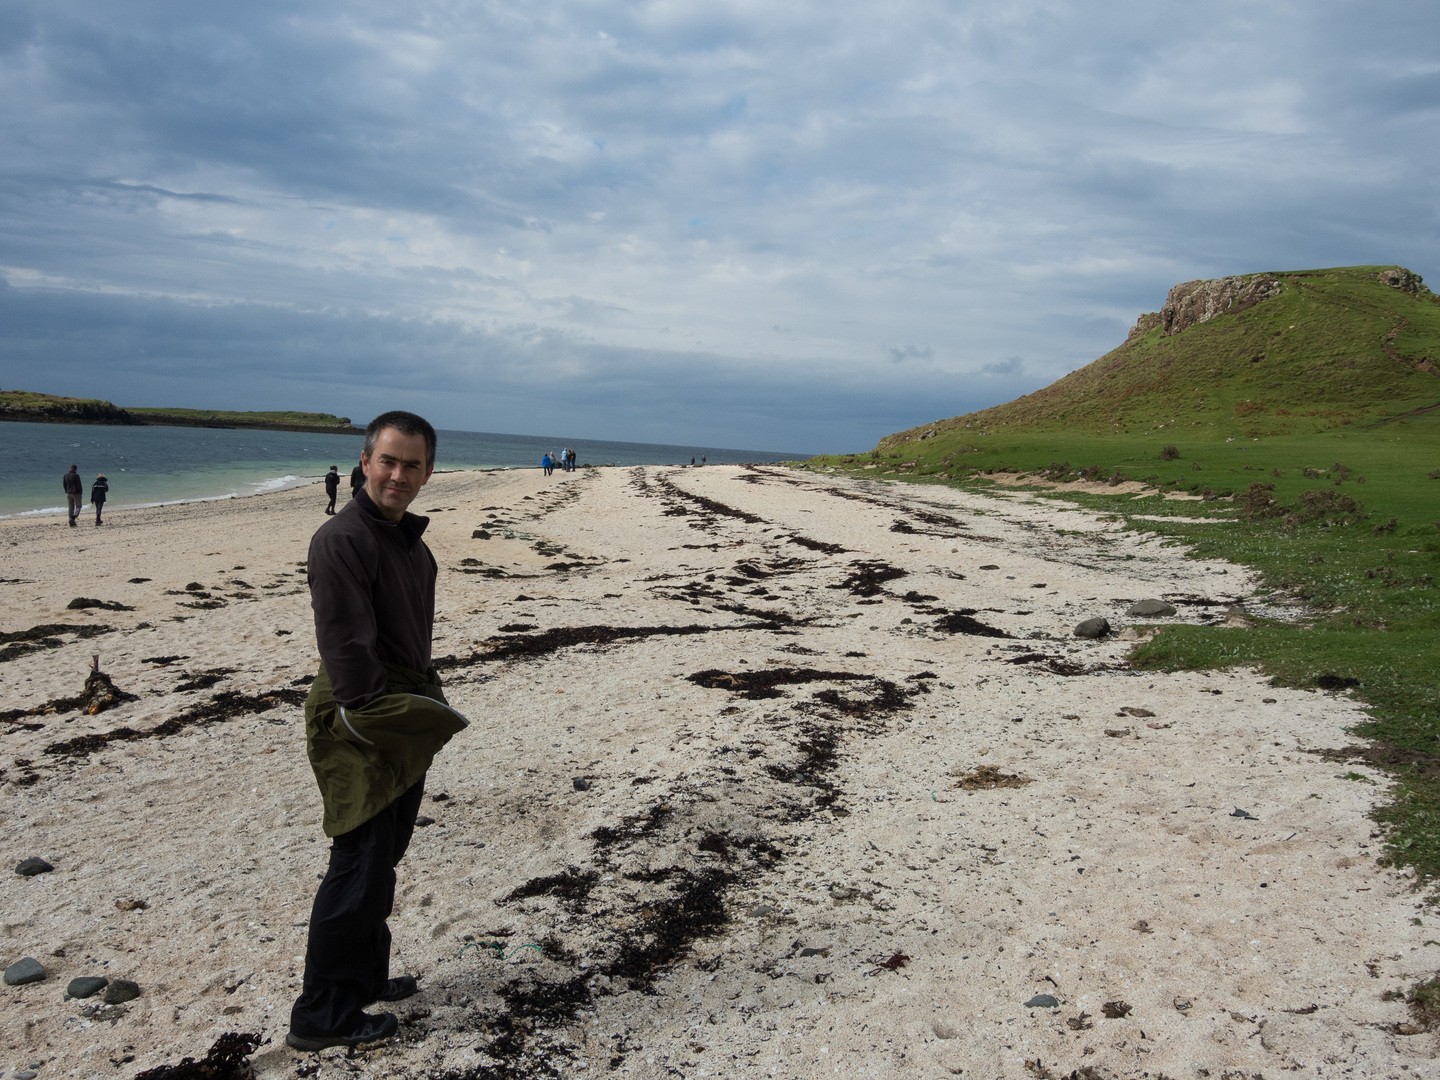
    21. Go wild swimming.
    22. Volunteer.
    23. Learn crewel work for Tudor re-enactment at Kentwell.
    24. A surprise.
    25. A special piece of jewellery – perhaps this by Rauni Higson as I love the structural simplicity of her fold forming.
    26. Make jewellery with a new technique and this jewellery school means I can combine with a trip to visit my parents!
    27. Grow in a leadership position.
    28. Get some non-clinical veterinary articles published. This is definitely outside my comfort zone!
    29. Start doing podcasts for my veterinary blog. Even more outside my comfort zone – in front of a camera and talking!
    30. Get a will done.
    31. Go to a cider festival.
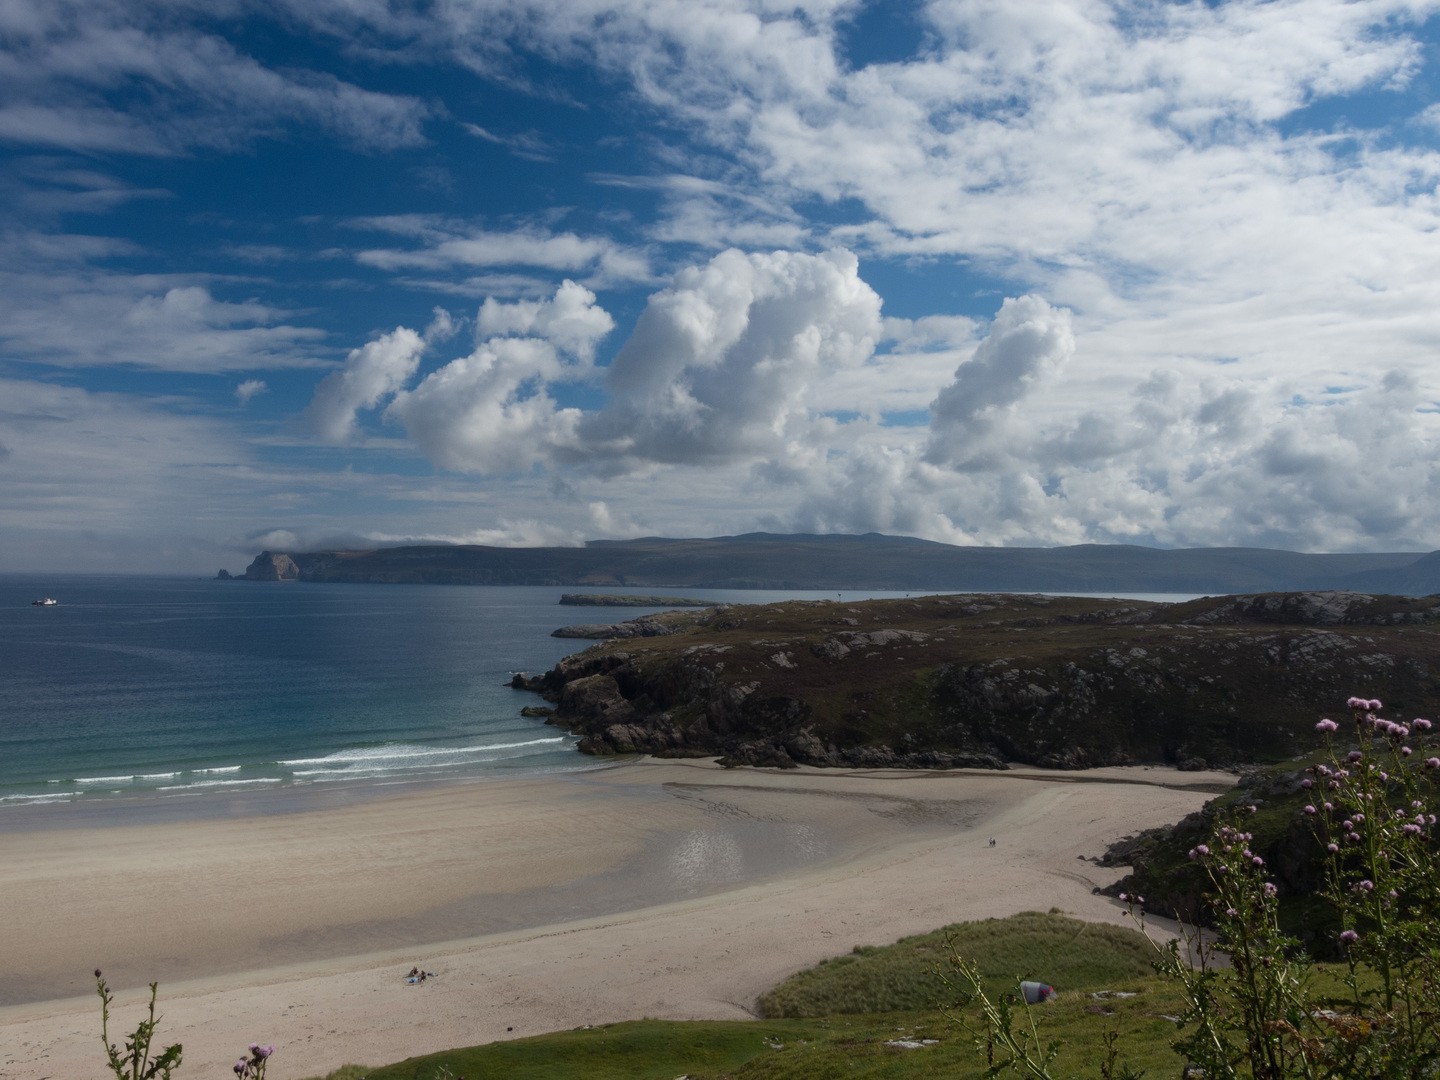
    32. Go to Portmeirion Village, Wales.
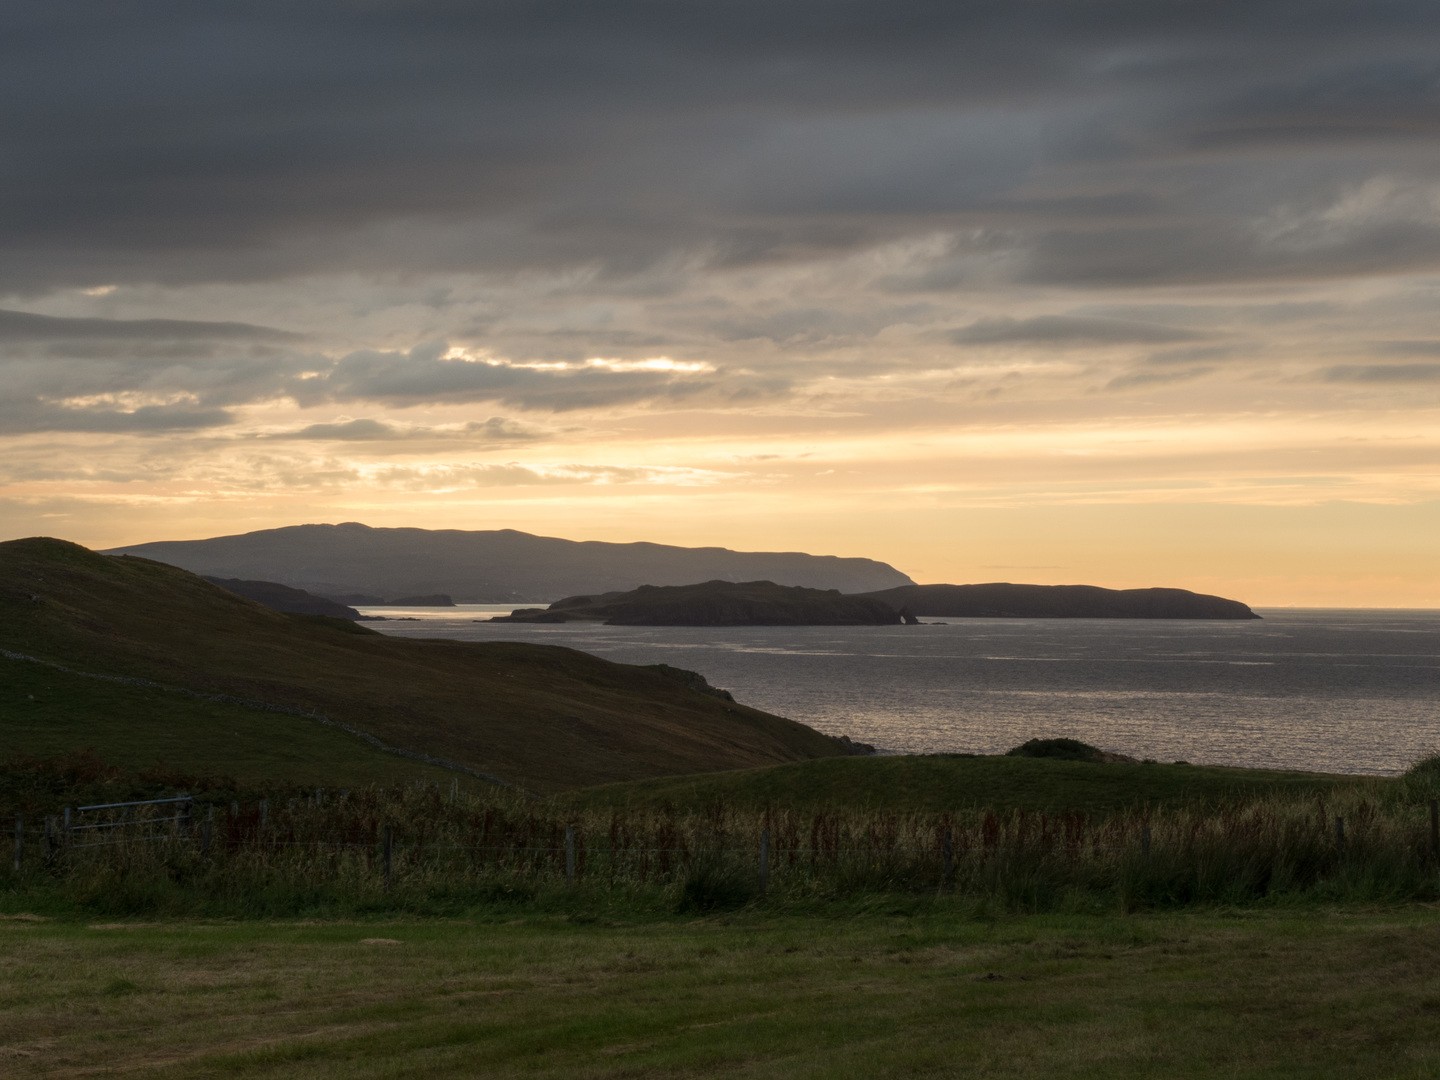
    33. Visit Lindasfarne Island.
    34. Swim in the Roman baths in Bath. Found out this is not possible any more – but perhaps in real Roman baths in other countries?
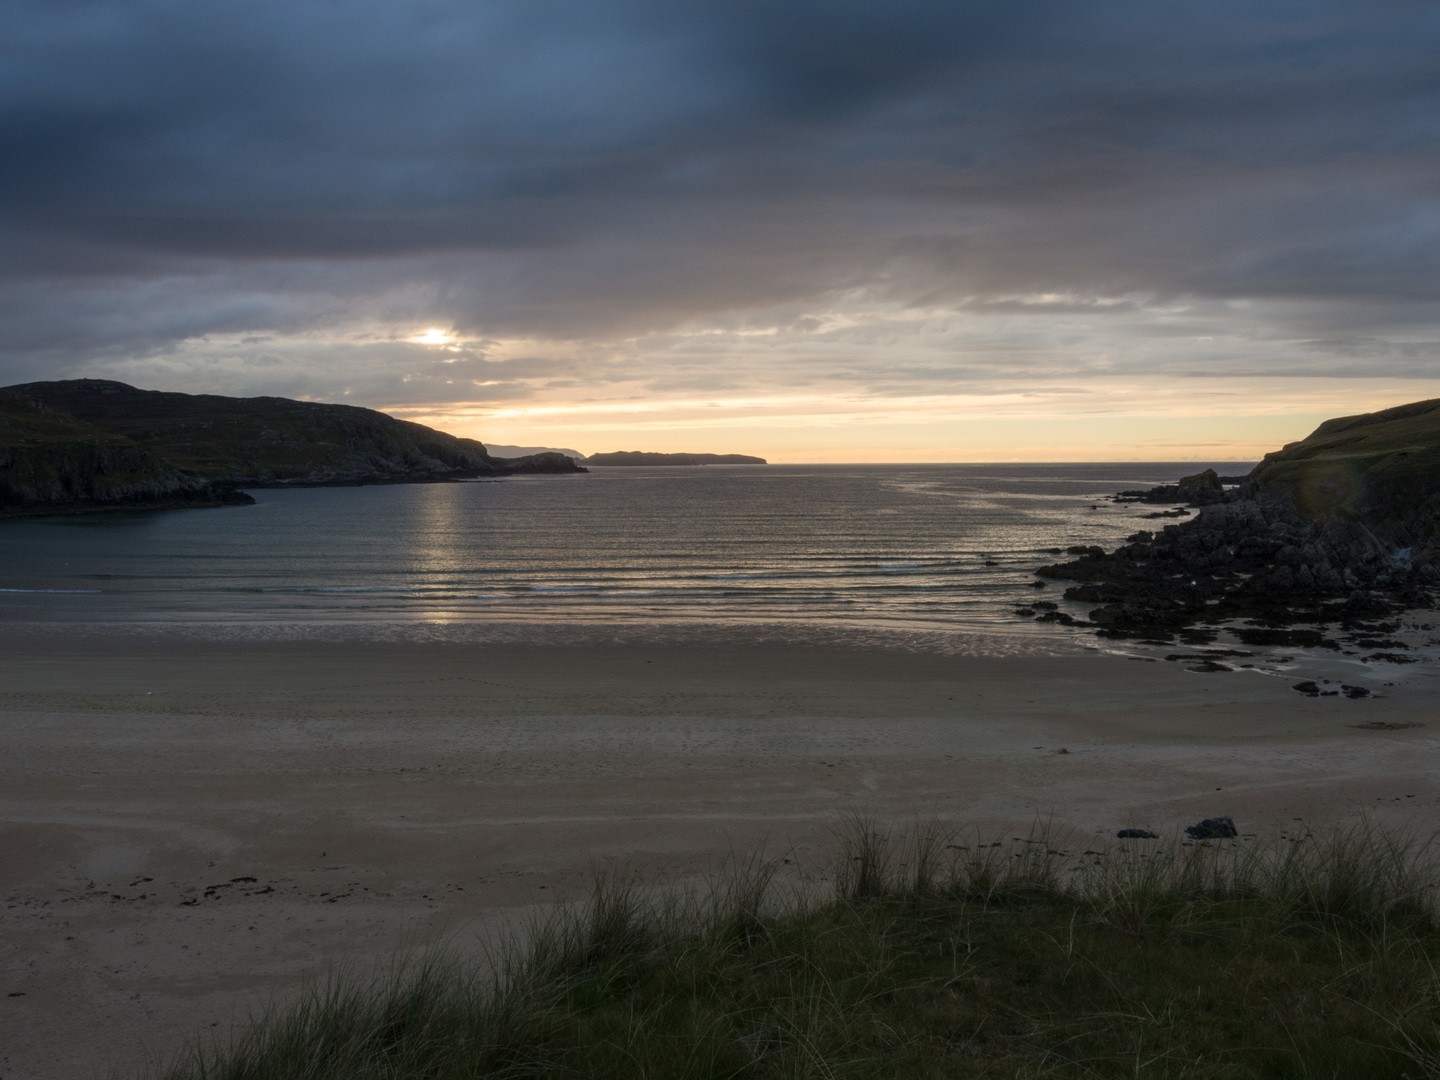
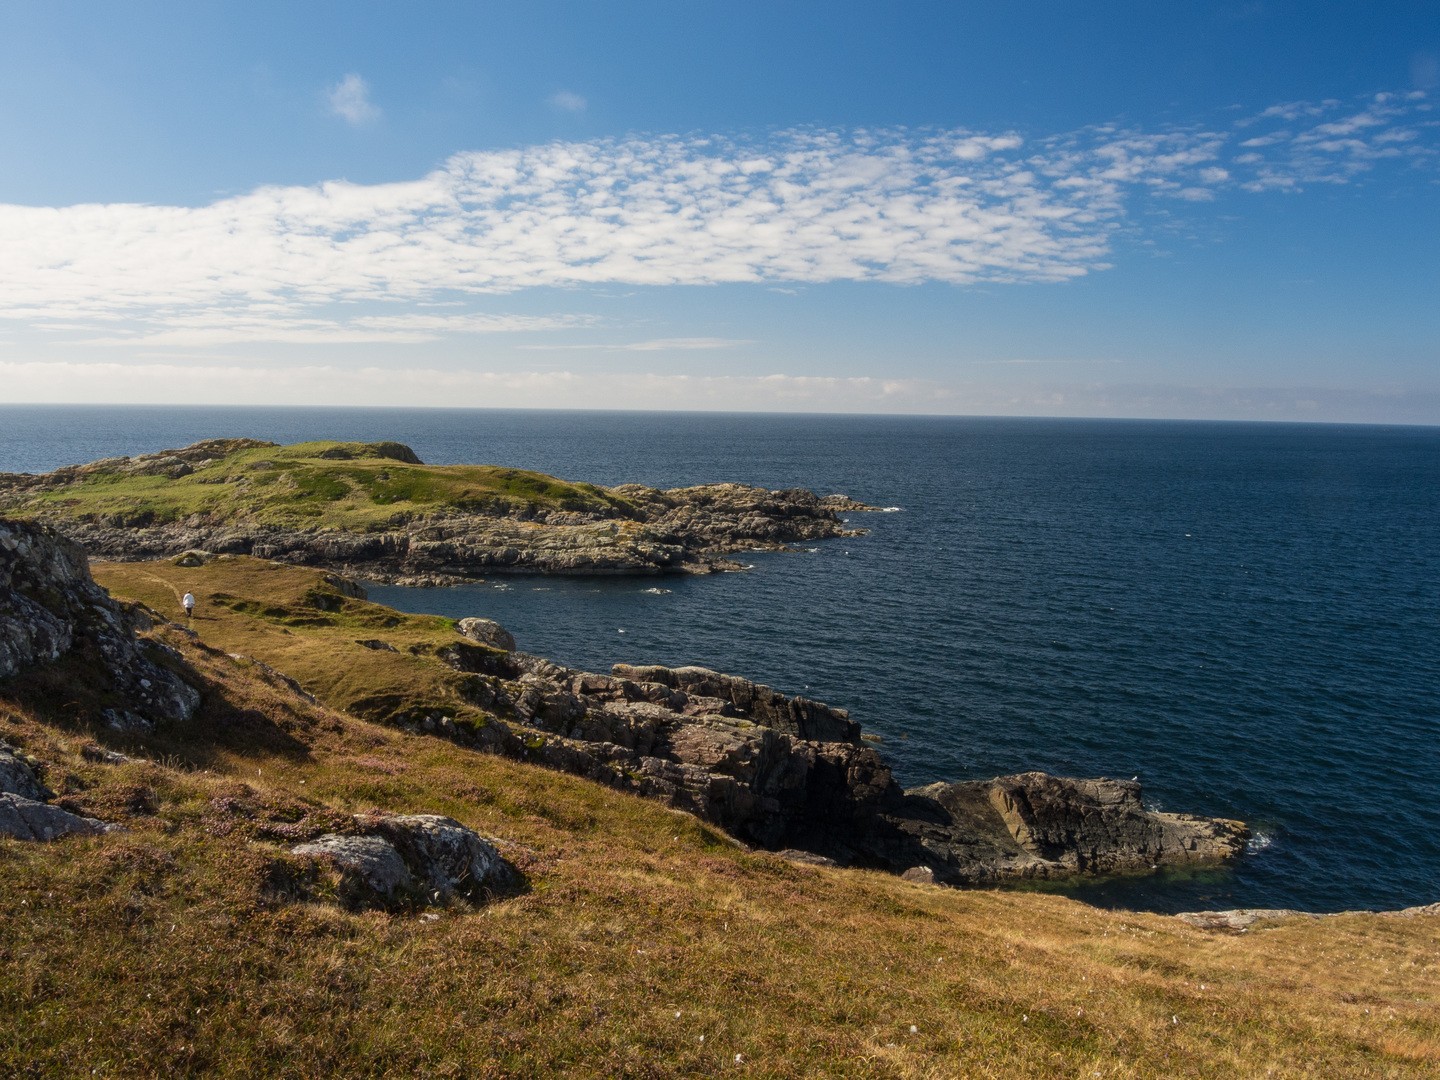
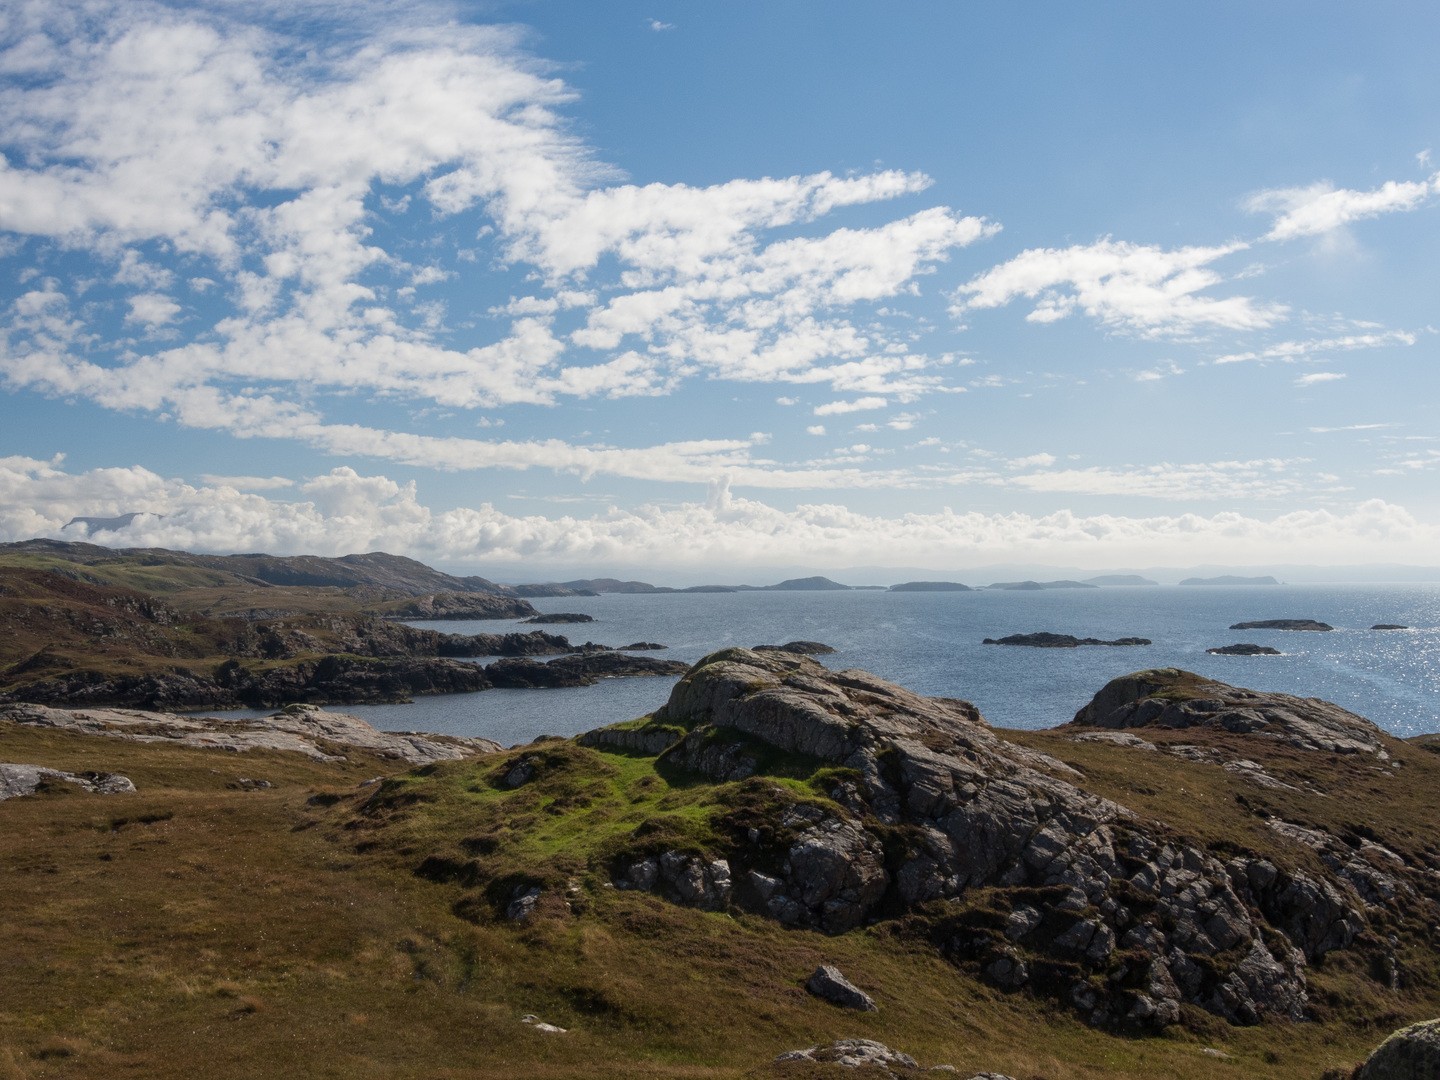
    35. Go to the Scilly Isles.
    36. Hold a pop-up dinner or afternoon tea club.
    37. See the Northern lights – Trumso? Do not take any photographs.
    38. Go to the Hay book festival.
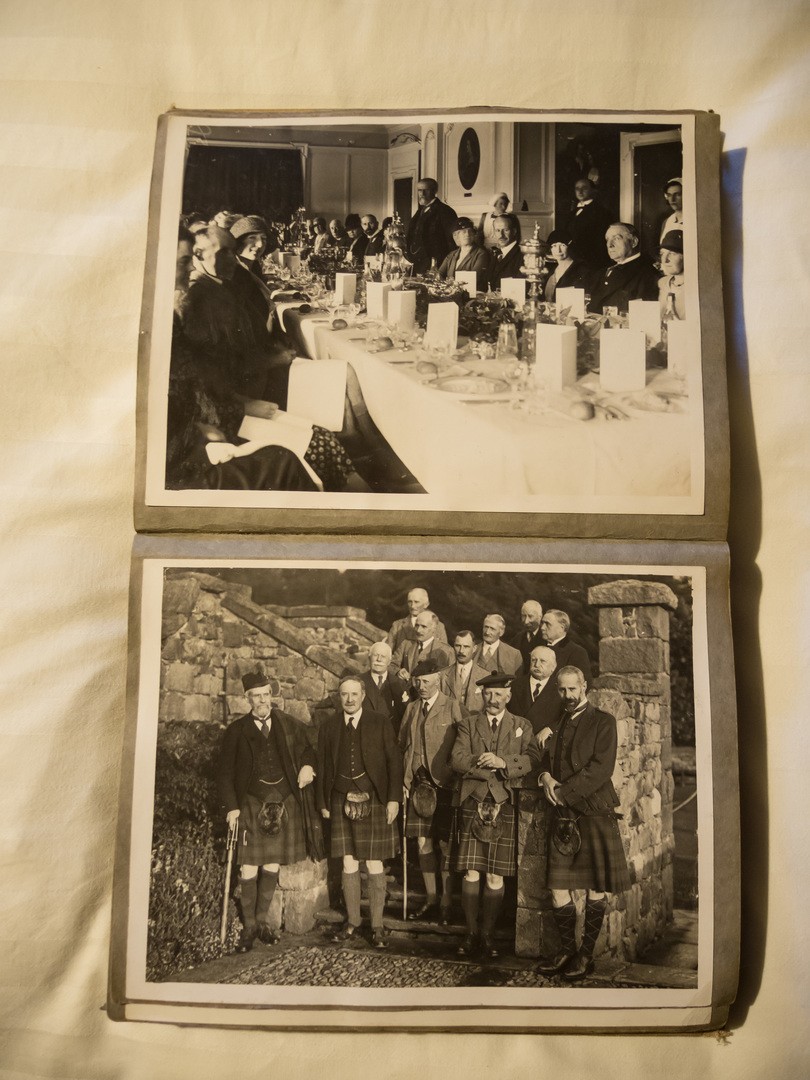
    39. Complete our wedding album, only 10 years late! And donate my wedding dress to charity.
    40.  To be added to during the year!

  2. An easy way of image transfer

    July 15, 2019 by sarah

    I first read about this method of transferring an image onto fabric a couple of years ago. I know exactly when it was because I printed out an image I wanted to transfer to some napkins I had bought and it has the date on it and had the Citra-Solv posted from the USA (more of this below). This project sat in my ‘to do at some point’ pile because frankly I had more important things to get on with than some nicely decorated napkins! But the time came to give this a try at the weekend. I wasn’t expecting much, but having done the napkins, and a T-shirt, and a tea towel, and only having to stop because of the requirement to make dinner, I can attest that it is truly addictive. And magical!

    Having done the initial dabbling, as usual, my mind is spinning with endless possibilities: transfer of designs to fabric for embroidery; transfer of design for lino carving; personalised T-shirts; T-shirts for hen parties; transfer of logos onto hand-made items; quilting designs; funky tea towels…. The possibilities seem endless. And the images are permanent! I have used Modge-Podge to transfer images to fabric in the past but that was so much messier and the images much less crisp that this Citra-Solv transfer method. What ideas can you think of to use this technique on?

    I have only used Citra-Solv for this technique so I cannot attest if other solvents work. I have not seen Citra-Solv for sale in the UK so I ordered it from the USA. At about £15 for a bottle, it is not pocket money but I only used a tiny amount for the projects I have done so far so it is going to last a long time. It says it is natural and safe, but something that does this to ink and plastics I would treat like DEET i.e. with care. I have only tried transferring to fabric but I have read online that you can transfer to leather, wood, and paper. The denser the weave of the fabric, the sharper the image you get but the softer images have a charm of their own. I also understand that you can transfer colour images, but as I don’t have a colour laser printer I can only do black at this time.

    And that is the most important point. You can only use images that are printed from toner by laser or copier, it will not work with ink-jet. You also need fresh images – the one I printed off a couple of years ago didn’t work as I guess something happens to the ink over time. If you have words in your images, remember to mirror-image your picture otherwise you can’t read the wording (note the first one I tried with the backwards ‘thyme’!).

    What you’ll need:

    1. Citra Solv. Pour a little into a small ceramic or glass bowl.

    2. Toner copy of the image you want to transfer.

    3. Surface to transfer onto – some densely woven fabric to start. Place on top of a firm surface that is not painted or varnished – a spare bit of pywood worked well for me.

    4. Masking tape to hold the image in position while transferring.

    5. Paper towel or soft clothfor applying solvent.

    6. Spoon for burnishing.

    Get your stuff ready – Citra-Solv, board, fabric, image copied, spoon, masking tape.

    Step 1: Make a toner copy of the image you want to transfer.

    Cut the image out, with enough margin around it for taping onto your surface.

    Step 2: Tape the image face down onto your surface.

    Place the fabric onto the backing board, or if doing a T-shirt put the board inside the T-shirt. Iron it first if it has creases or wrinkles. Place your image face down onto the fabric where you want it to be and use some bits of masking tape to stick it in place.

    Step 3: Rub Citra-Solv onto the back of the paper using a paper towel.

    Make sure the paper towel is not too wet with the solvent, and rub quickly – just enough until the paper becomes transparent and the image shows through.

    Step 4: Use the back of a spoon to burnish the image.

    Press firmly, using a circular motion and making sure to burnish the whole area of the image. Stabilize the paper with your other hand so it doesn’t shift.

    Step 5: Lift the paper to check that the image is fully transferred.

    The tape keeps it in place while you lift. If you see any areas that aren’t crisp and clear, lay the paper down and burnish those specific areas again, until you have the whole image nicely transferred.

    Step 6: Remove the paper and there it is! Image transferred!

    The remaining Citra-Solv with evaporate. Some people have advocated ironing the image to set the transfer so this is what I did. But the transferred image is permanent i.e. the fabric can go into the washing machine (on cool and no bleaching agents). Just don’t be tempted to clean it in Citra-Solv otherwise your image will disappear!

    What uses can you see yourself using this for? Please post comments below.


  3. Wedding Cake – ‘naked’

    September 3, 2017 by sarah


    Last month, I made my first ever wedding cake! It was a monster of a cake with 4 tiers in the main cake (12″, 10″, 8″ and 6″) and an extra 10″ to feed 150 people! I am immensely proud of my cake and that I didn’t get into a strop about any set backs (there weren’t many as I’d planned it like a military operation). It did, however, take a lot longer than I had anticipated, over 28 hours in total: about 8 hours planning, researching recipes, typing out shopping lists and timetables, shopping online for ingredients and sundries then about 20 hours to make and half an hour to assemble at the venue. Wow, the Thursday before the wedding was a 10 hour sponge-a-thon, juggling batter in the oven and cooling cakes out of the oven! But I also learnt a lot as this was my first stacked cake attempt so there were countless hours spent reading about how to use dowels! I also needed to try out new recipes including trying to find a vegan cake that tasted as good as regular cake. The main problem turned out to be trying to make vegan buttercream that didn’t separate when I added Amaretto liqueur! I will post these recipes over the coming weeks.

    Bottom tier of moist chocolate cake filled with chocolate Swiss meringue buttercream, next tier of lemon sponge with lemon Swiss meringue buttercream and homemade lemon curd, next up a traditional Victoria vanilla sponge with vanilla bean buttercream and raspberry jam and a vegan top tier of almond sponge with Amaretto frosting.


    I hate eating fondant with a vengeance and only slight less like working with it so my stipulation to the bride was that it was not to have anything to do with fondant. Luckily, ‘naked’ cakes are all the vogue at the moment i.e. cakes whose bare sides are completely visible. This, however, brings its own set of issues; the outside of every cake must be perfectly evenly baked and come out of the tins without pulling any crust off and drying out as there is no icing to protect it. The later problem really worried me as no-one likes dry cake and I knew the naked cake would be sitting out for many hours during the wedding on a potentially very hot August day. I can confirm that my measures lead to a moist cake that stayed moist for many day! This was due to making the cakes with butter not margarine, adding a little vegetable glycerine to act as a humufactant (buy in the baking section of the supermarket, made from vegetable oils so not that artificial), making them as close to the day as possible (maximum 48 hours previously) and soaking the sponges with flavoured syrups while stacking the layers. I also used meringue based buttercreams (except for the vegan layer) as these are more stable when conditions are not perfect. I certainly perfected my Swiss meringue buttercream making!


    I found the following websites invaluable in this project:

    • chocolate cake recipe here and lemon cake recipe here from BBC Good Food
    • brilliant YouTube video on baking and assembling a naked cake. There are also recipes on the blog which have charts so you can scale for any cake tin size. The only problem is they are in American cups rather than weight measurements which is not ideal!
    • This post by Good Housekeeping also includes instructions on assembling as well as recipes.
    • This website for lovely pictures and a cake portion guide here.

    Would I make it again – yes, but I will be charging the going rate next time!


  4. Scotland 2016

    September 15, 2016 by sarah


    At the end of August and into September, Jim and I took a trip up North in his Lotus. The weather was amazing for most of the time except one day on Skye. The open, well maintained roads with light traffic were a joy to drive in the Lotus. We had some interesting staying in B&Bs and ate far too much food. At the end of our tour we finished in Dunblane to meet up with the family and meet our new niece and nephew for the first time.


  5. 2016 Wigginton Show

    September 10, 2016 by sarah


    Writing this is hard as today is a day of complete contrasts. Today was the day I put my companion of nearly 15 years to sleep after she had a stroke (vestibular incident for the medically minded). With her additional health problems she just couldn’t cope with one more thing and was distressed. But we had a couple of hours on the sofa together and then she went to sleep in my arms. It really couldn’t of been more peaceful and I hope someone can do that for me if I get to that stage.

    Megan


    The complete contrast is that  the local show was also today; the Wigginton Gardner’s Association annual show. I wasn’t around to enter last year so felt I’d better give it a good bash this year. And I did very well – lots of firsts and placings and three best in shows and 2 cups won. Just need to improve my flower arranging skills for next time! My silver heart bracelet got best in show handicrafts, my carrot cake (see my recipe here) got best in show domestic and my damson wine got best in show wine. I won the Lady Hadden Challenge Cup for the person with the most points in domestic classes and the George Hill Memorial Trophy  for the best wine. I need to wait a few weeks to get the cups as they are getting engraved. I am pleased to say that entries had increased and it was a healthier show.


  6. Marshmallows

    May 31, 2016 by sarah


    I have to admit now, before we go any further, I do not like marshmallows. Except the seriously caramilised (burnt) type on the end of a stick and something to do with a camp fire – those I can take in small doses. But a raw bouncy, squidgy marshmallow just does not do it for me. They tend to be insipid in taste, overwhelmingly sugary and have the texture of a gymnastics mat. I even bought some expensive hand-made ones from La Pâtisserie de Rêves the last time I was in London – they were disgusting AND expensive! Not very promising for a weekend treat, I hear you cry! Well after having made them, my way, I may be converted… just a little. And they look very pretty!

    marshmallow-2


    Feel free to use whatever freeze dried fruit you can find. Most supermarkets sell some now but I get mine online from Healthy Supplies as they have a fabulous selection at good prices. I have been disappointed with the flavour of freeze-dried fruit in chocolate ganaches – it tastes kind of ‘green’ and not at all like the fruit it is supposed to. So these marshmallows are a good use of the freeze-dried fruit as the flavour is actually intensified in them.

    marshmallow-4

    Raspberry Marshmallows

    Makes lots (about 30 portions), takes about 30 minutes.

    Handful of freeze-dried raspberries
    3 tablespoons of freeze-dried raspberry powder
    2 tablespoons icing sugar
    2 tablespoons cornflour
    8 gelatine leaves
    450g granulated sugar
    1 tablespoon glucose syrup
    3 large egg whites (about 120g)

    – Line the base a sides of a large roasting tin (about 20x30cm, but it doesn’t matter too much) with non-stick baking parchment.
    – In a small bowl, mix one tablespoon of the raspberry powder with the icing sugar and corn flour. Sieve half of this mixture into the base of the lined tin so it is evenly covered.
    – In another small bowl, sit the gelatine leaves in COLD water.
    – In a heavy based pan on a medium heat, heat the granulated sugar, glucose syrup and 150ml water, stirring until it is all dissolved. Bring this sugar syrup to the boil, do not stir any more and continue to boil until it reaches 116°C.
    – While the sugar is doing it thing, in a stand mixer, whisk the egg whites until they form soft peaks.
    – Once the sugar syrup reaches the correct temperature, take it off the heat and leave it to sit for a couple of minutes.
    – Remove the gelatine leaves from the water, squeeze out as much water as possible and pat dry with kitchen paper. Add the gelatine to the sugar and stir until melted.
    – With the mixer on slow, trickle the sugar syrup over the beaten egg whites (try to miss the whisk otherwise it gets messy). Once it is all added, turn the mixer up to high and beat until the marshmallow is thick, light and cool to touch.
    – Add the rest of the raspberry power and whole raspberries.
    – Pour this into the prepared tin, tapping it flat, and leave to set overnight.
    – Cover a chopping board with non-stick parchment and sieve over the remaining powdered raspberry/icing sugar/cornflour mix. Turn the tray of marshmallow out on to this and cut into desired sizes, rolling in the dust as you go along.

    marshmallow-5 marshmallow-3 marshmallow


  7. Nougat

    October 27, 2015 by sarah


    I love real nougat but usually only get to enjoy it at festive times. A couple of weeks ago I had some egg whites left over and felt in the mood for something sweet and decadent and decided to give it a try. The other option was marshmallows but I don’t like marshmallow so nougat it was. Nougat is a chewy sweet made with sugar and egg whites with nuts and dried fruit. This is ‘white nougat’ a traditional candy from Italy (“torrone”), France and Spain (“turrón”), though weirdly in Germany, gianduja (a smooth mixture of hazenuts and chocolate) is traditionally called nougat. So give this recipe a try and make some artisan nougat!

    nougat-005


    This recipe makes loads of nougat – you could half the recipe if you don’t think you could eat it all or give it away. This recipe is a combination of this one from Great British Chefs website and from Miss Hope’s Chocolate Box book of splendid recipes.

    nougat-002

    Artisan Nougat

    400g caster sugar

    100g liquid glucose

    125g runny honey

    2 egg whites (1 used 3 medium egg whites, about 100g)

    pinch of salt

    200g toasted whole almonds

    40g pistachios

    75g dried sour cherries

    rice paper

    Line the base and sides of a square tin with rice paper.

    Put the sugar, honey and liquid glucose in a large heavy-bottomed pan with 125ml water. Heat gently to dissolve the sugar and then place in a sugar thermometer and bring the mixture to the boil.

    As water is driven off, the temperature will rise; boil to 125°C.

    Place the egg whites in a stand mixer and beat until they form stiff peaks but no further.

    Continue to boil until 145°C is reached, then put the mixer onto medium speed and slowly and steadily pour the hot sugar over the egg whites while they are being beaten.

    When all the sugar is added, add the salt and turn the speed up and beat for 5 minutes until the mixture is thick and glossy.

    Fold in the nuts and fruit then press the mixture into the prepared tin and cover with more rice paper, pressing the mixture so it is level. Alternatively, place between two large sheets of siliconised paper and roll to make an even 2cm thickness. Allow to cool before cutting with a lightly oiled knife. It helps if you clean and oil the knife between each cut.

    nougat-001


  8. Swiss Roll – Great British Bake Off Challenge

    October 25, 2014 by sarah


    After watching ‘The Great British Bake Off’ and lamenting the end of the current series, I decided to challenge myself to make something something from the series that I hadn’t attempted before. My husband always chuckles at me when we watch GGBO because I tend to make comments like ‘that’s wrong’, ‘that’s going to fail’, ‘I wouldn’t do it like that’ etc. However I don’t think anyone in the real world would make their own filo pastry – that is what machines with big rollers are for! On our honeymoon on Crete we did watch an eighty-odd year old man make and stretch filo pastry by hand over a huge wooden table in his bakery and it was a joy to behold. Anyone else though, just go to the supermarket!

    But back to the task in hand, in other words the Swiss roll. I have to admit that even I, a keen baker, has never made a Swiss roll before. Why, when Marks and Spencer make a perfectly good one in all yummy flavours. Well, I can tell you now (after the cake is made and entirely eaten) that homemade always tastes best; soft, moist and no nasty chemicals to make it stay that way for multiple weeks on a supermarket shelf! Have a go yourself.

    swiss roll-001

    This recipe is from ‘Merry Berry’s Ultimate Cake Book’ from BBC books. It worked great and I achieved that nice tight spiral – Mary Berry would be proud! Only thing wrong is that it stuck to the parchment paper as it cooled, despite generous liberations of caster sugar, so the skin partially peeled off. I fear I would of been marked down because of that.

    Swiss Roll

    Makes one Swiss roll – feeds 6-8
    5 medium eggs (weight 250g minimum) at room temperature
    100g caster sugar
    finely grated rind of 1 lemon
    100g self-raising flour
     
    4 tablespoons lemon curd
    100ml soft whipped double cream
     
    Preheat the oven to 220 ºC/fan 200 ºC.
    Line a 33 x 23 cm Swiss roll tin (I used a roasting tin of the same measurements) with baking parchment.
    Whisk the eggs, sugar and lemon rind in a large bowl until the ribbon stage (took me about 10 minutes with my hand mixer).
    Sift over the flour and then carefully fold in . Pour the mixture into the prepared tin and tip the tin so that the cake mix is evenly spread and reaches the corners.
    Bake in the preheated oven for about 10 minutes until the sponge is light golden in colour and beginning to shrink away from the edges of the tin, but be careful not to overcook otherwise it will dry out ande be impossible to roll.
    Place a piece of baking parchment a little bigger than the size of the tin on the work top over a tea towel. Sprinkle the paper with caster sugar.
    Invert the cake on to the paper while still warm, remove the paper it was baked in,  trim off the edges (a cooks perk – you get to taste it first) and score a mark 2 cm from the shorter edge, but do not cut all the way through. Roll up the cake firmly from the cut end and leave to cool rolled up.
    Only fill when completely cool. Unroll, spread with the lemon curd then the cream and roll up tightly again. Sit on the serving dish with the seam side downwards.
     
    swiss roll-004

  9. Stuffed Courgette Flowers

    August 17, 2014 by sarah


    Nothing says high summer more than a glut of courgettes from the garden. A few days before we went away for our break in Dorset a few weeks ago, I made this recipe to try and stem the flow of courgettes that would turn into marrows while we were away. It worked and we had a delicious dinner out of it too. Doubly good!

    courgette-1776

    Stuffed Courgette Flowers

    8-10 courgette flowers, ideally with little courgettes attached but the flowers still fresh
    1-2L sunflower oil for frying
    200g tub ricotta cheese
    4 tablespoons freshly grated Parmesan
    1 tbsp finely chopped chives and same of mint
    zest of half a lemon
    4 tbsp plain flour
    1 tbsp corn flour
    1/2 tsp baking powder
    1/2 tsp salt
     
    courgette-1769
     
    Prepare the flowers by opening them up carefully and shaking out any bugs, but do not wash them.
    Mix the cheeses, herbs and lemon zest in a bowl. Taste and season – will probably need some salt and quite a bit of pepper.
    Fill the flowers with the mixture, being careful not to split them and twist the tips of the petals together to seal.
    Make the batter by putting the flours, baking powder and salt into a bowl and whisking to remove lumps. Then whisk in enough ice cold water until consistency of single cream i.e. pretty thin.
    Heat the oil in a deep sided pan until it reaches 180 ºC on a thermometer.
    Quickly dip a stuffed courgette flower into the batter, allow the worst of drips to come off and then carefully drop into the hot oil.
    Only cook a few at a time so the pan is not over crowded. They need a couple of minutes on both sides until golden and crisp.
    Drain on kitchen paper while cooking the rest.
    Serve immediately with a fresh salad and a cold glass of vino!
     
    courgette-1771

  10. Rhubarb semifreddo

    July 3, 2014 by sarah


    Here is another recipe that uses up eggs. Can you tell that we have an egg glut at the moment? I also didn’t realise that chickens love rhubarb leaves. I wonder if it makes the eggs taste of rhubarb? Anyone noticed? Rhubarb leaves are supposedly toxic due the high levels of oxalates they contain, but either birds excrete oxalates in a different way to mammals or the chickens are slowly poisoning themselves. I have had to resort to netting the plants to prevent the chickens getting to them; for their sake and the poor rhubarb plants!

    This recipe is delectable, especially enjoyed on a lovely sunny evening like today. It tastes like rhubarb and custard in the most unctuous, dreamy state imaginable. Once served, it is cold but not icy like ice cream can be; all the better for taking large bites of. I like to serve this dessert with roasted rhubarb. Roasting the rhubarb means it keeps it shape and dries it slightly so it is not soupy like stewed rhubarb can be. Cut the rhubarb into 2cm lengths, lay single depth on a roasting tray or dish, sprinkle with caster sugar and roast in a medium oven for about 20-30 minutes. Enjoy!

    semifreddo-6911

    500g rhubarb
    120g caster sugar
    2 egg yolks
    2 tablespoons elderflower cordial
    250ml double or whipping cream
     
    Chop half the rhubarb finely and add to a pan with 100g of caster sugar plus the elderflower cordial. Bring to simmer and with lid off cook until very soft. Puree with potato masher or hand blender or pushing through a sieve. The other half of the rhubarb cut into 2cm lengths and arrange in singe layer on a baking dish, sprinkle with couple tablespoons sugar, cook in oven until soft (about 180 C for 3o-40 minutes). Leave to cool and then store in a ceramic or glass dish in the fridge until ready to serve the semifreddo.
    Make the sabayon base: in bowl over a pan of gently bubbling water, whisk the egg yolks and 20g caster sugar until light and fluffy and pale. They should triple in volume. Take off heat and allow to cool.
    In another bowl whisk the cream to soft peaks then fold in the pureed rhubarb and sabayon.
    Line a 2 lb loaf tin with two layers of cling film. Pour in the creamy mixture. If you have left over meringues or almond biscuits, crumble over the top. Fold over the cling to seal the surface of the semifreddo and place the tin into a carrier bag. Put in the freezer for at least 4 hours, ideally over night. When you want to serve, put the tin in the fridge for half an hour, turn out onto a plate and serve with the roasted rhubarb.
    semifreddo-6913